How to Draw: Mummy Candy Corn
Mummy Candy Corn
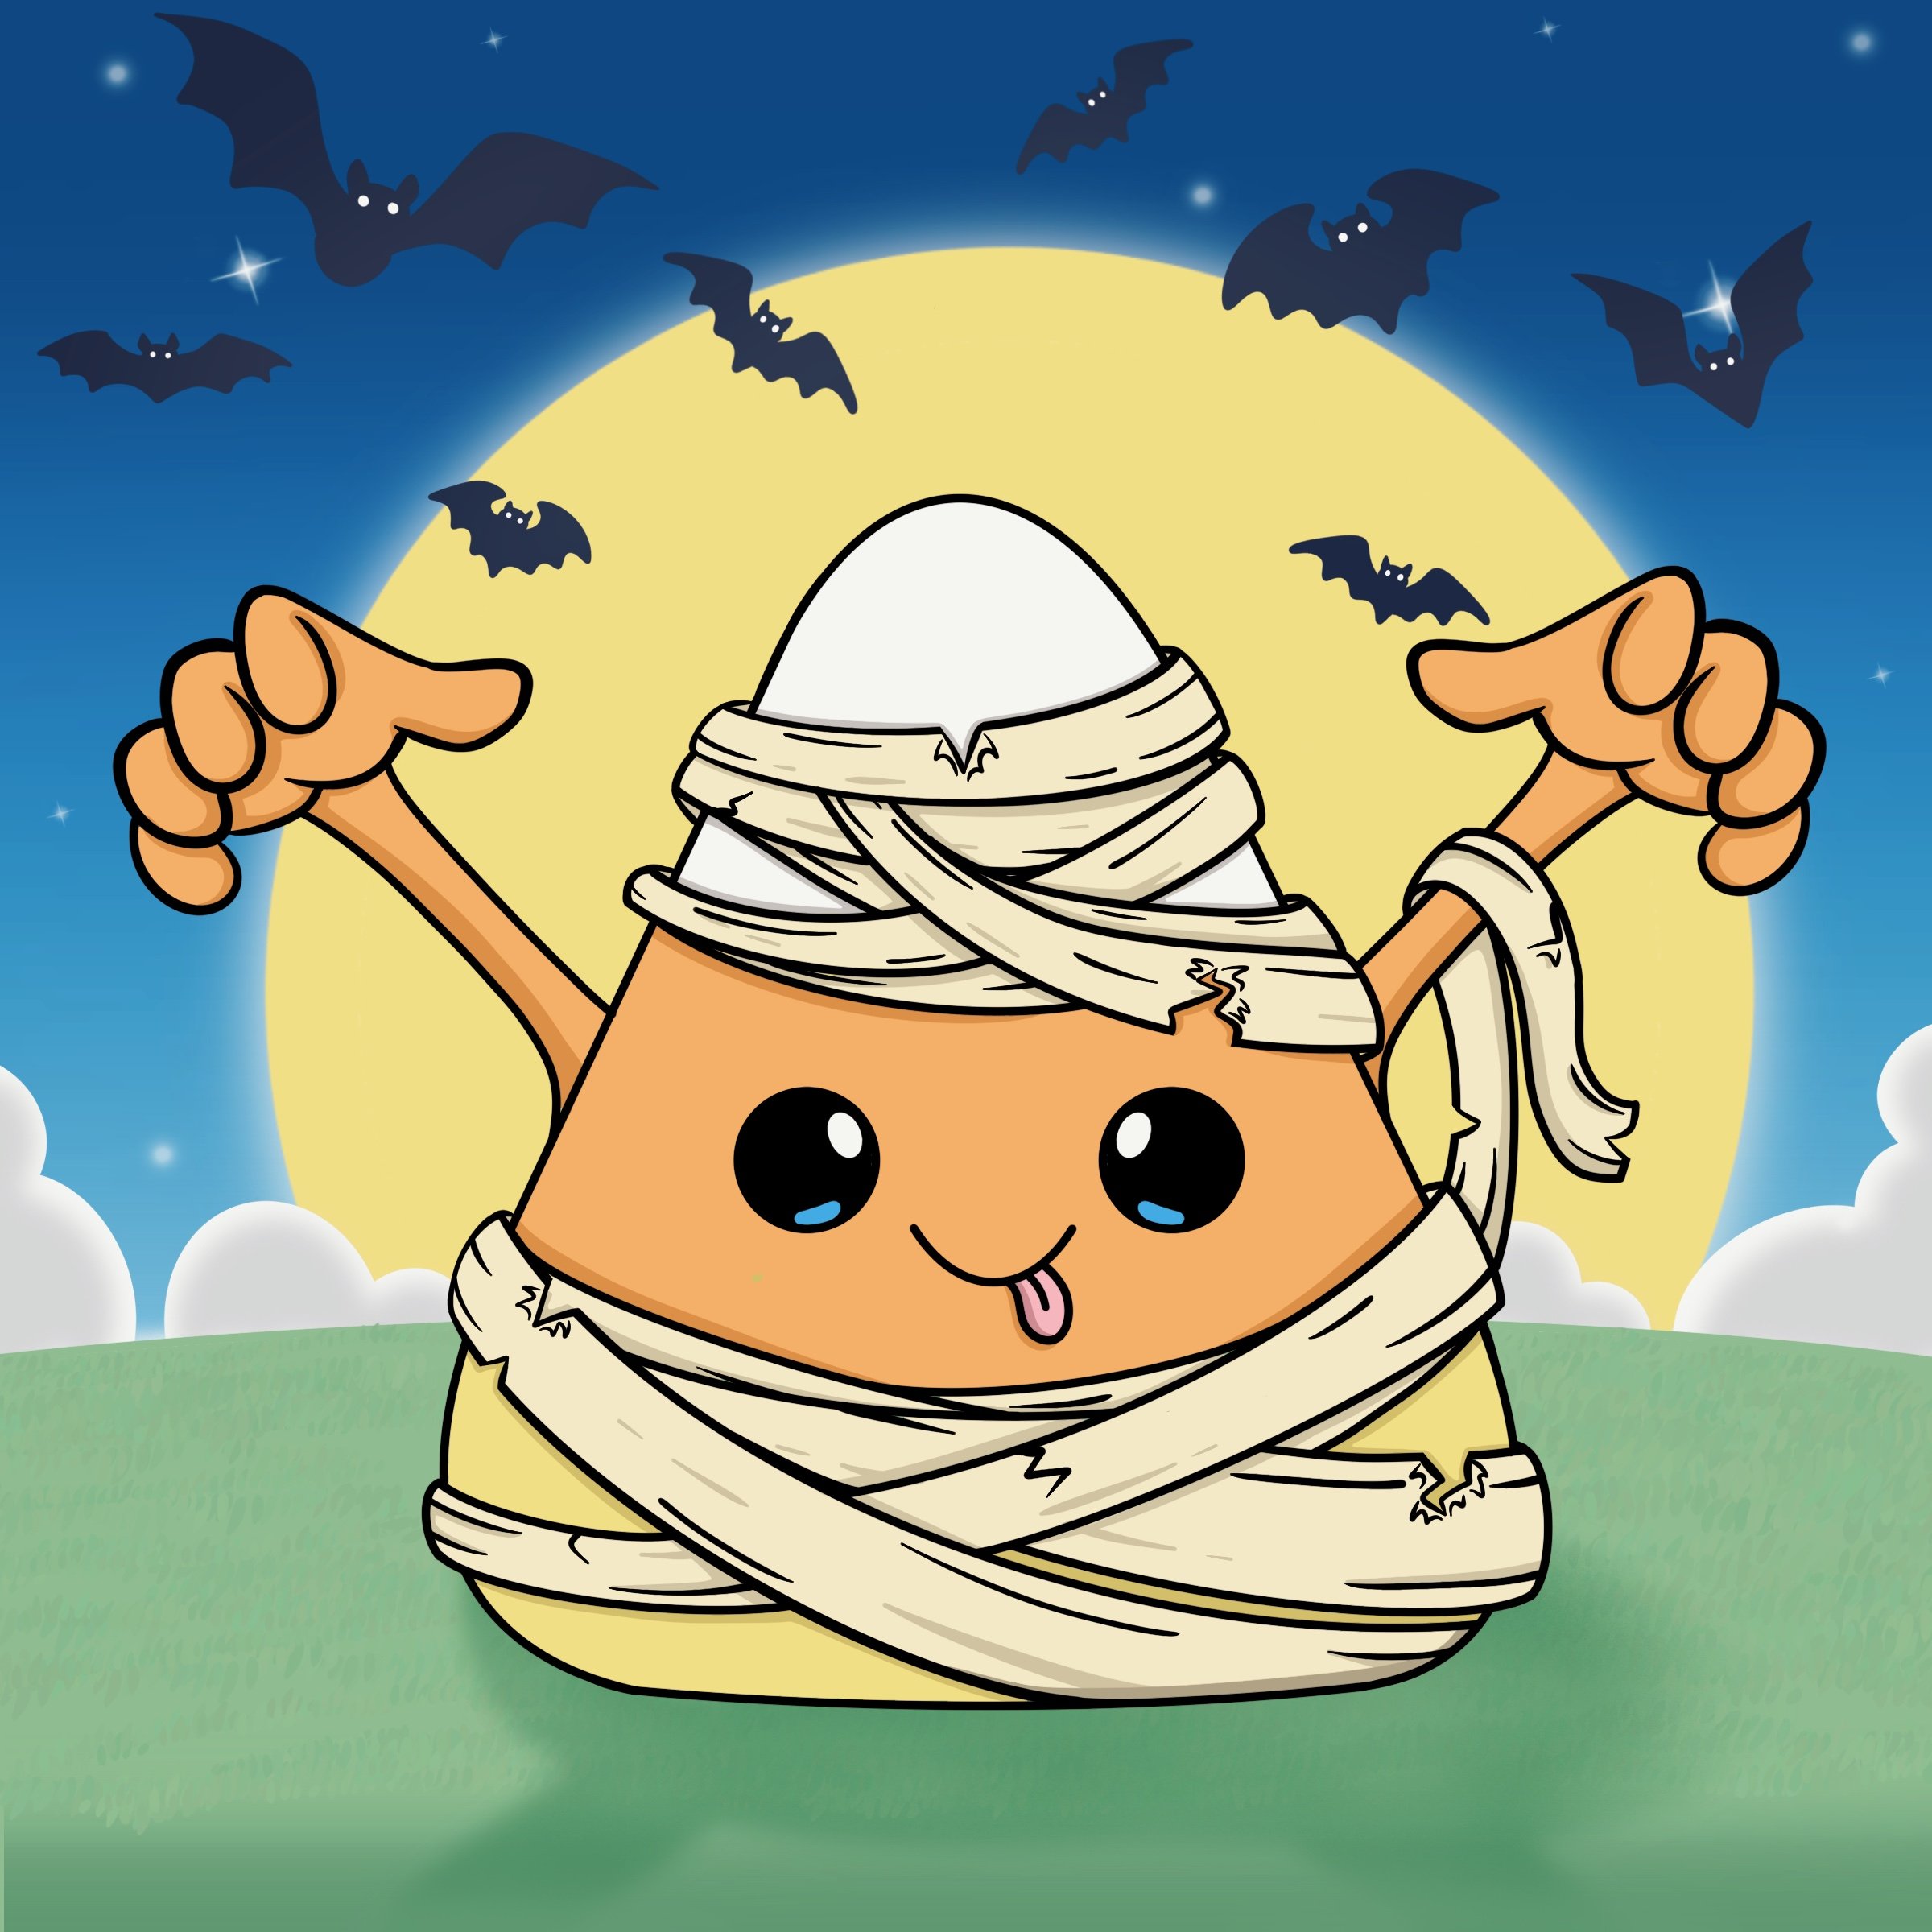
Get ready for a sweet and spooky treat! In this tutorial, we'll show you how to draw the cutest candy corn mummy that ever haunted Halloween. Our triangular friend has traded its classic appearance for bandages, bringing a dash of charm to the creepy season. Perfect for cards, decorations, or just for fun, this adorable candy corn mummy is sure to cast a spell on everyone who sees it. Grab your pencils and let's unwrap some creativity!
Free coloring page included! Scroll to the end for the link
Materials Needed:
Paper
Pencil
Eraser
Colored pencils, crayons, paint, or any other way you would like to add color, be creative!
If Using Procreate:
I have only used default brushes in these tutorials. If you have Procreate and would like to use the same brushes: for the outline use Monoline, and Hand draw. For the coloring use Hard Blend Airbrush, Hand Draw, and Soft Air Brush.
FREE Drawing Grids Available for Download
Need a drawing grid to follow along? I have included two FREE drawing grids available for download, just click on your preferred size:
Simply download, print, and start drawing with enhanced precision and accuracy today!
Step 1
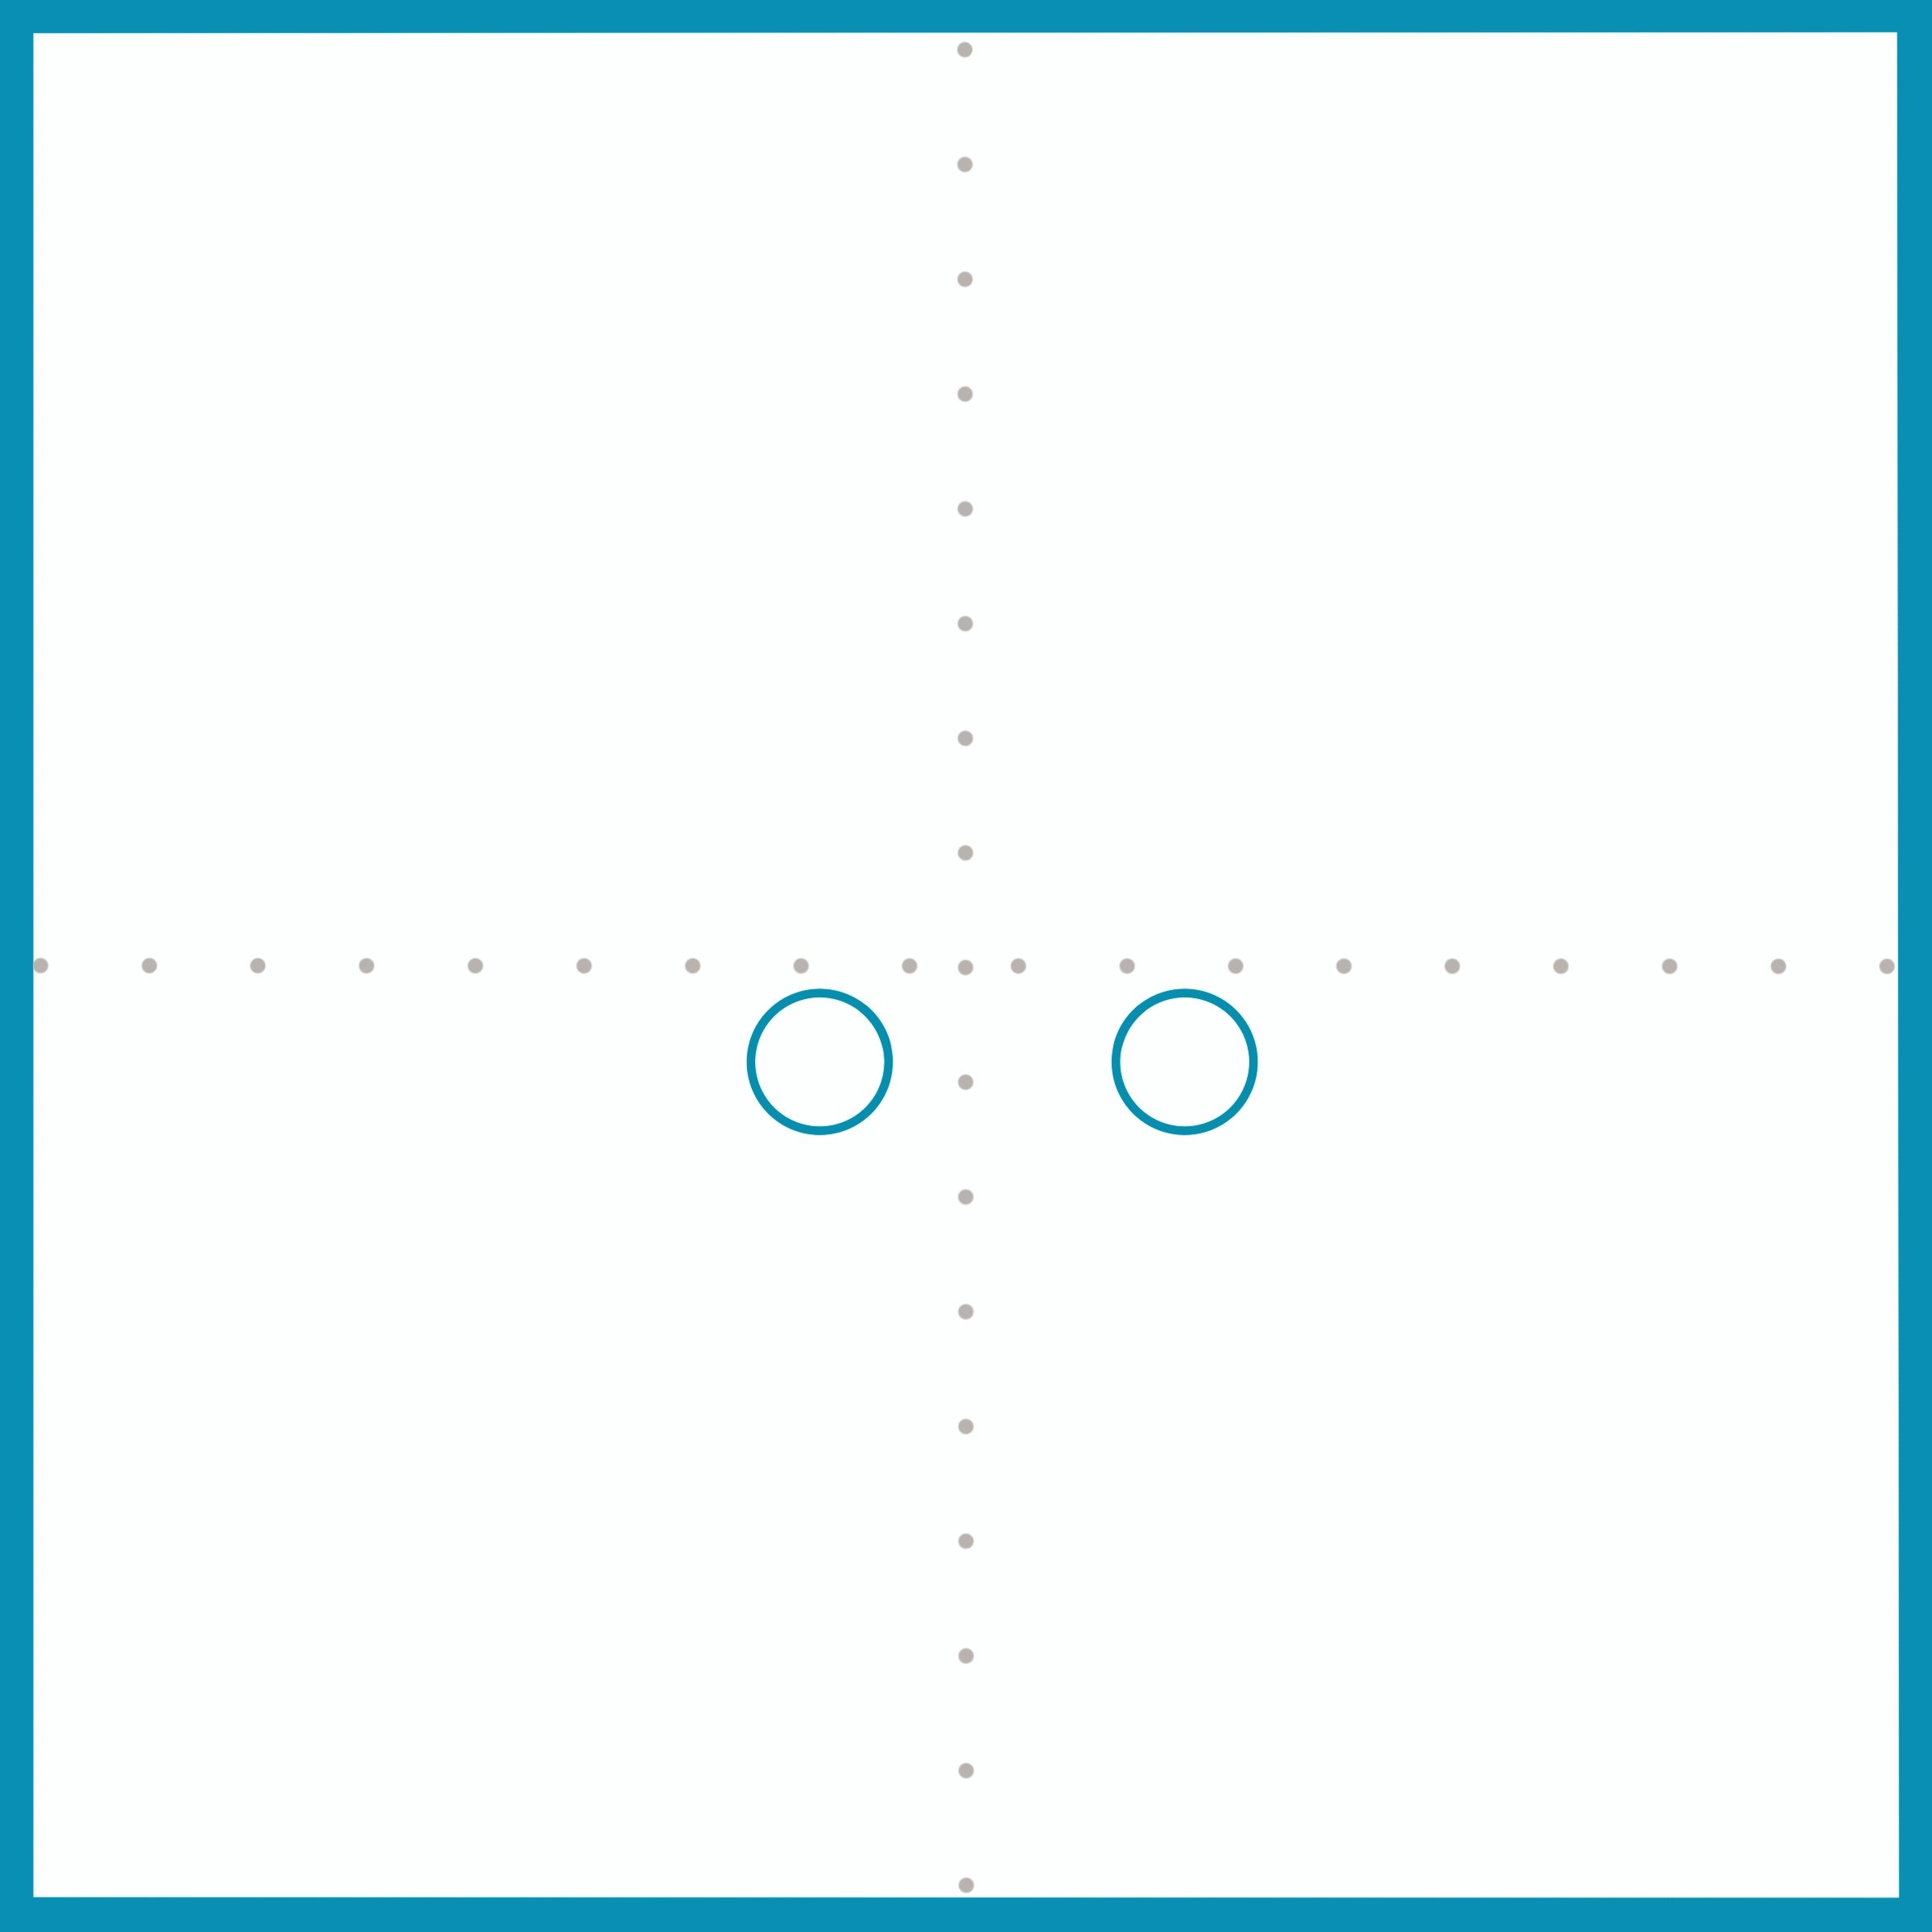
Add the circles for the eyes
Step 2
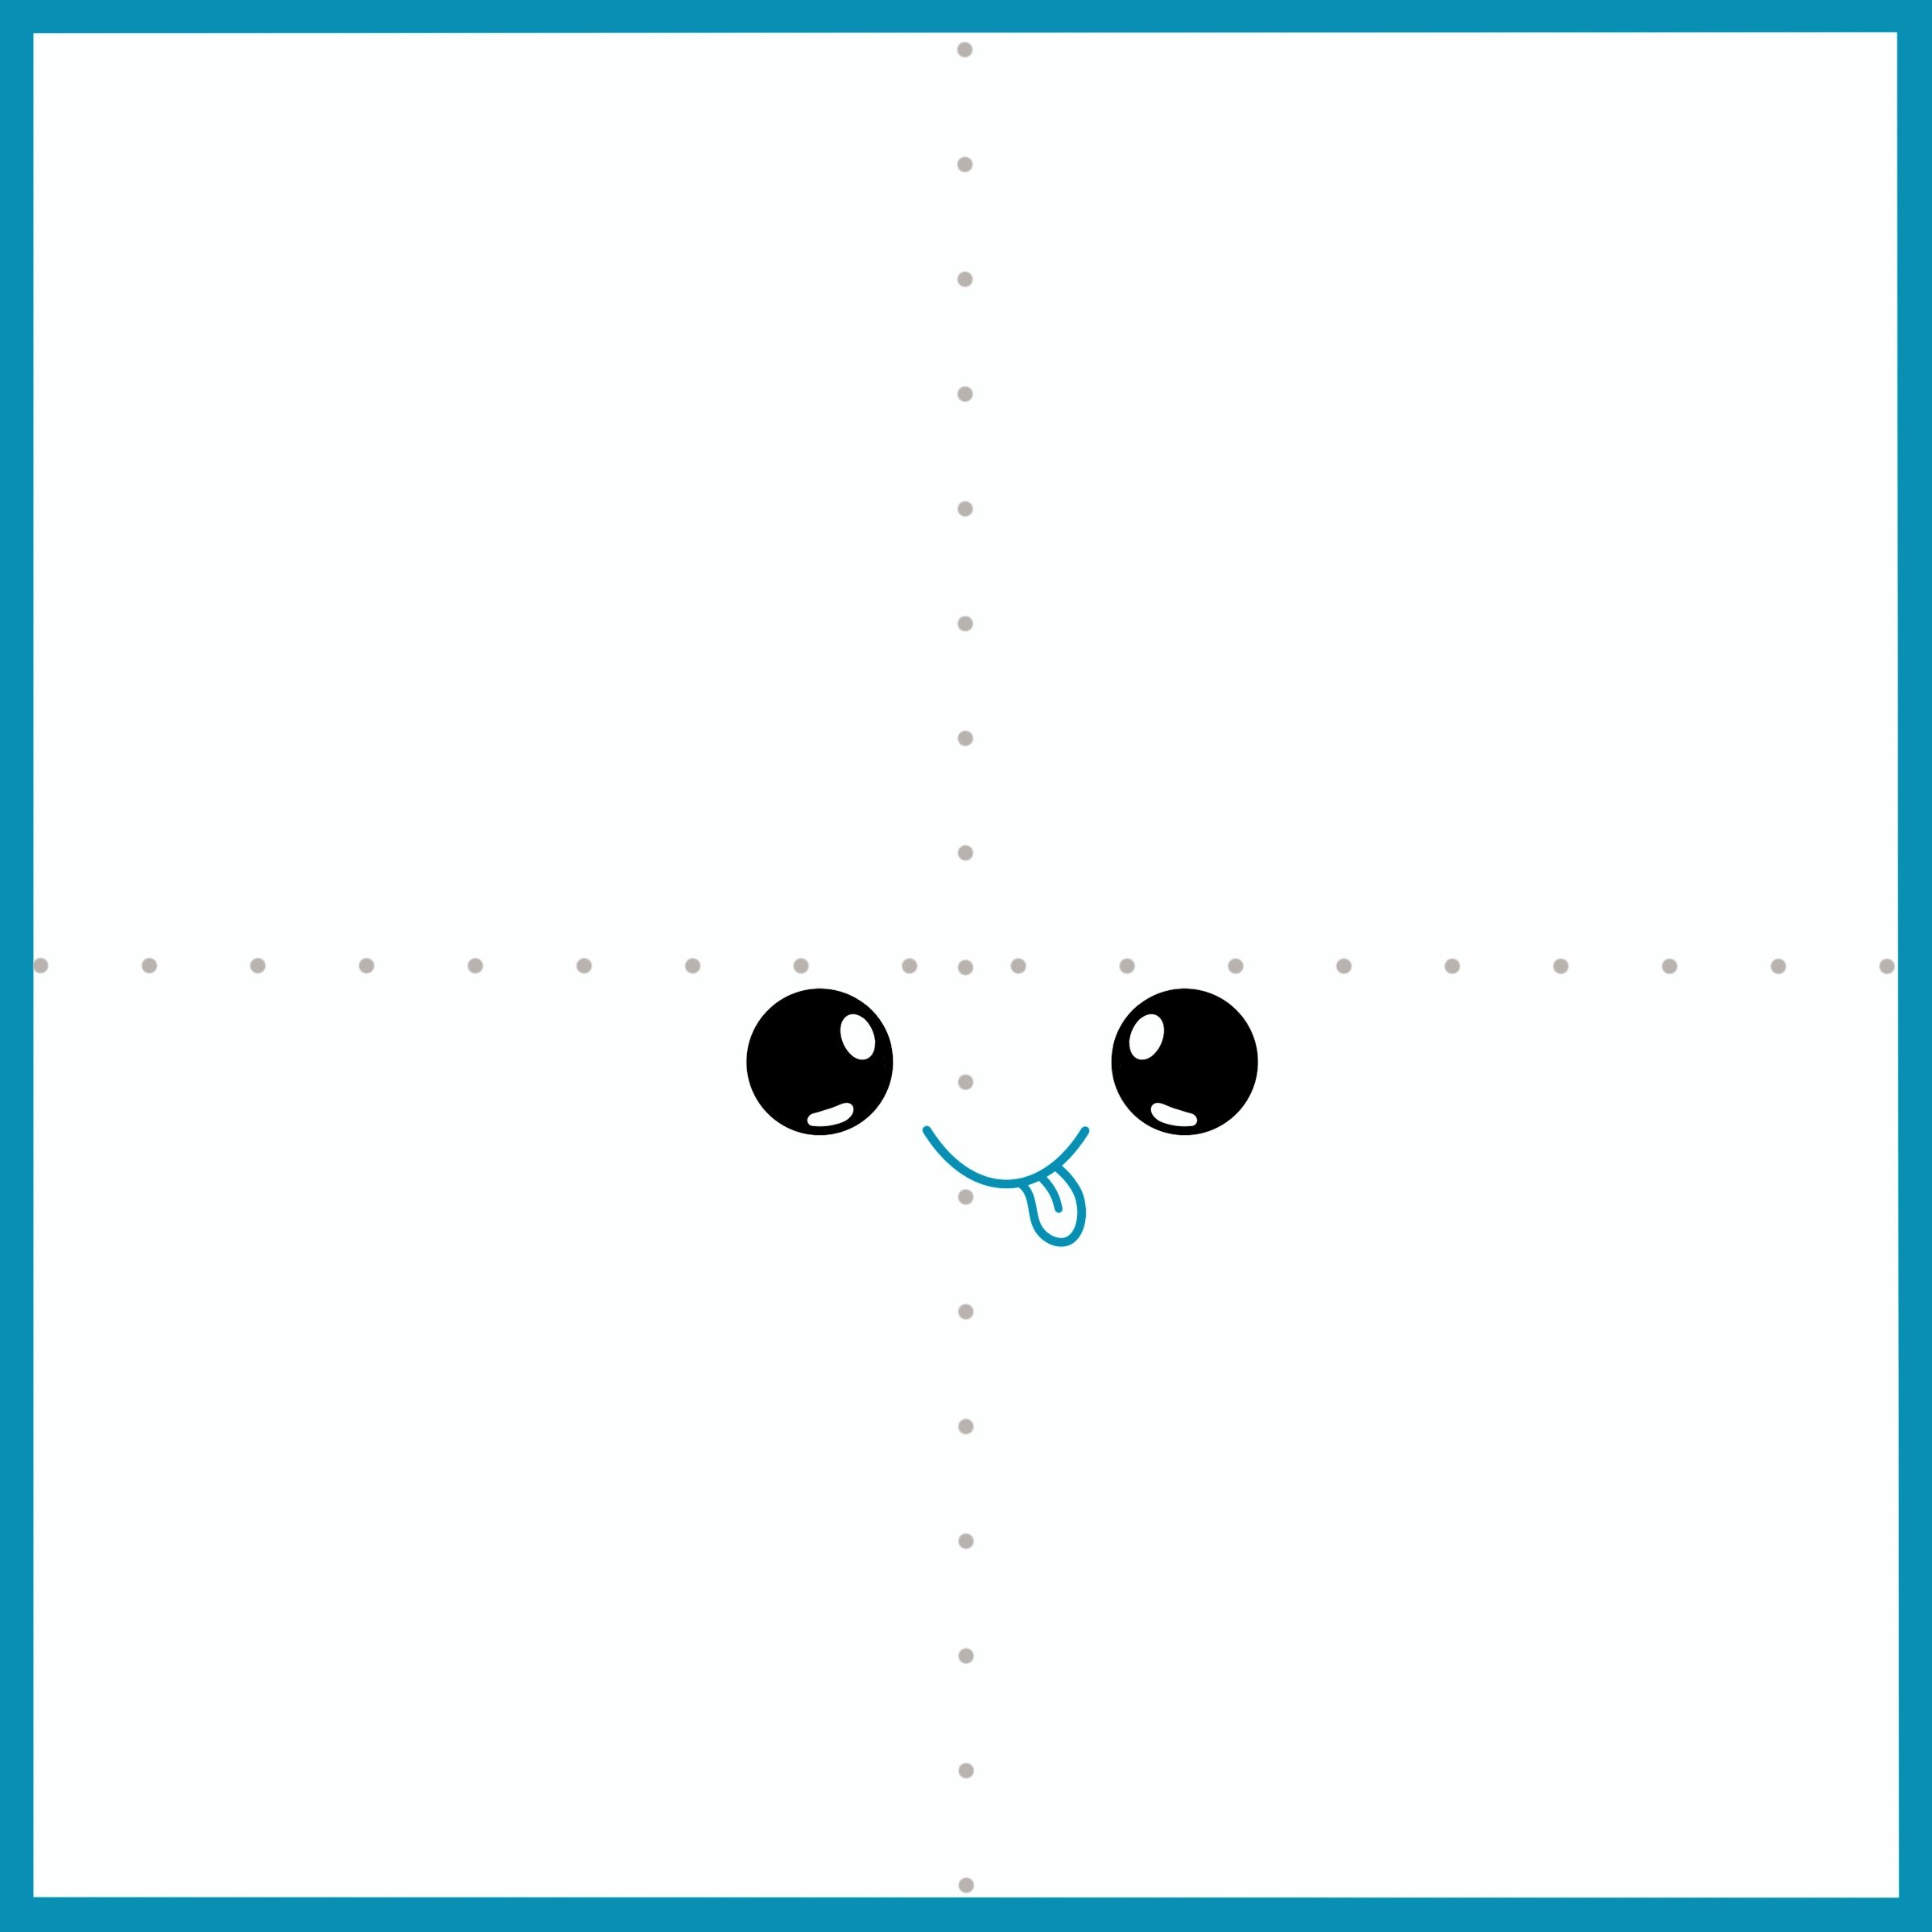
Shade in the eyes. Show where the eyes are looking by adding a white reflective circle inside. Finally, adding a hint of an iris reflection can really enhance the character’s cuteness. Creative idea: is your character looking at something? Place the reflective circles towards what you want your character to look at!
Step 3
Now let’s start adding the candy corn’s mouth. I chose to have my candy corn smiling with its tongue sticking out as though it is being silly. Creative idea: try other cute mouth expressions. Is your candy corn in shock, maybe? Does it have a circular gaping mouth? Does it have teeth? Is it talking? You decide!
Step 4
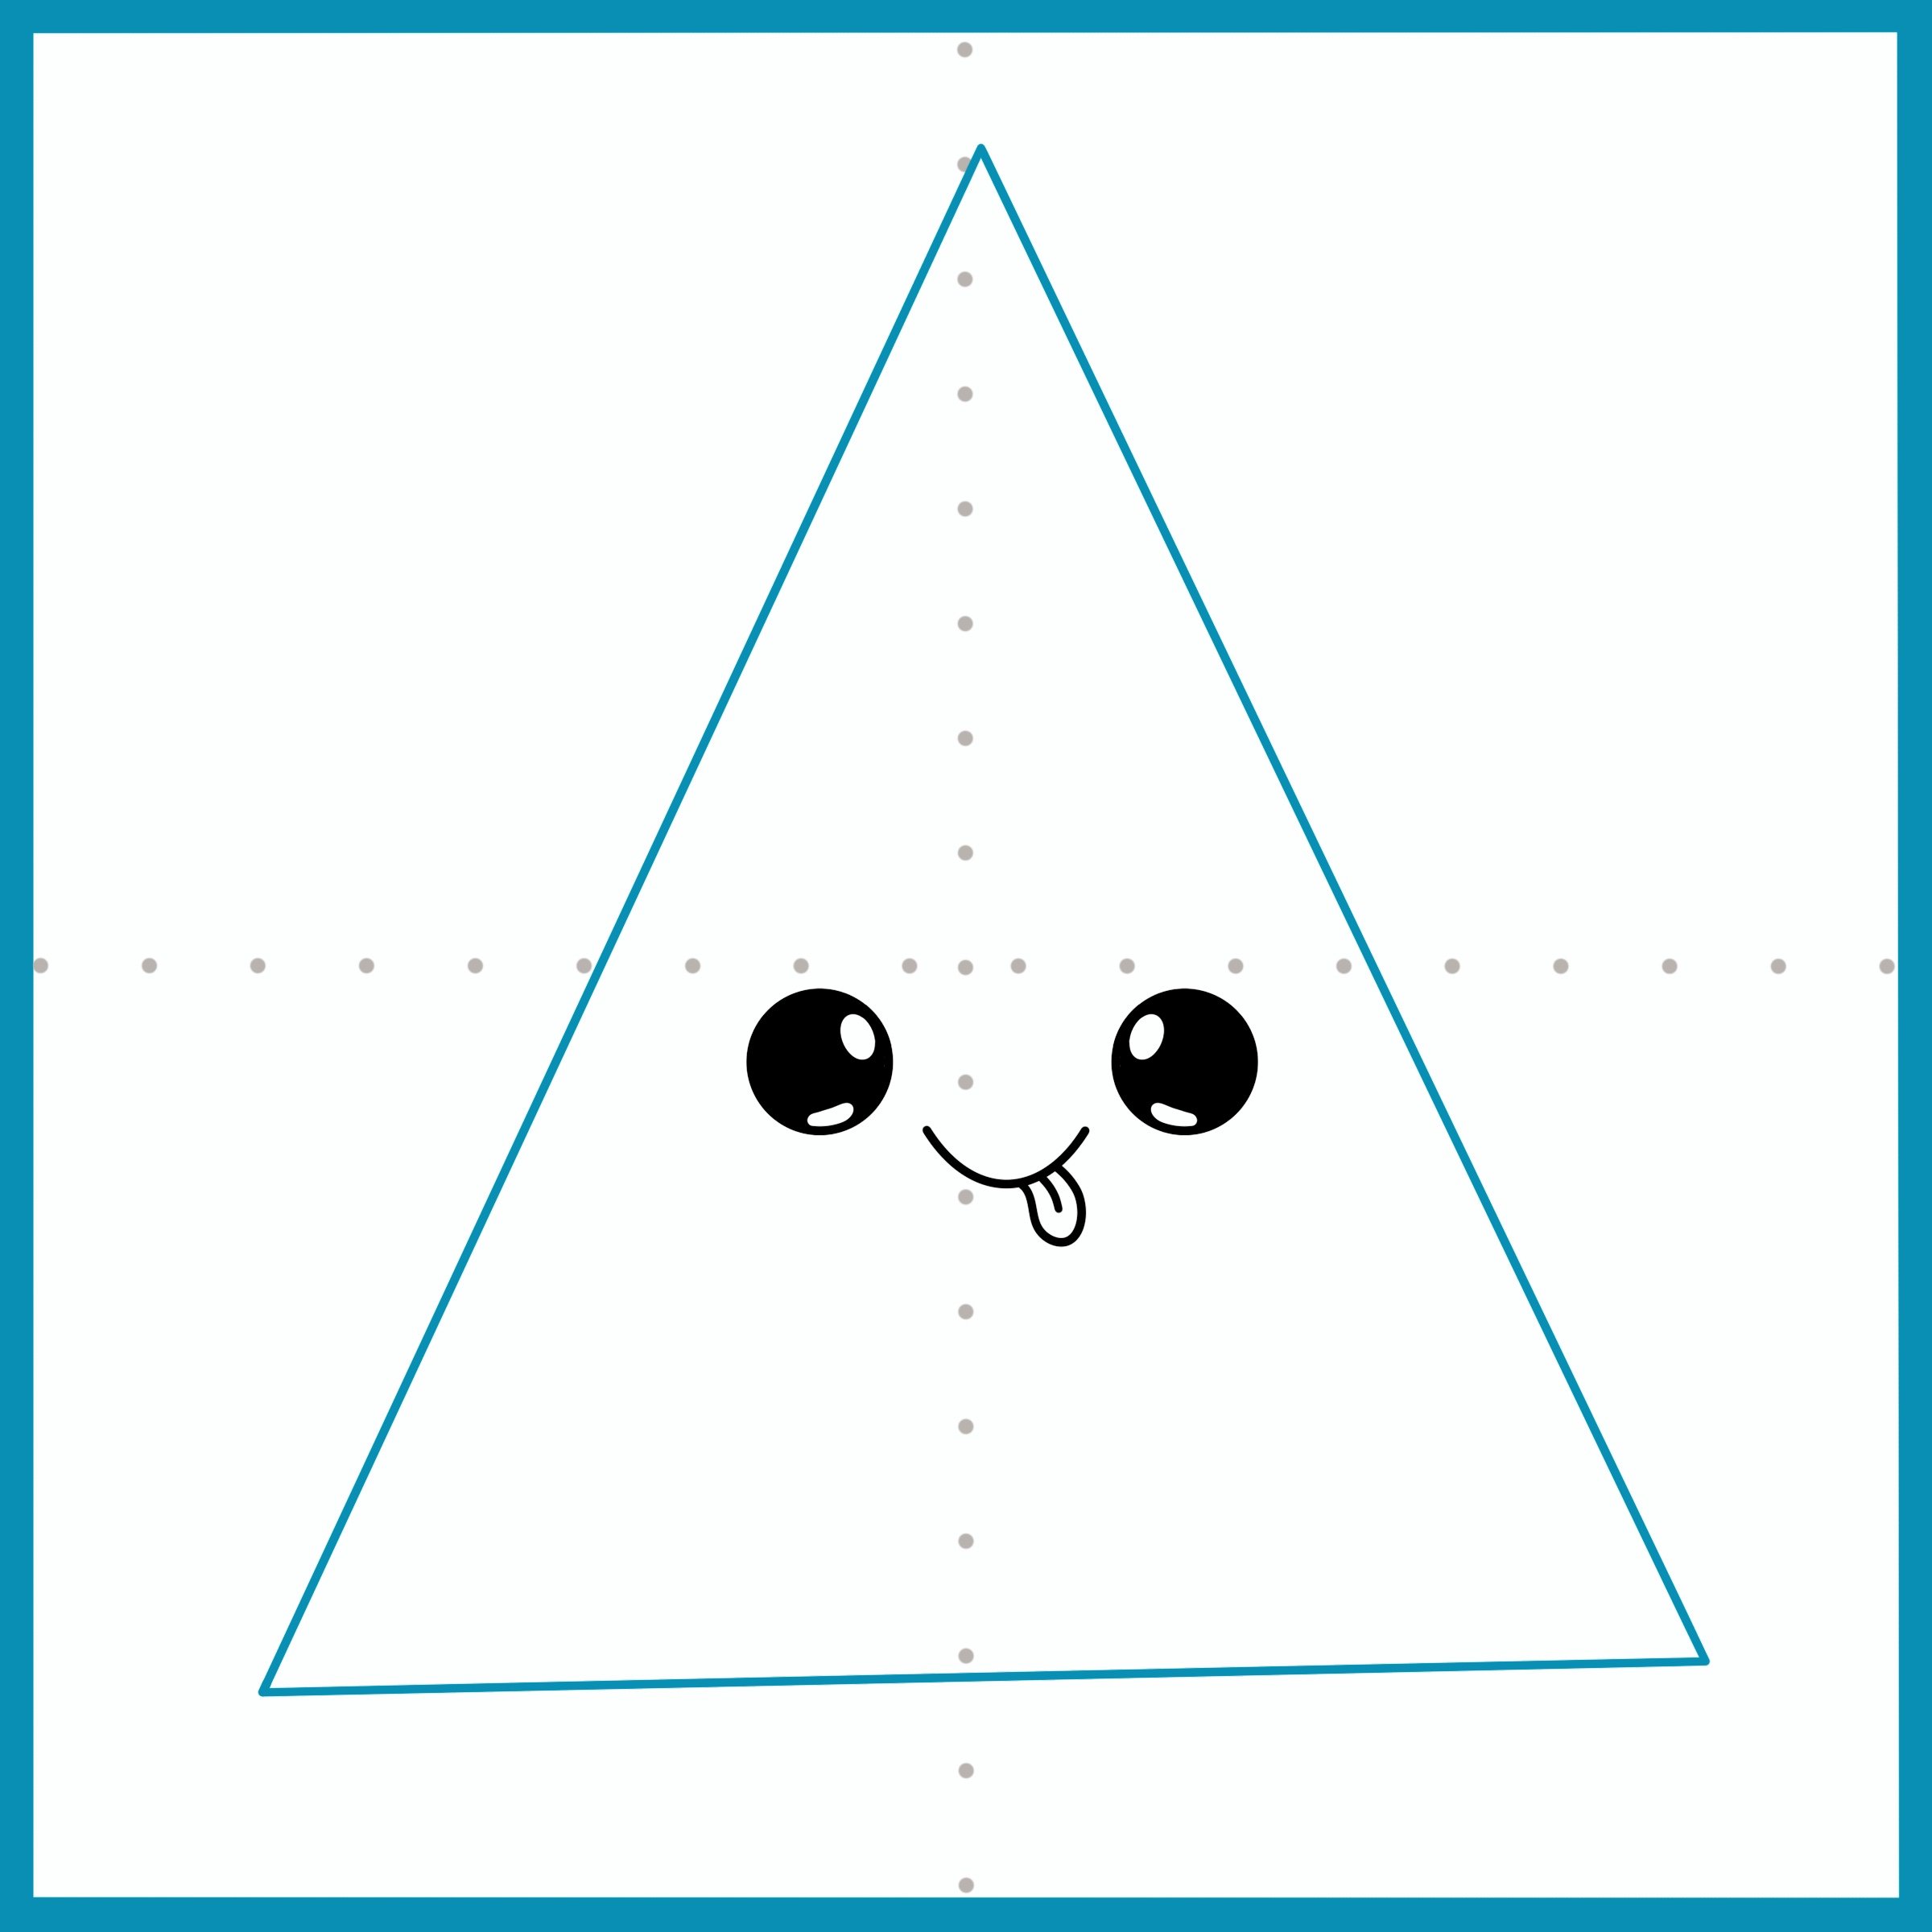
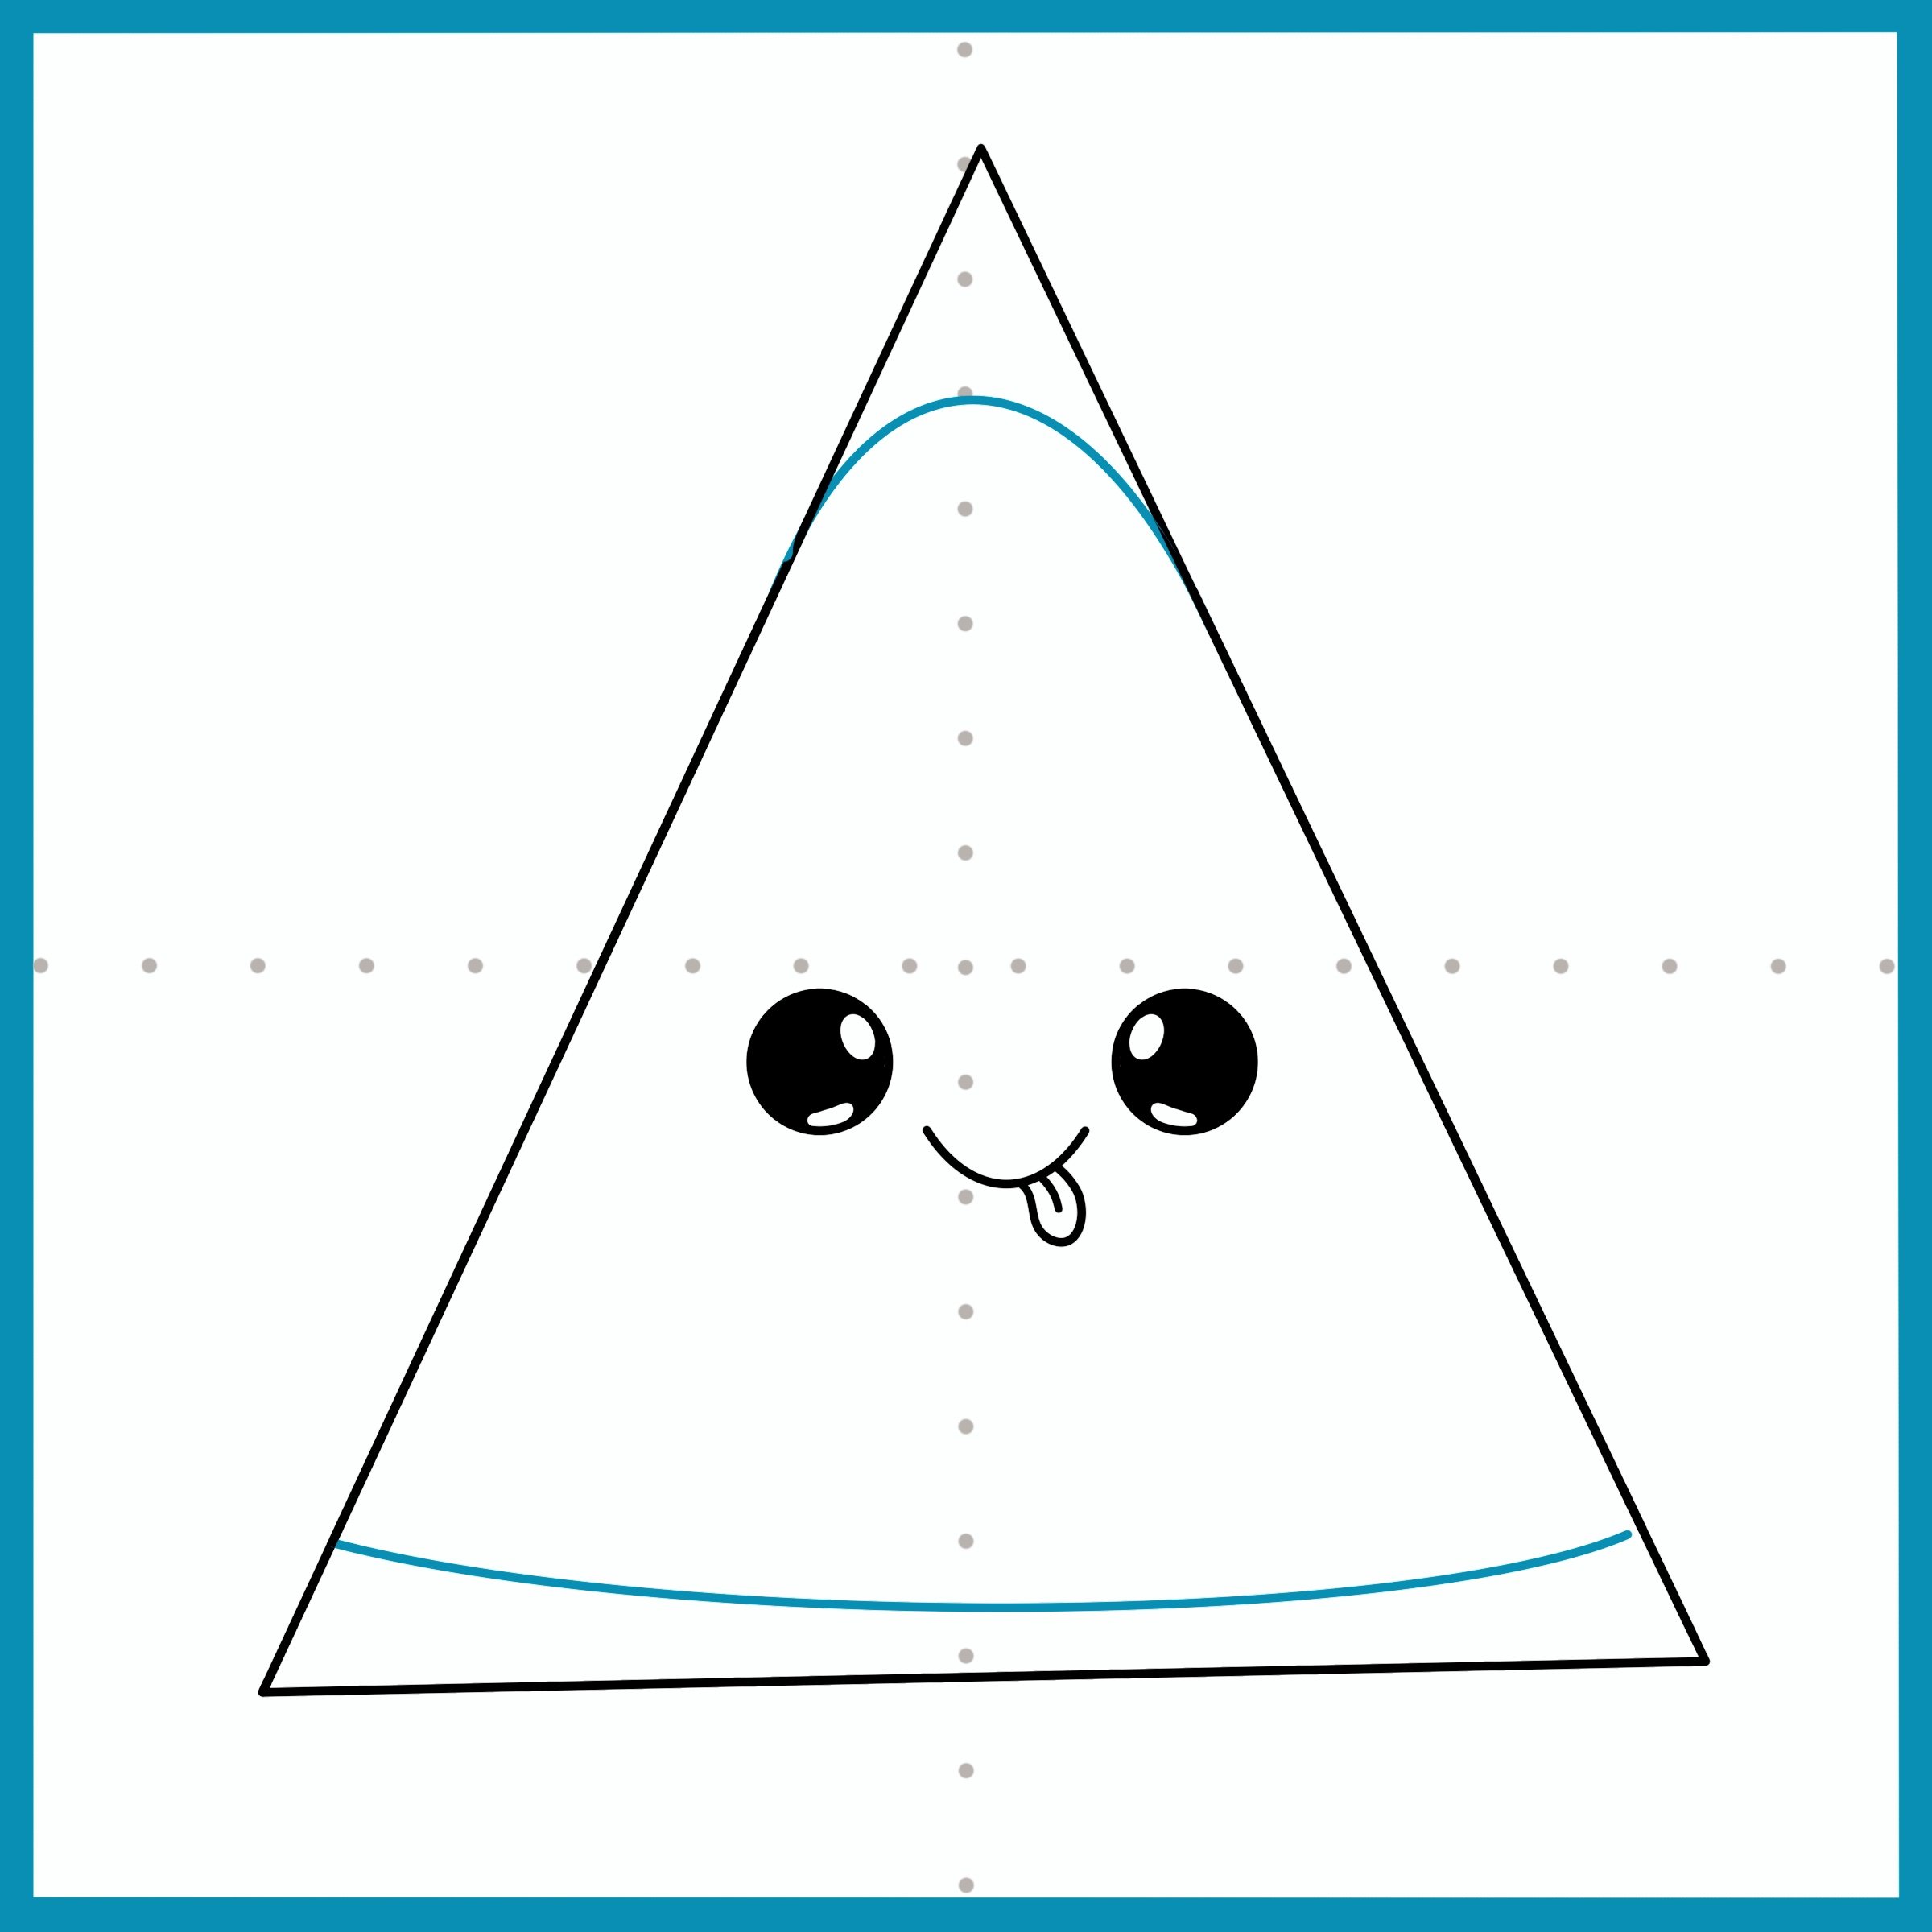
Draw a triangle around your character. We will make the triangle cuter and rounder in the following steps. Creative idea: Here the face is shown in the middle of the triangle. If you want the candy corn to look more kawaii try adding it to the bottom of the triangle instead. Want your candy corn to look taller? Try adding the face near the top of the triangle. It’s your choice!
Step 5
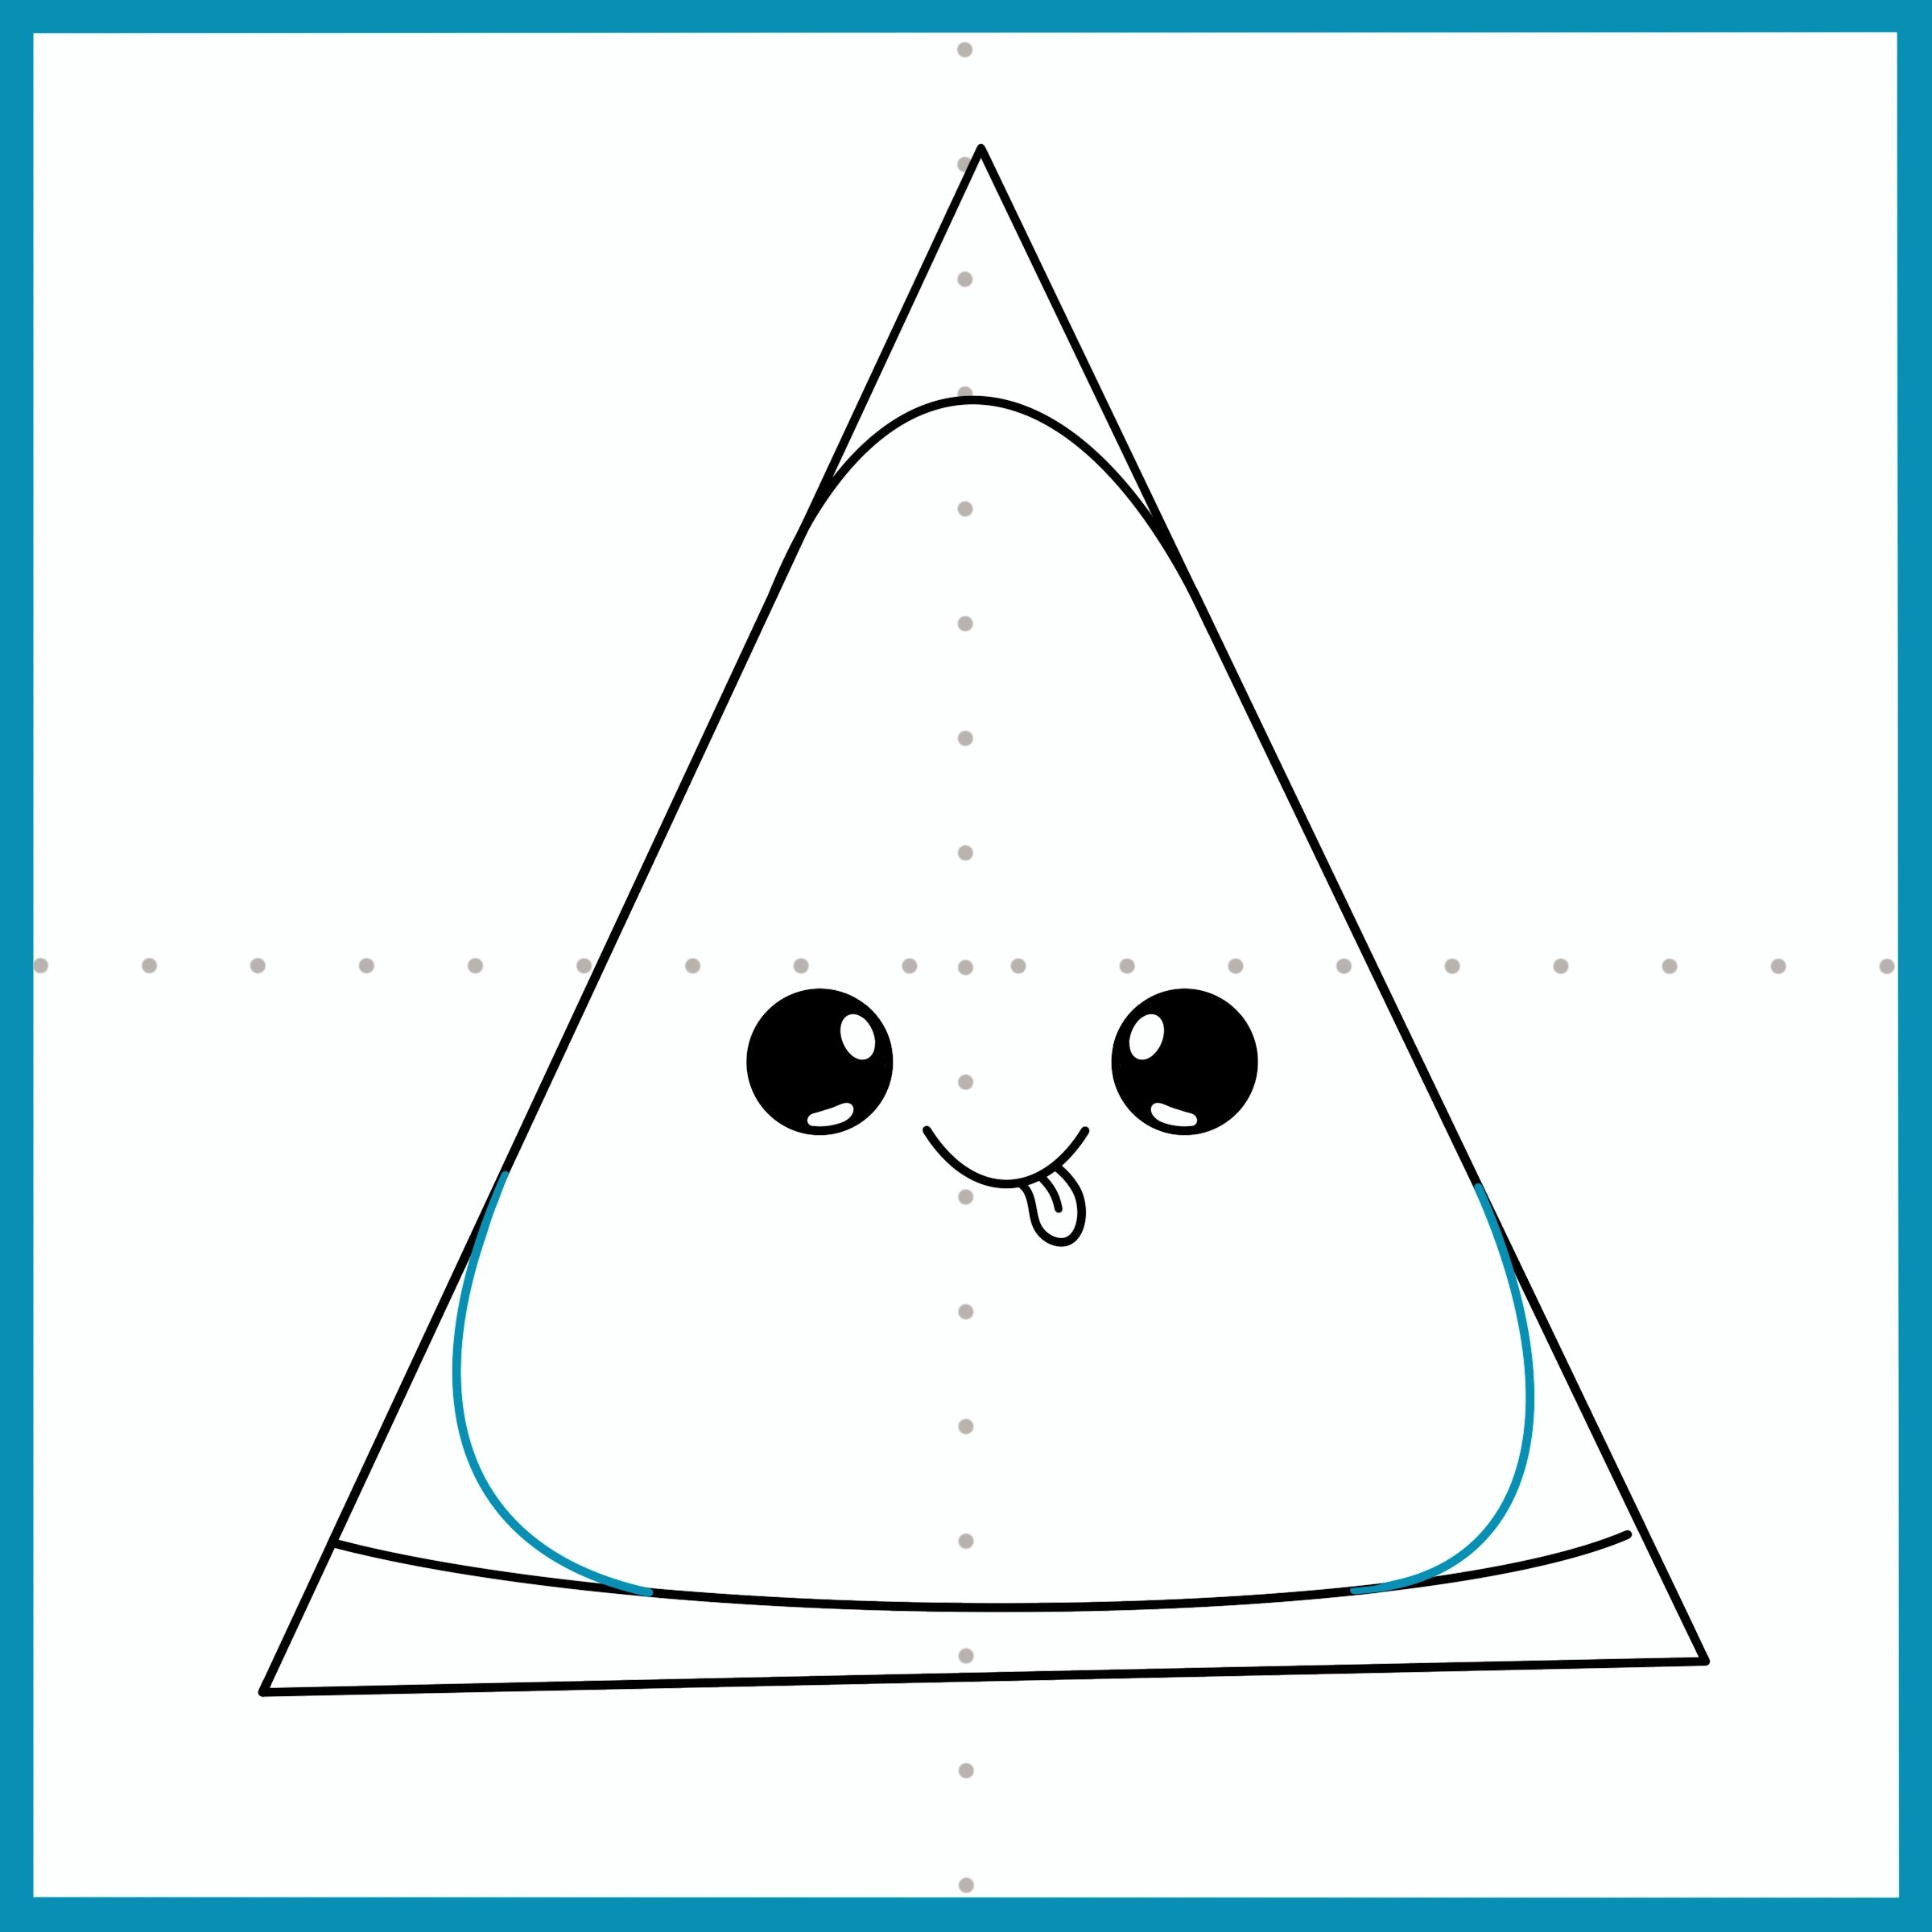
Using the triangle you drew as a guide: start to round off your candy corn. To make your candy corn look shorter or plumper, lift up the bottom of the candy corn a bit by adding a line above the triangle to serve as the characters base. Finally, if you curve the bottom line a bit, it will add to the cuteness.
Step 6
Add the last two rounded corners to your candy corn
Step 7
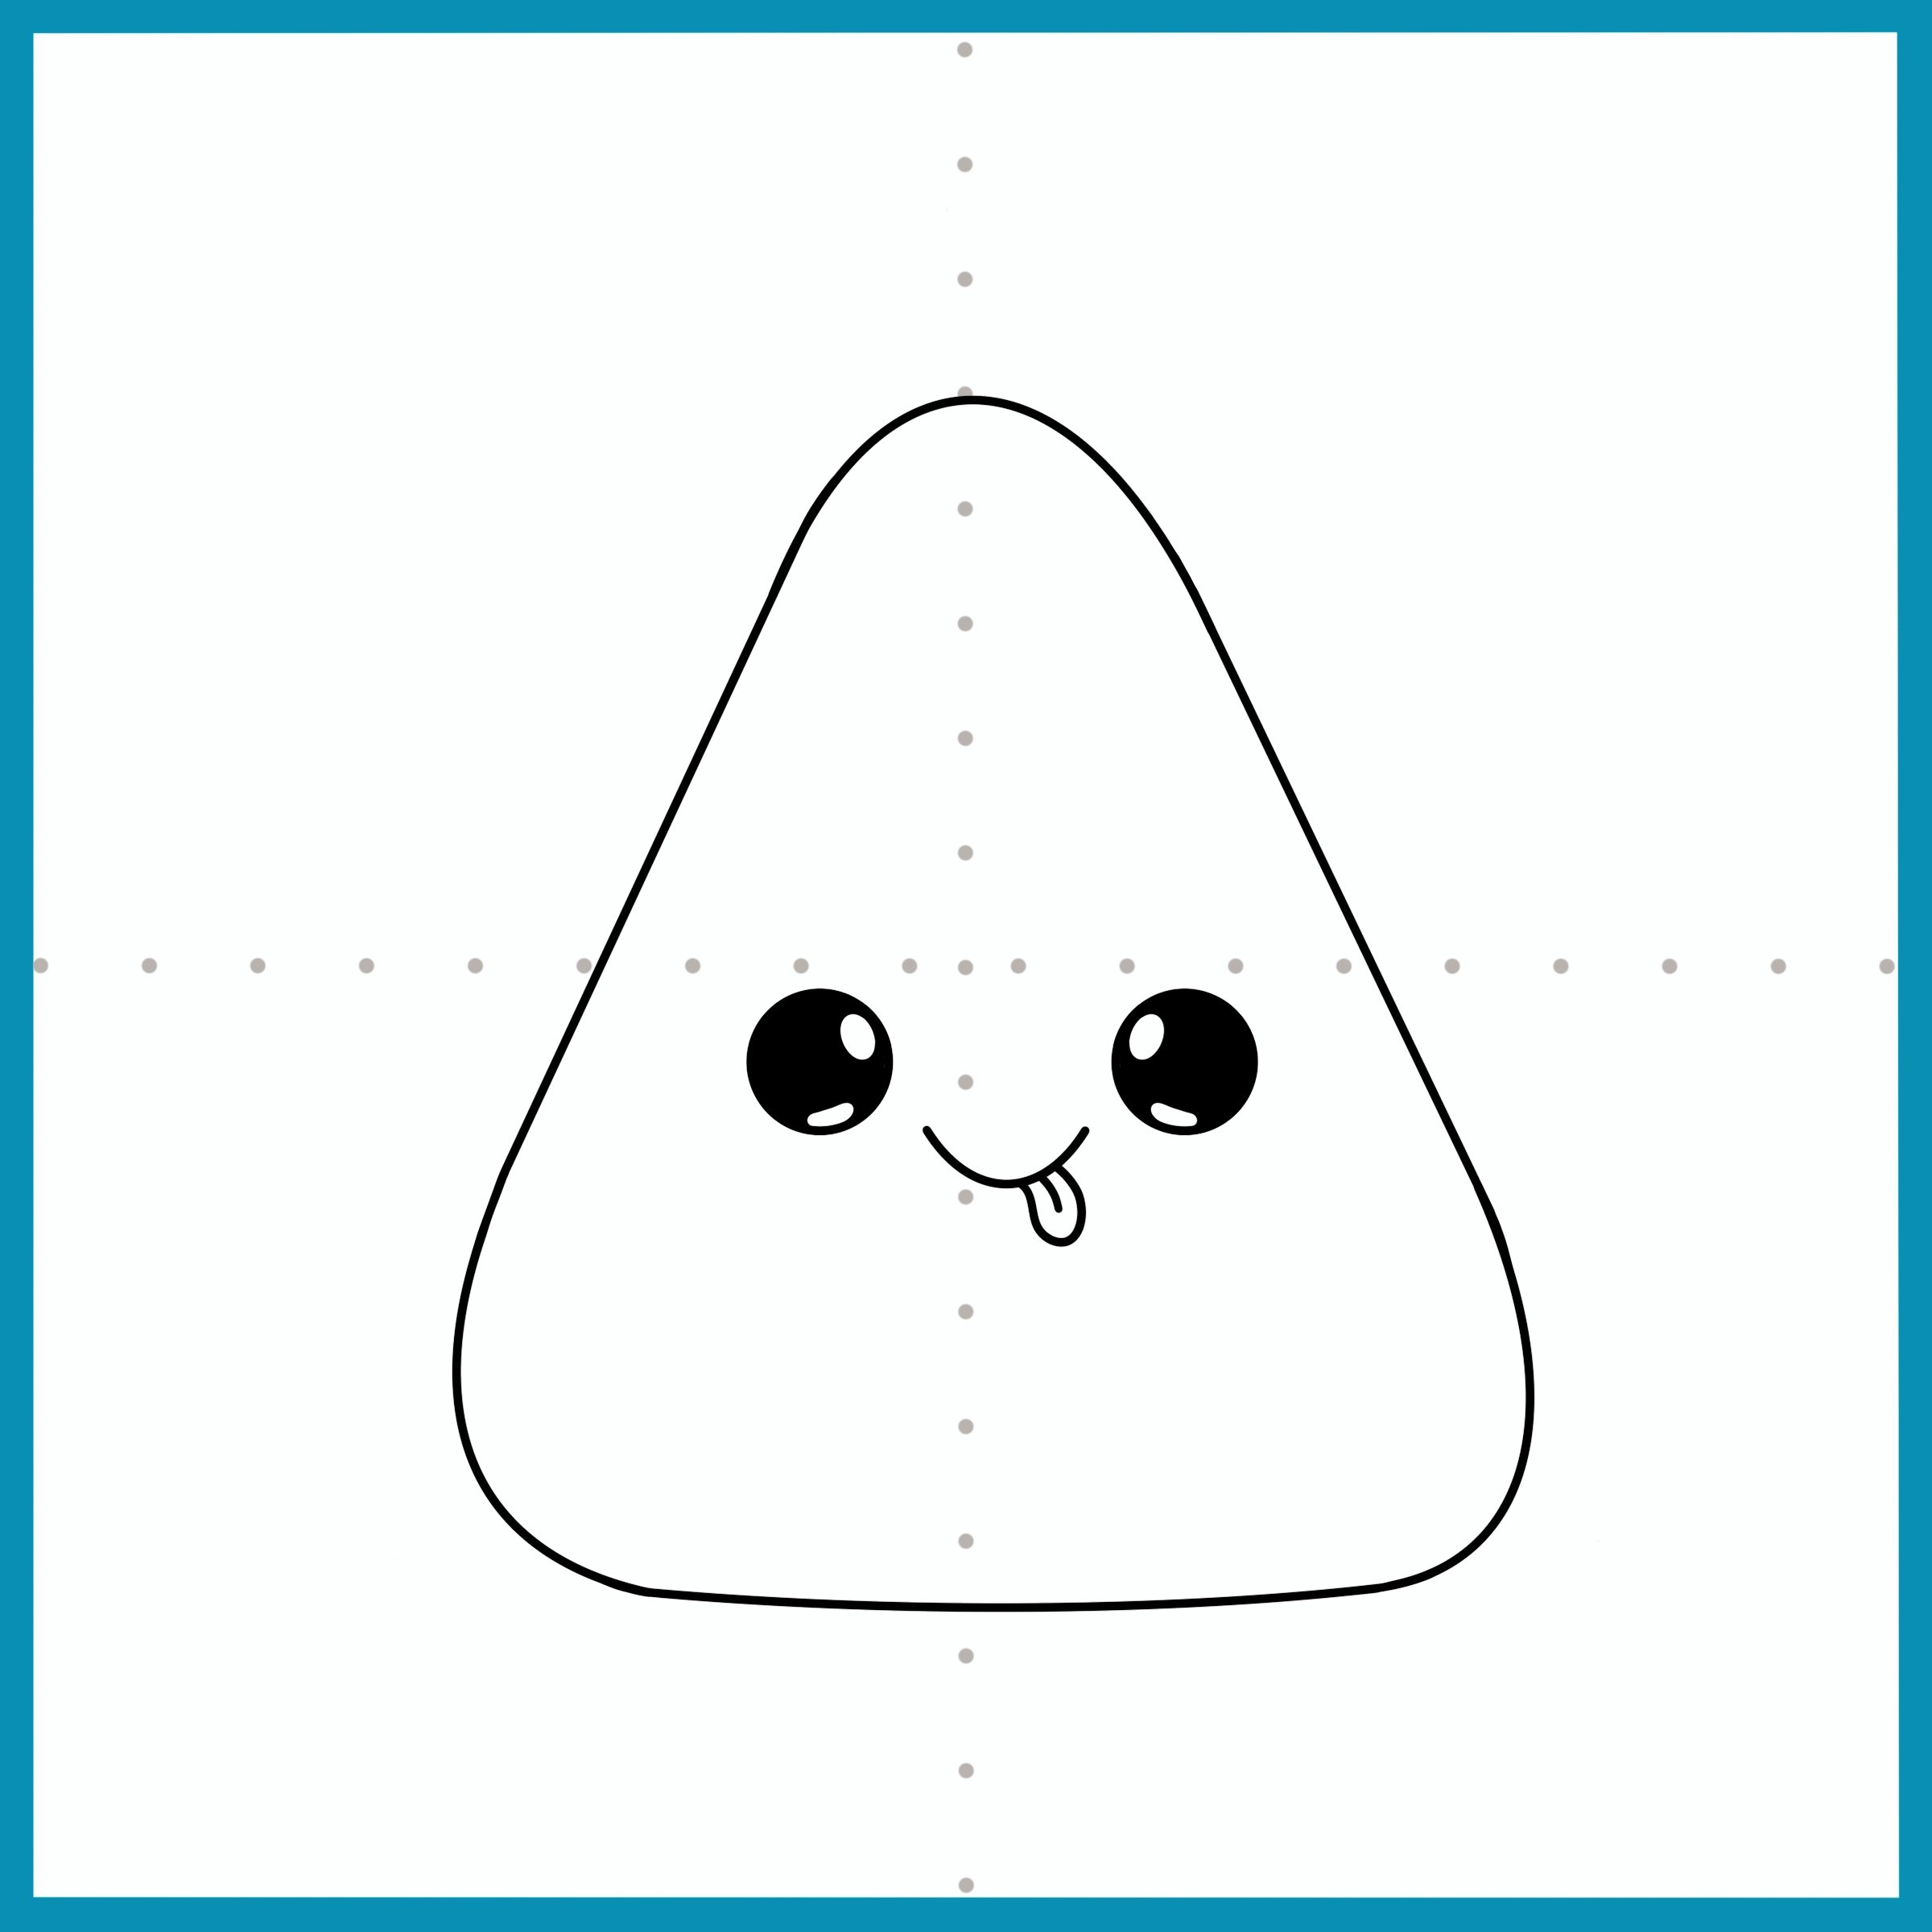
Erase the extra lines of the triangle, now you have the body of your candy corn!
Step 8
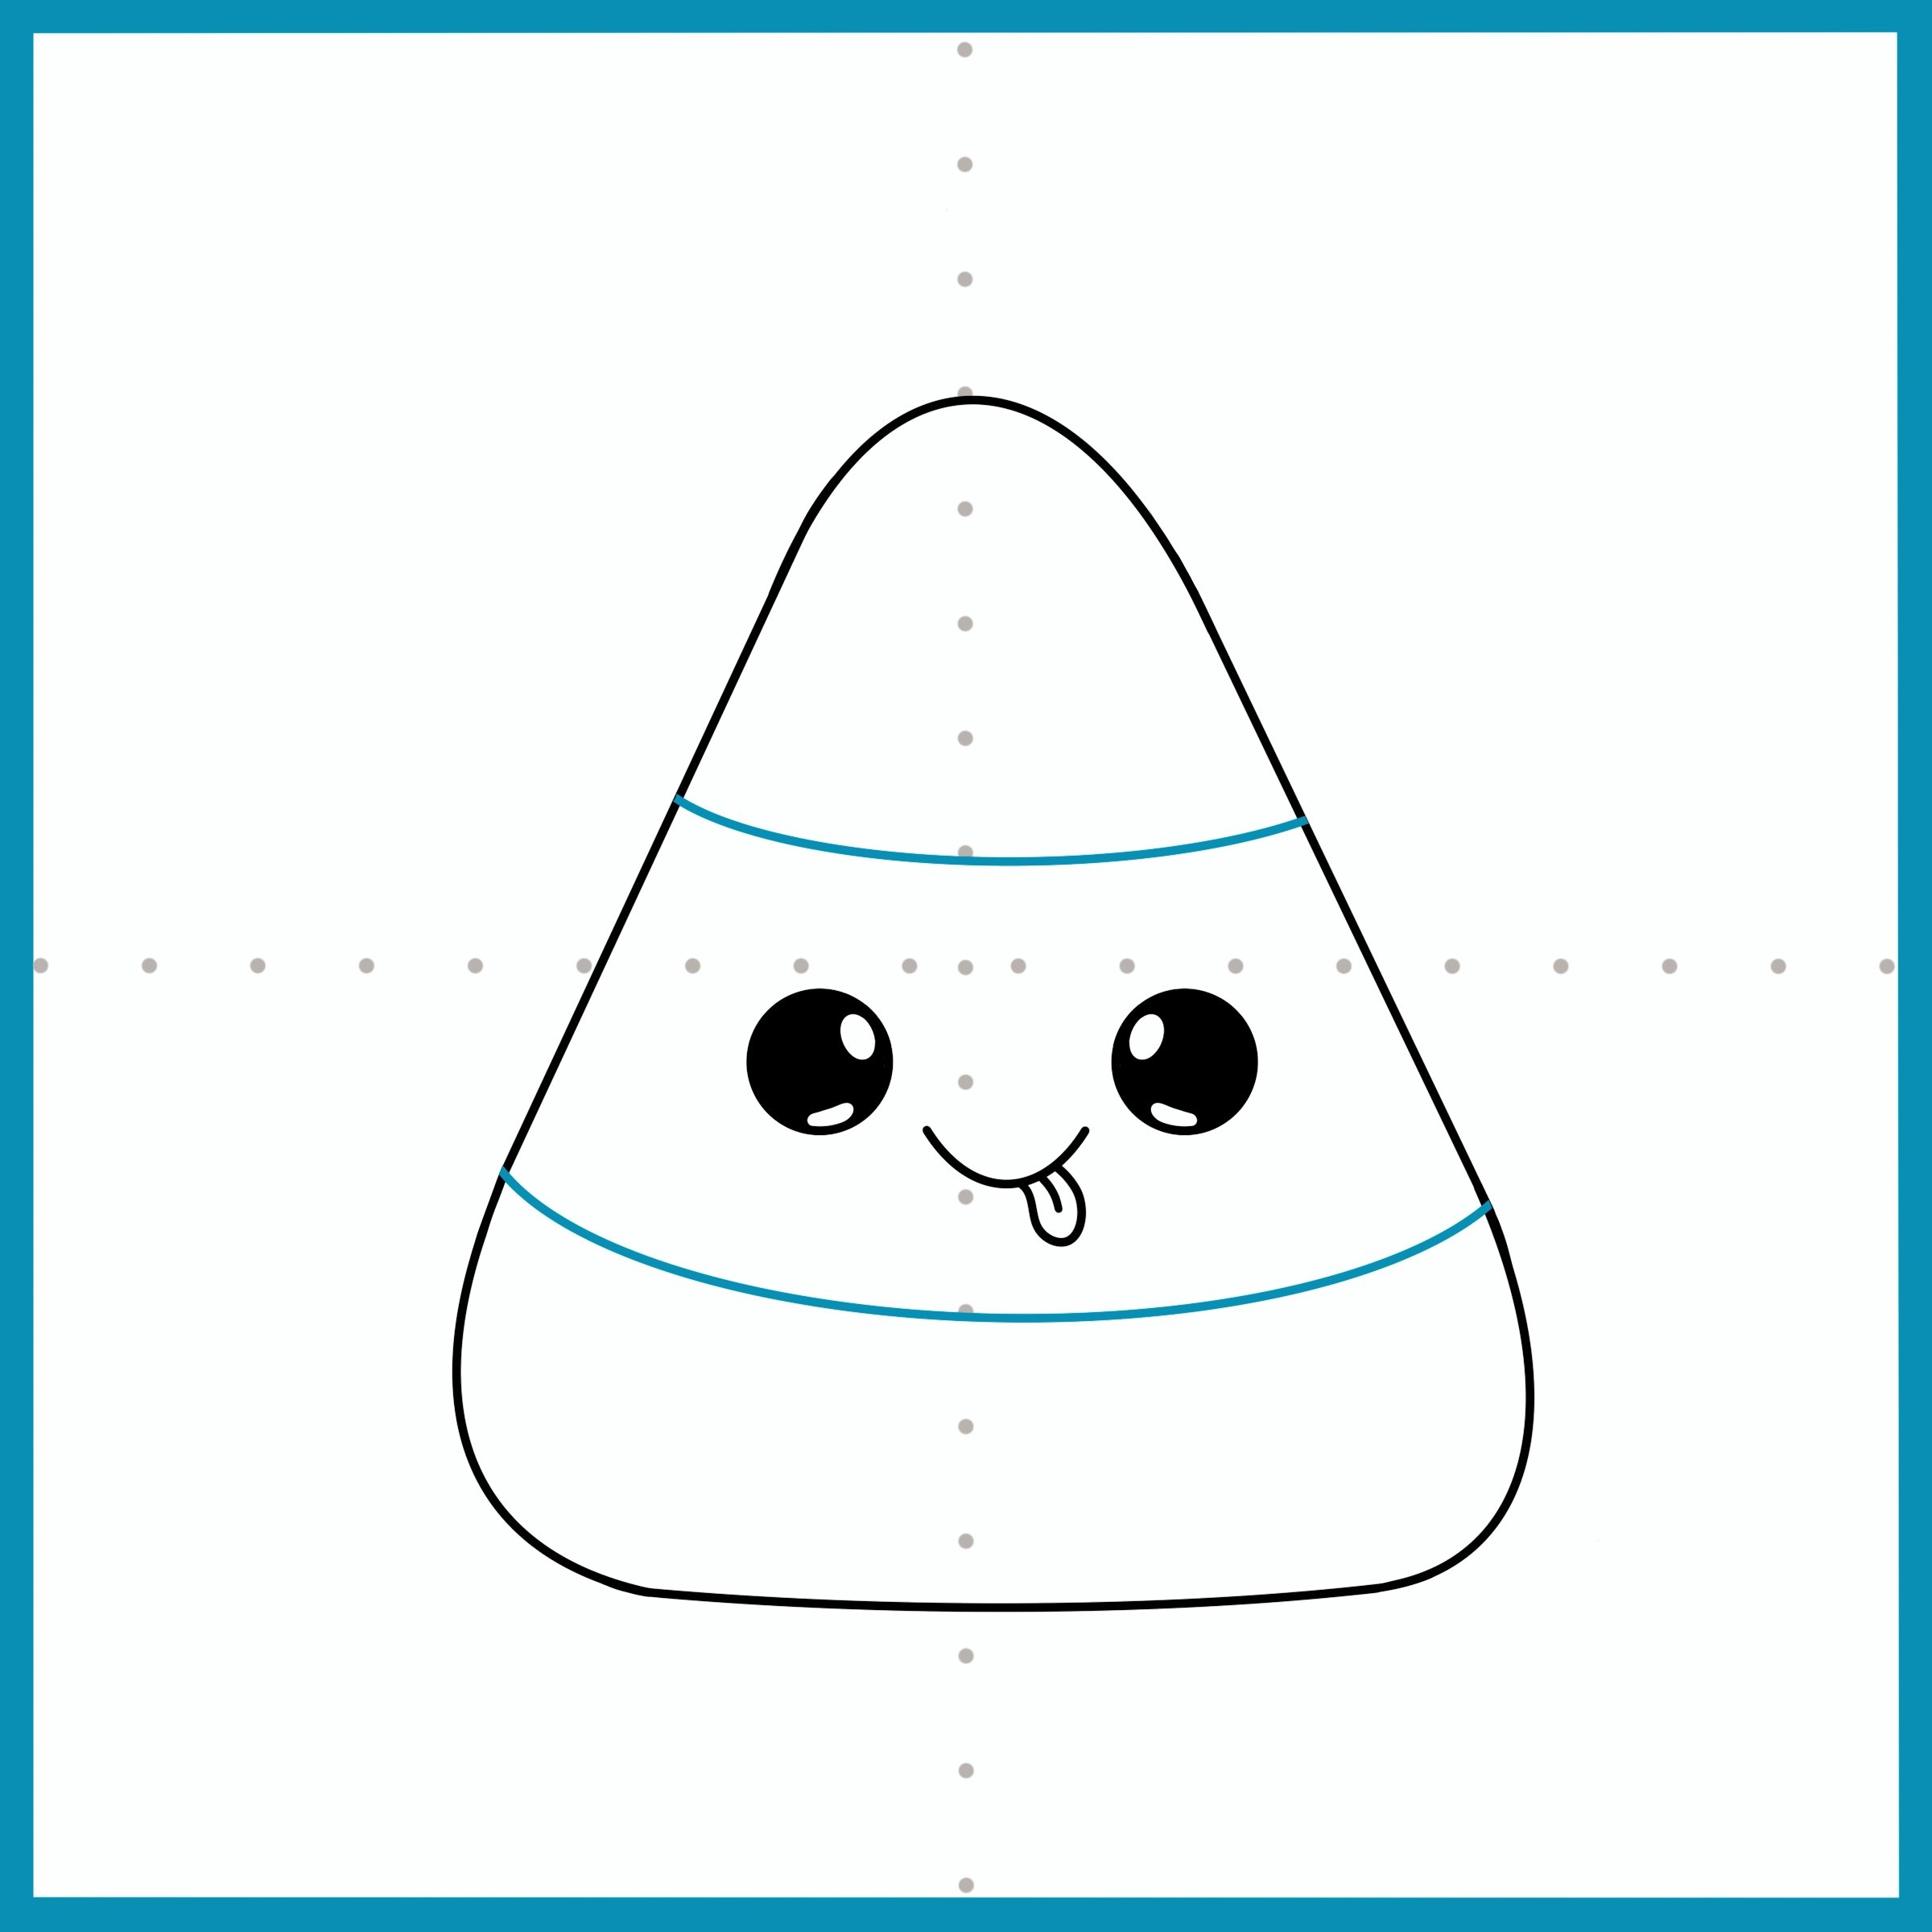
Traditionally candy corn comes in three colors, can you guess which colors they are? Draw two curved lines through your character. This will serve as the sections for each of the colors.
Step 9
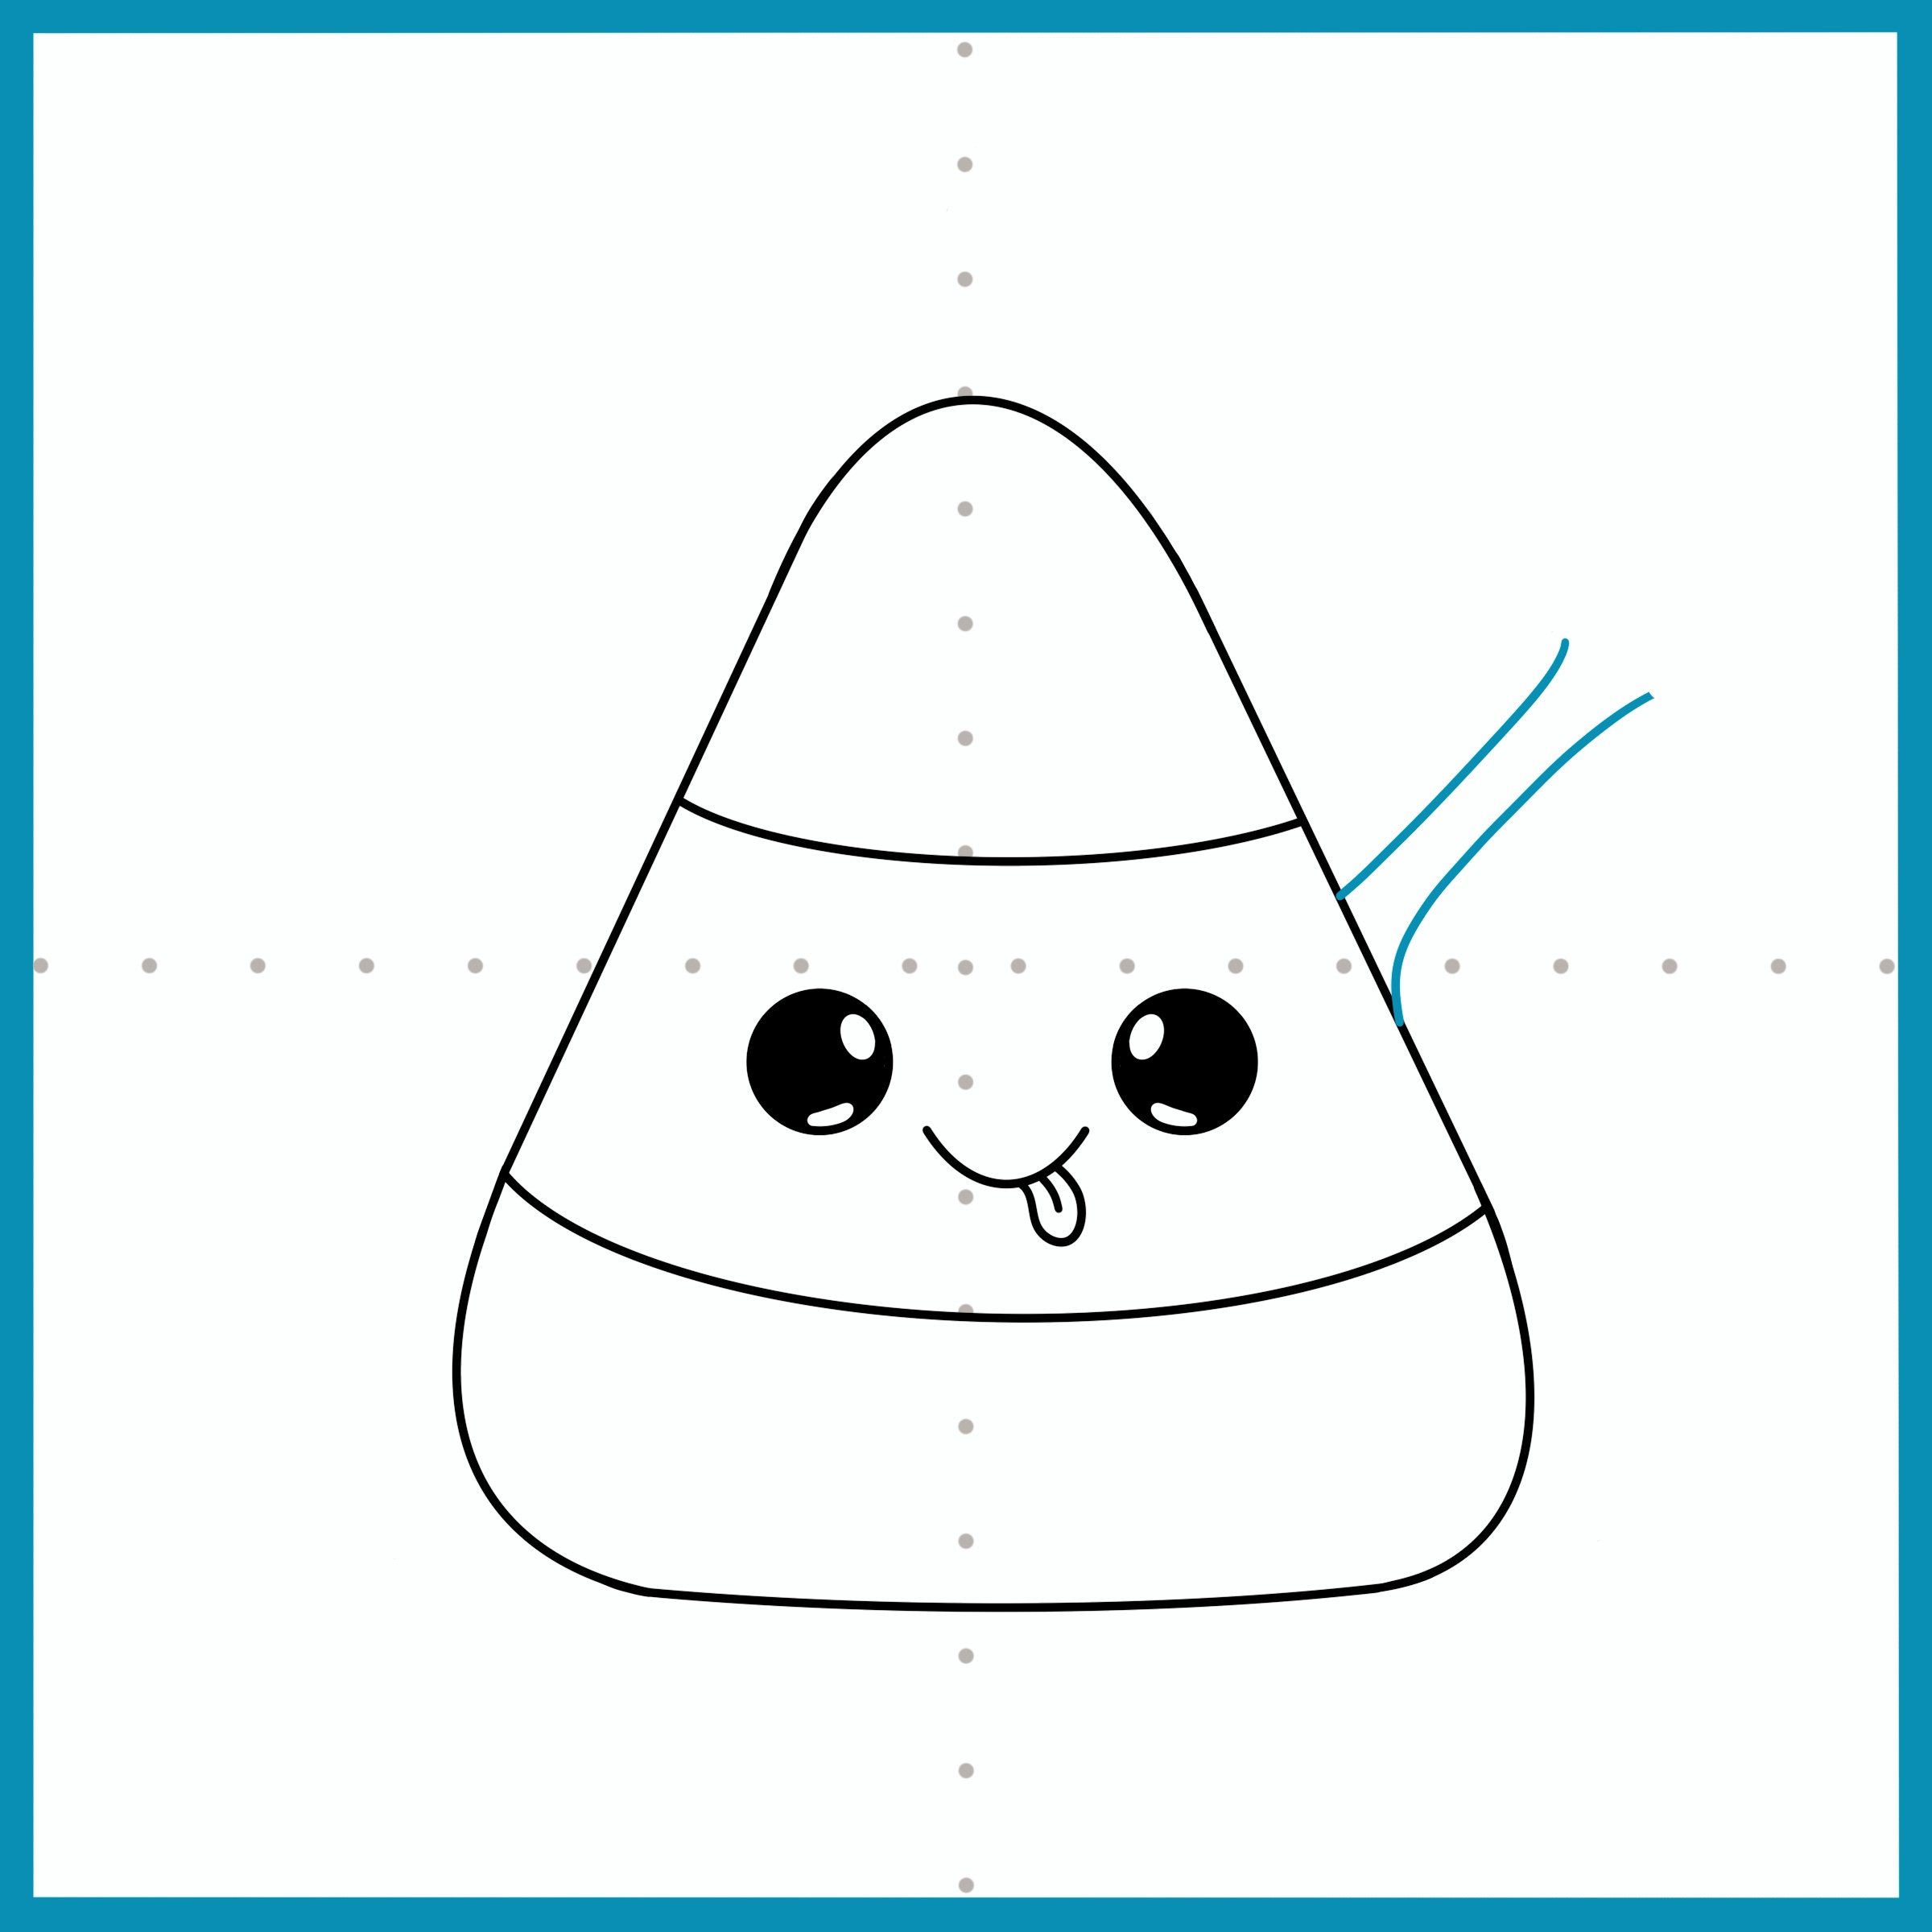
Did you guess: White Orange, and Yellow? If so, you are correct! Now let’s start drawing the candy corn’s right arm.
Step 10
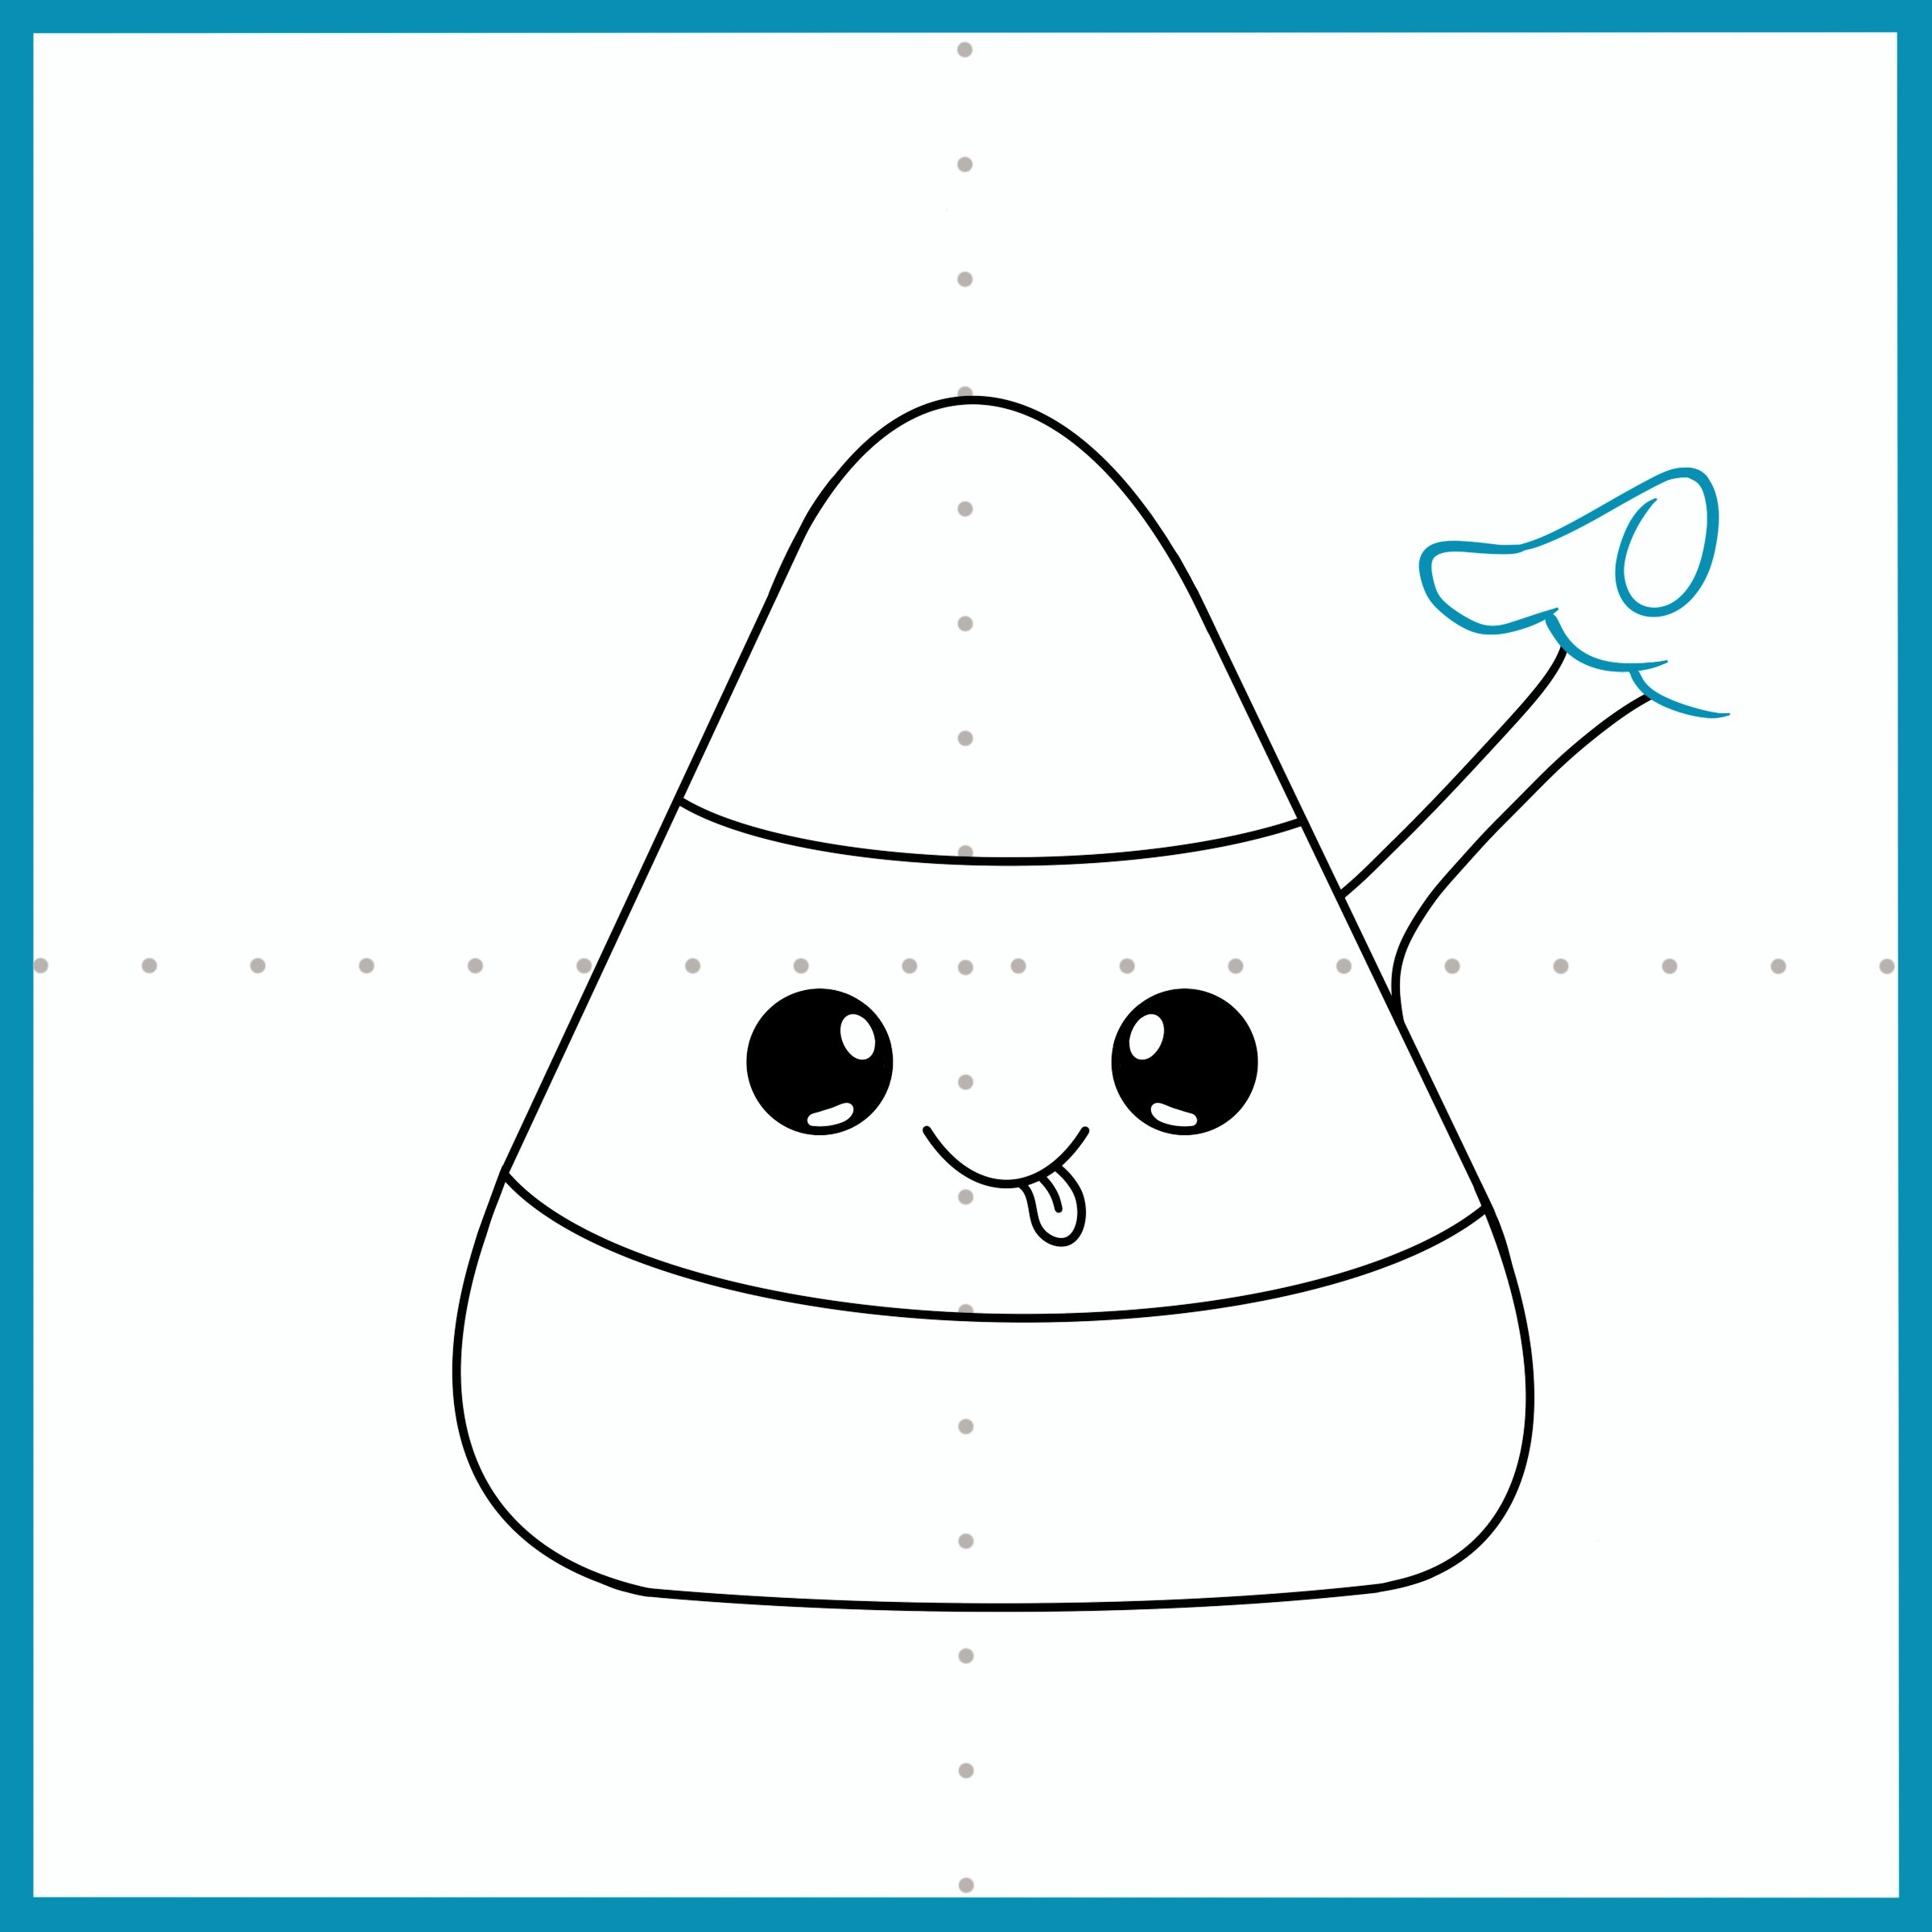
Now let’s start adding the hand. Add two hill-like curves for the palm of the hand. Notice that the thumb is pointing towards the character and the index finger is curved in.
Step 11
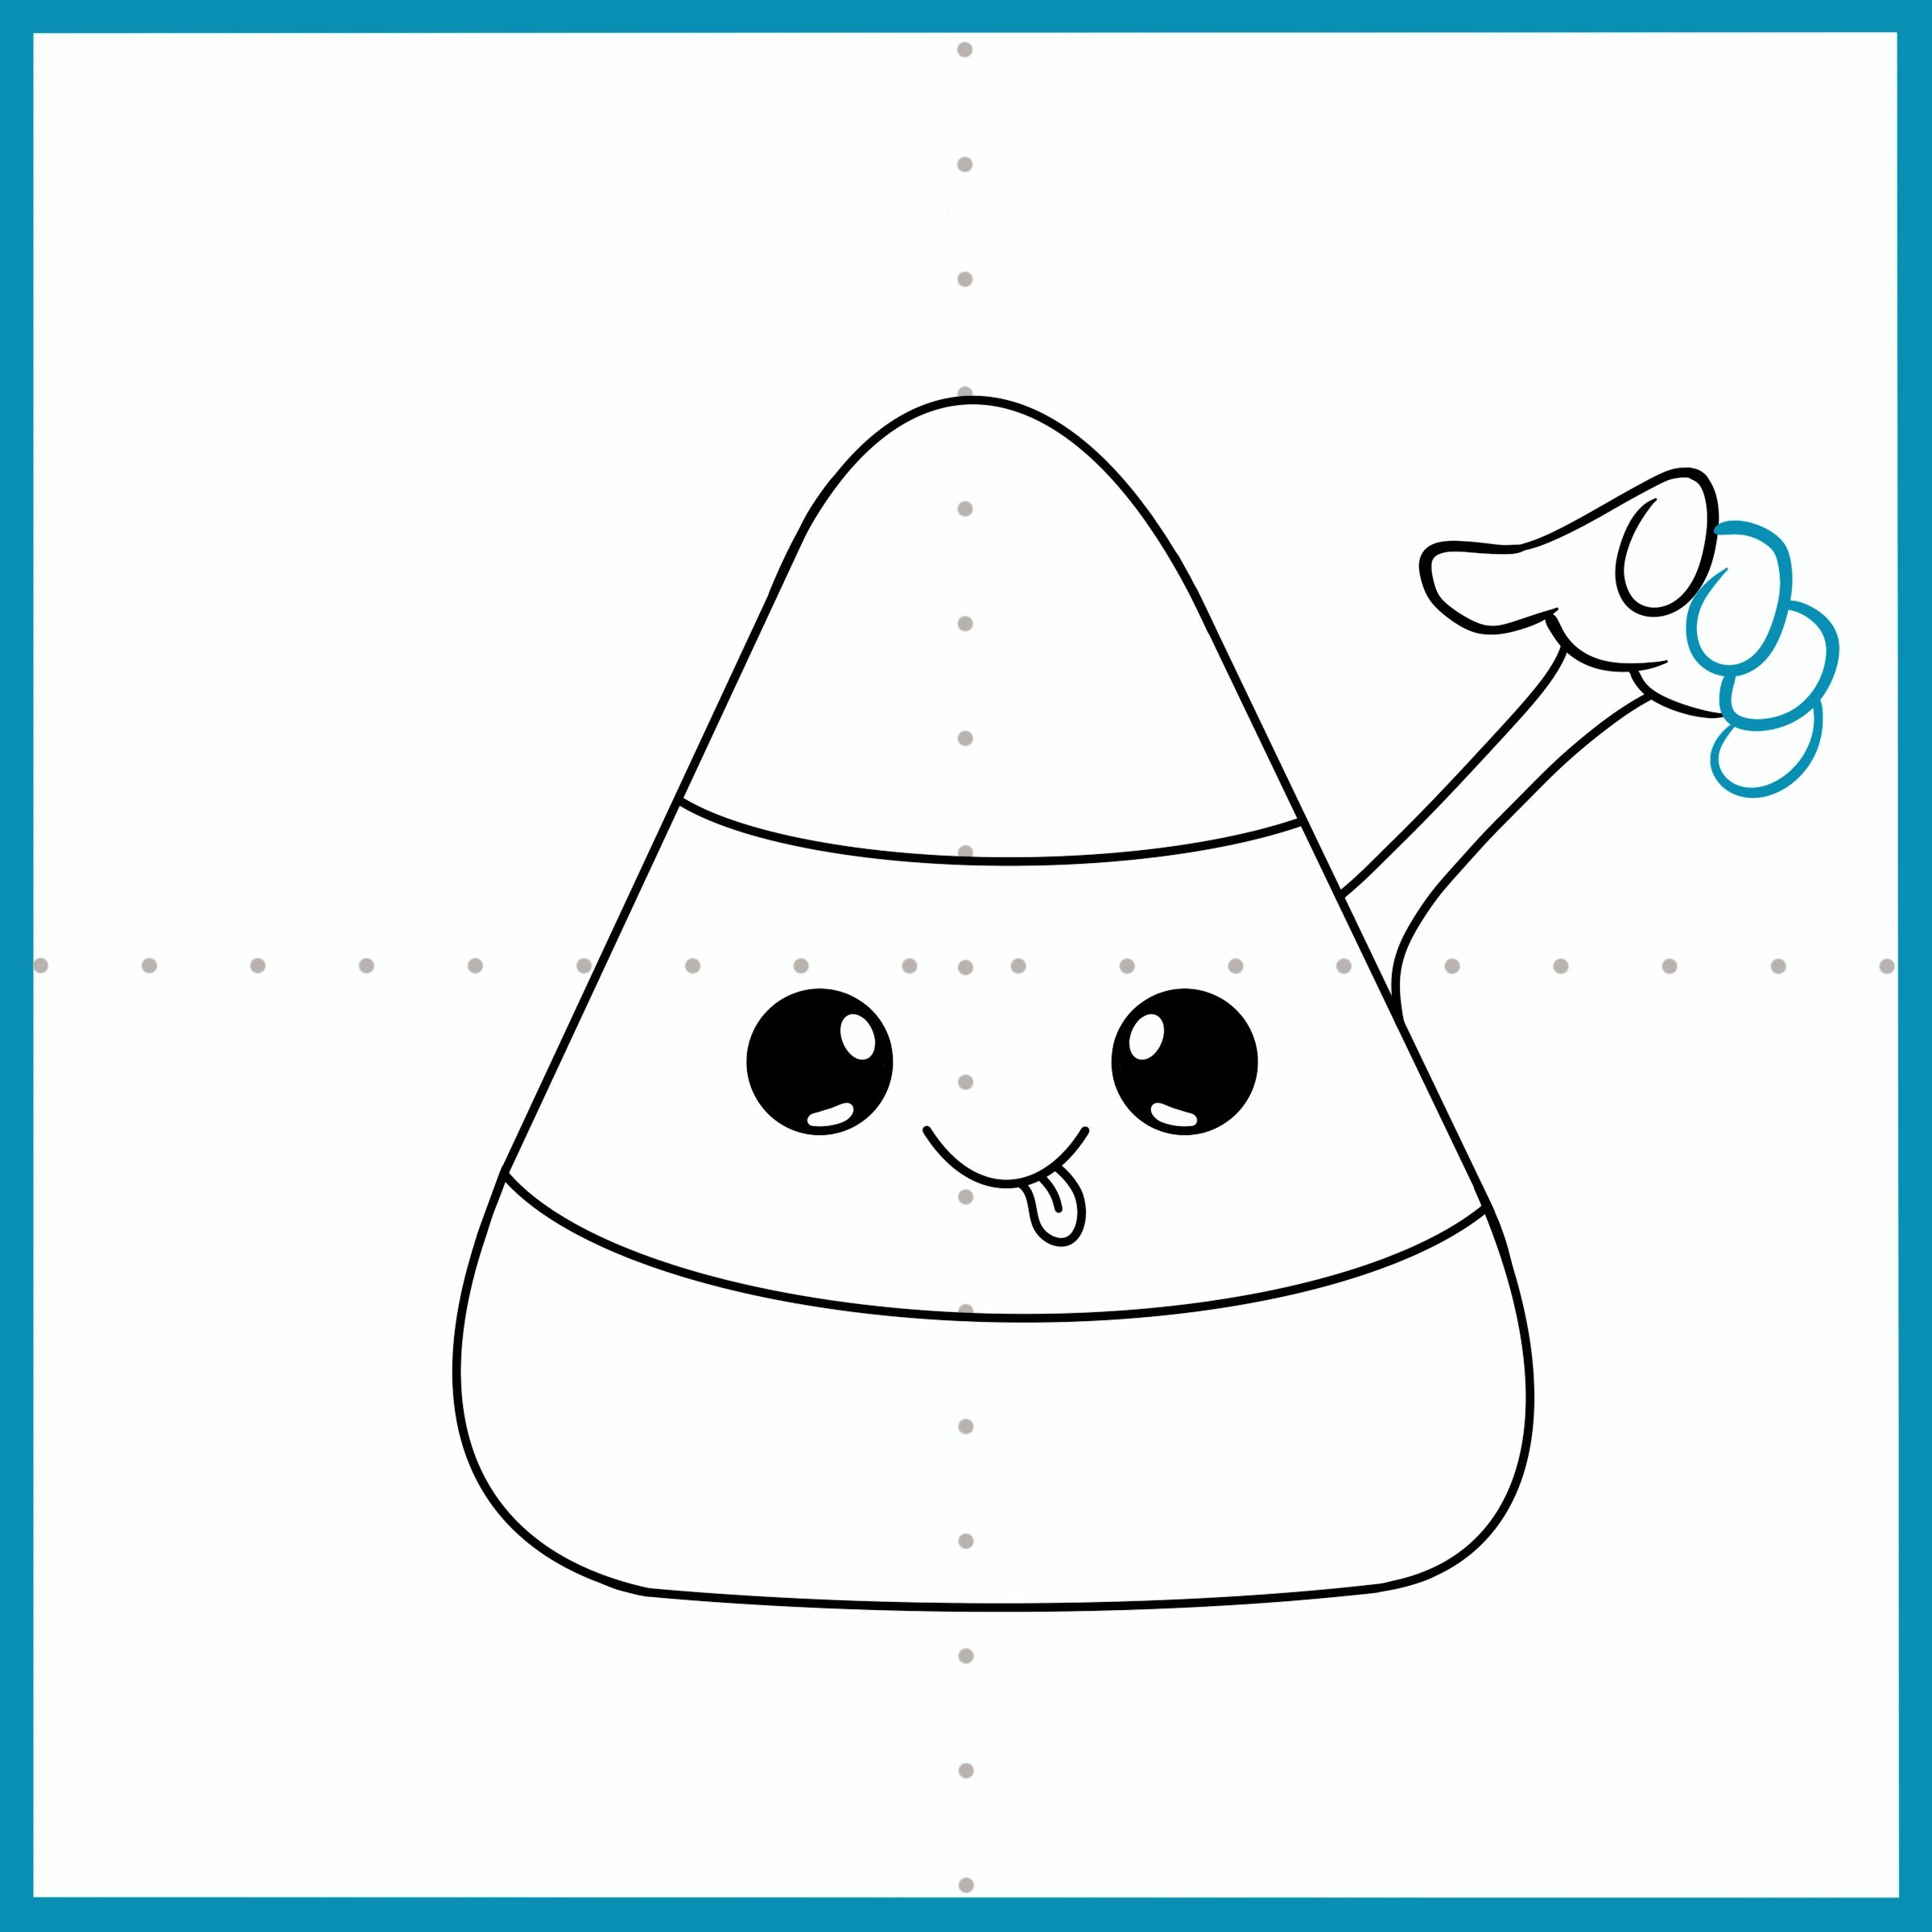
Now let’s add the rest of the fingers. Create similar shapes for each finger as you did for the index finger in the last step. Notice that each finger goes behind the first one you drew, and that the fingers are slowly moving in a downward curve. Creative idea: are there other hand gestures you could try? Maybe the character is waving? Want to simplify your hand? Try only having two or three fingers instead!
Step 12
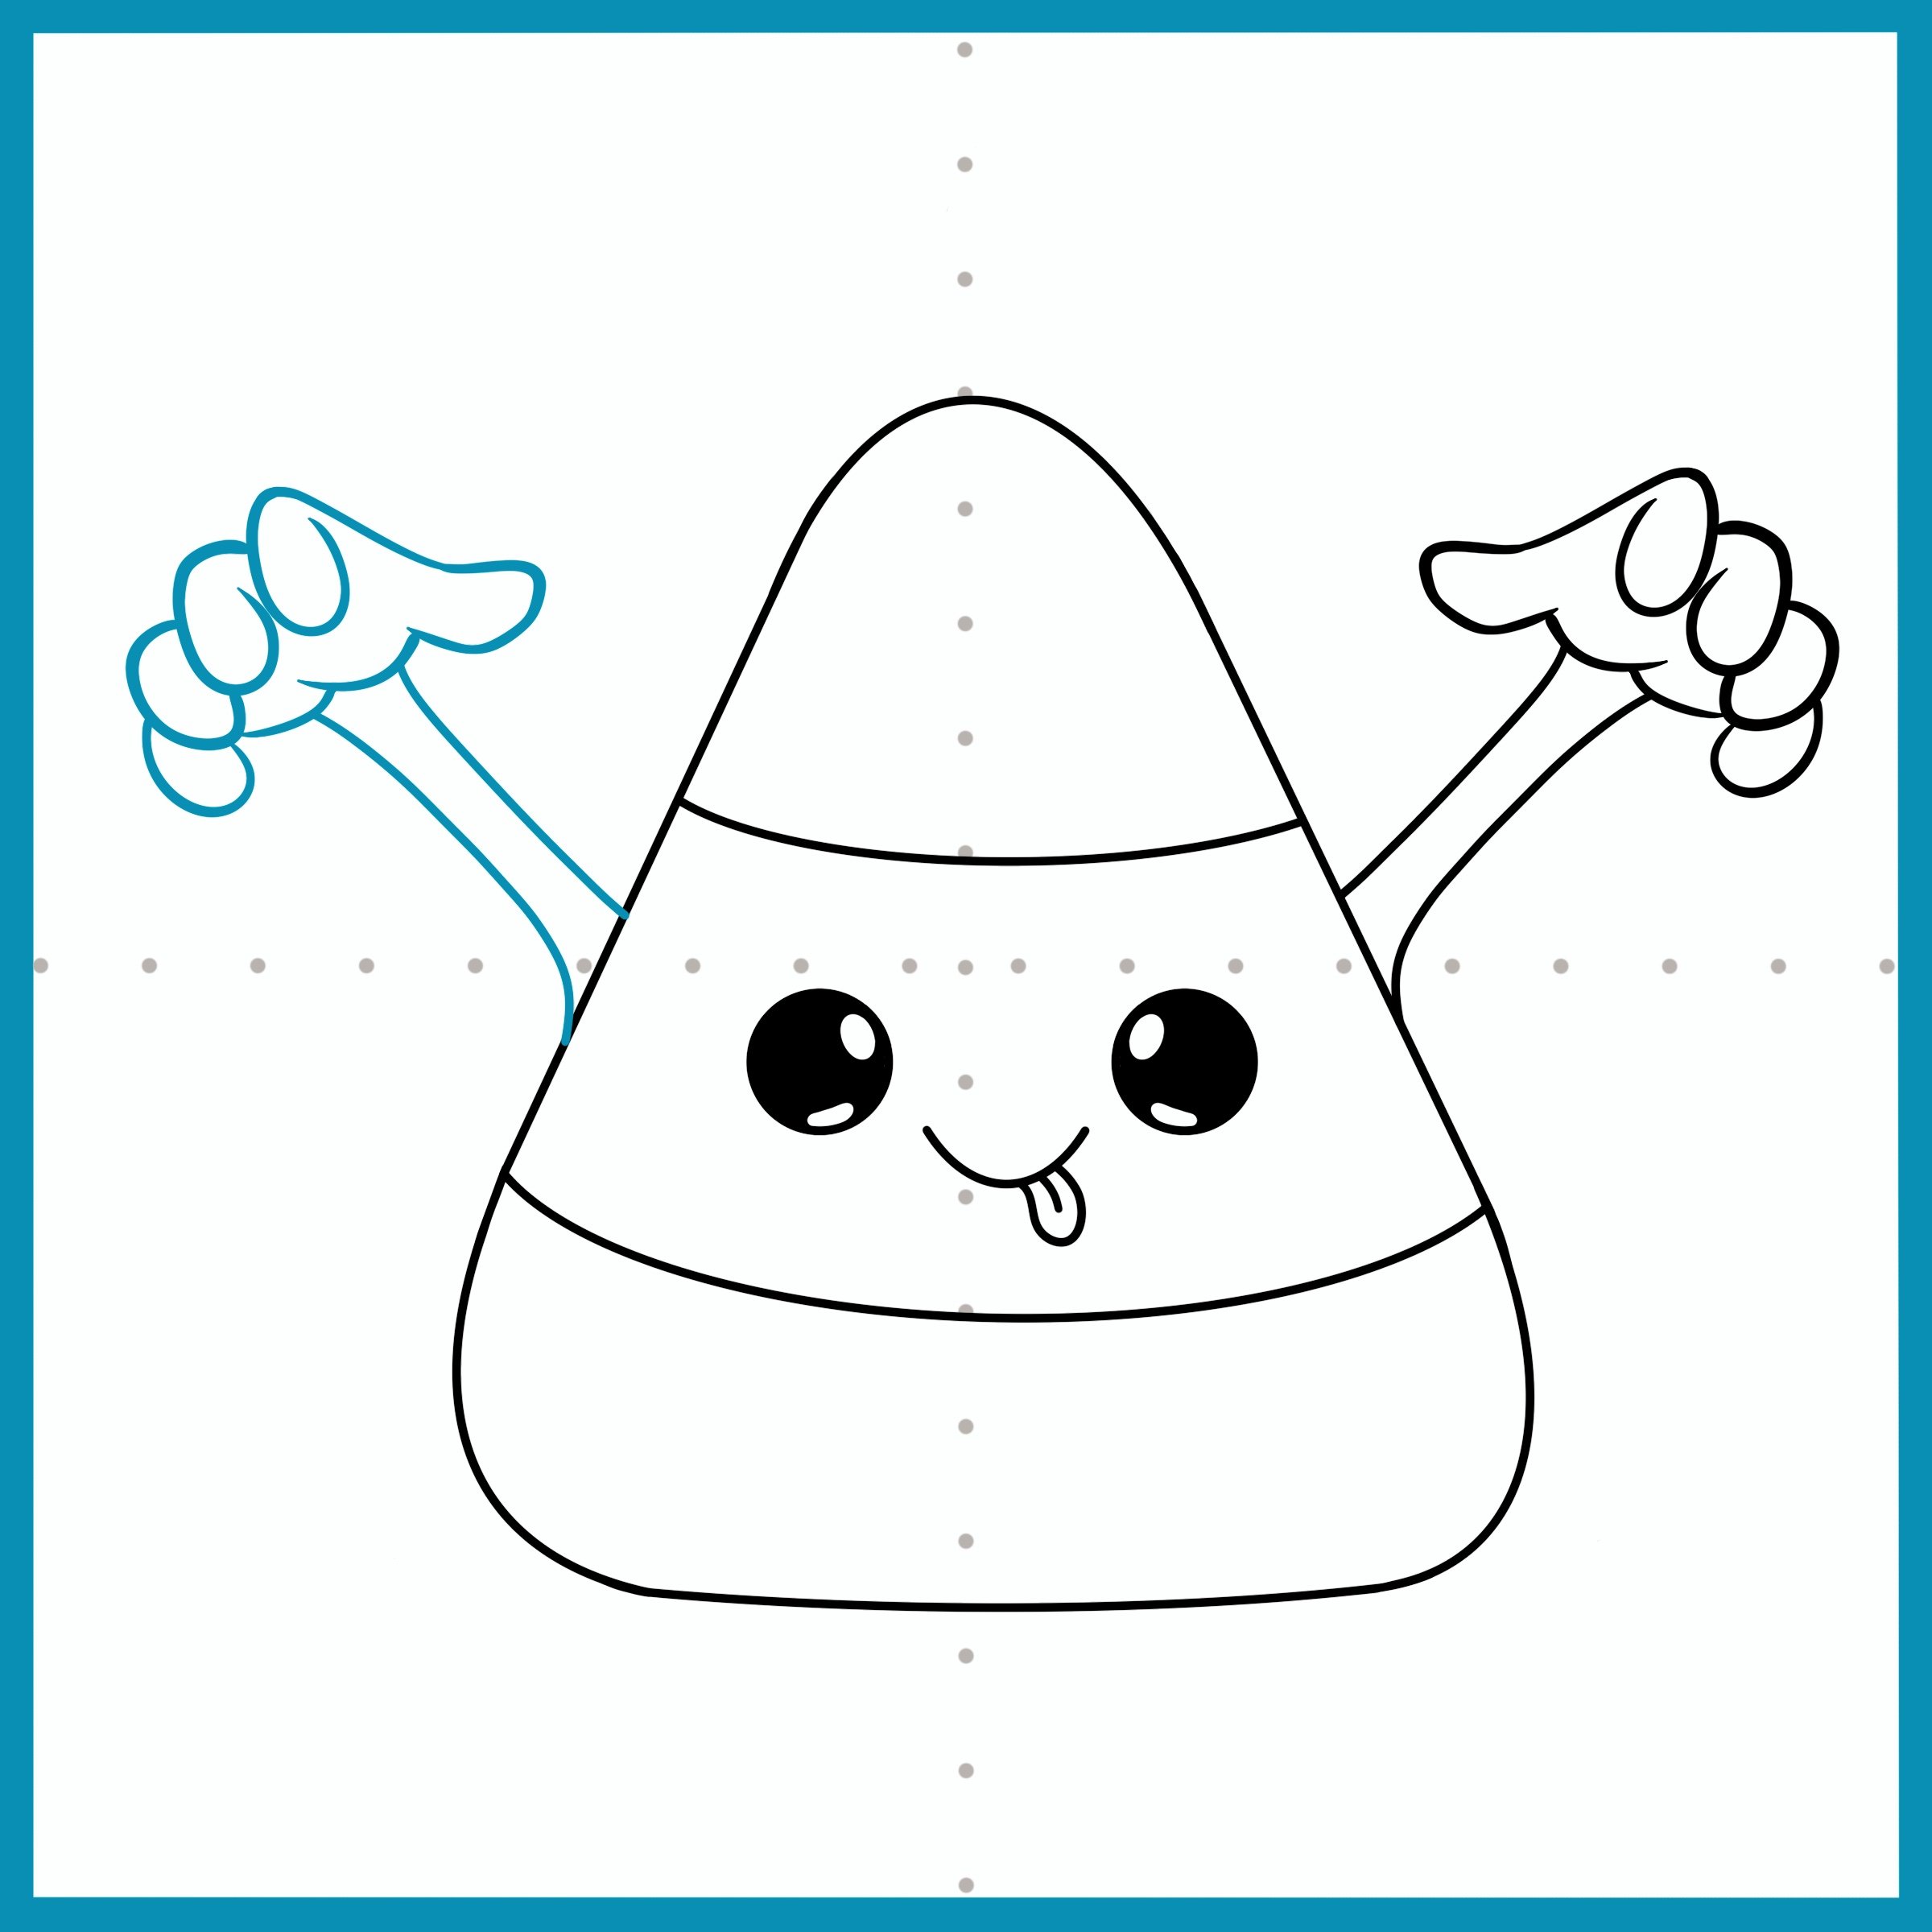
Now that you conquered the right arm, do the same steps for the left arm. You’re doing great!
Step 13
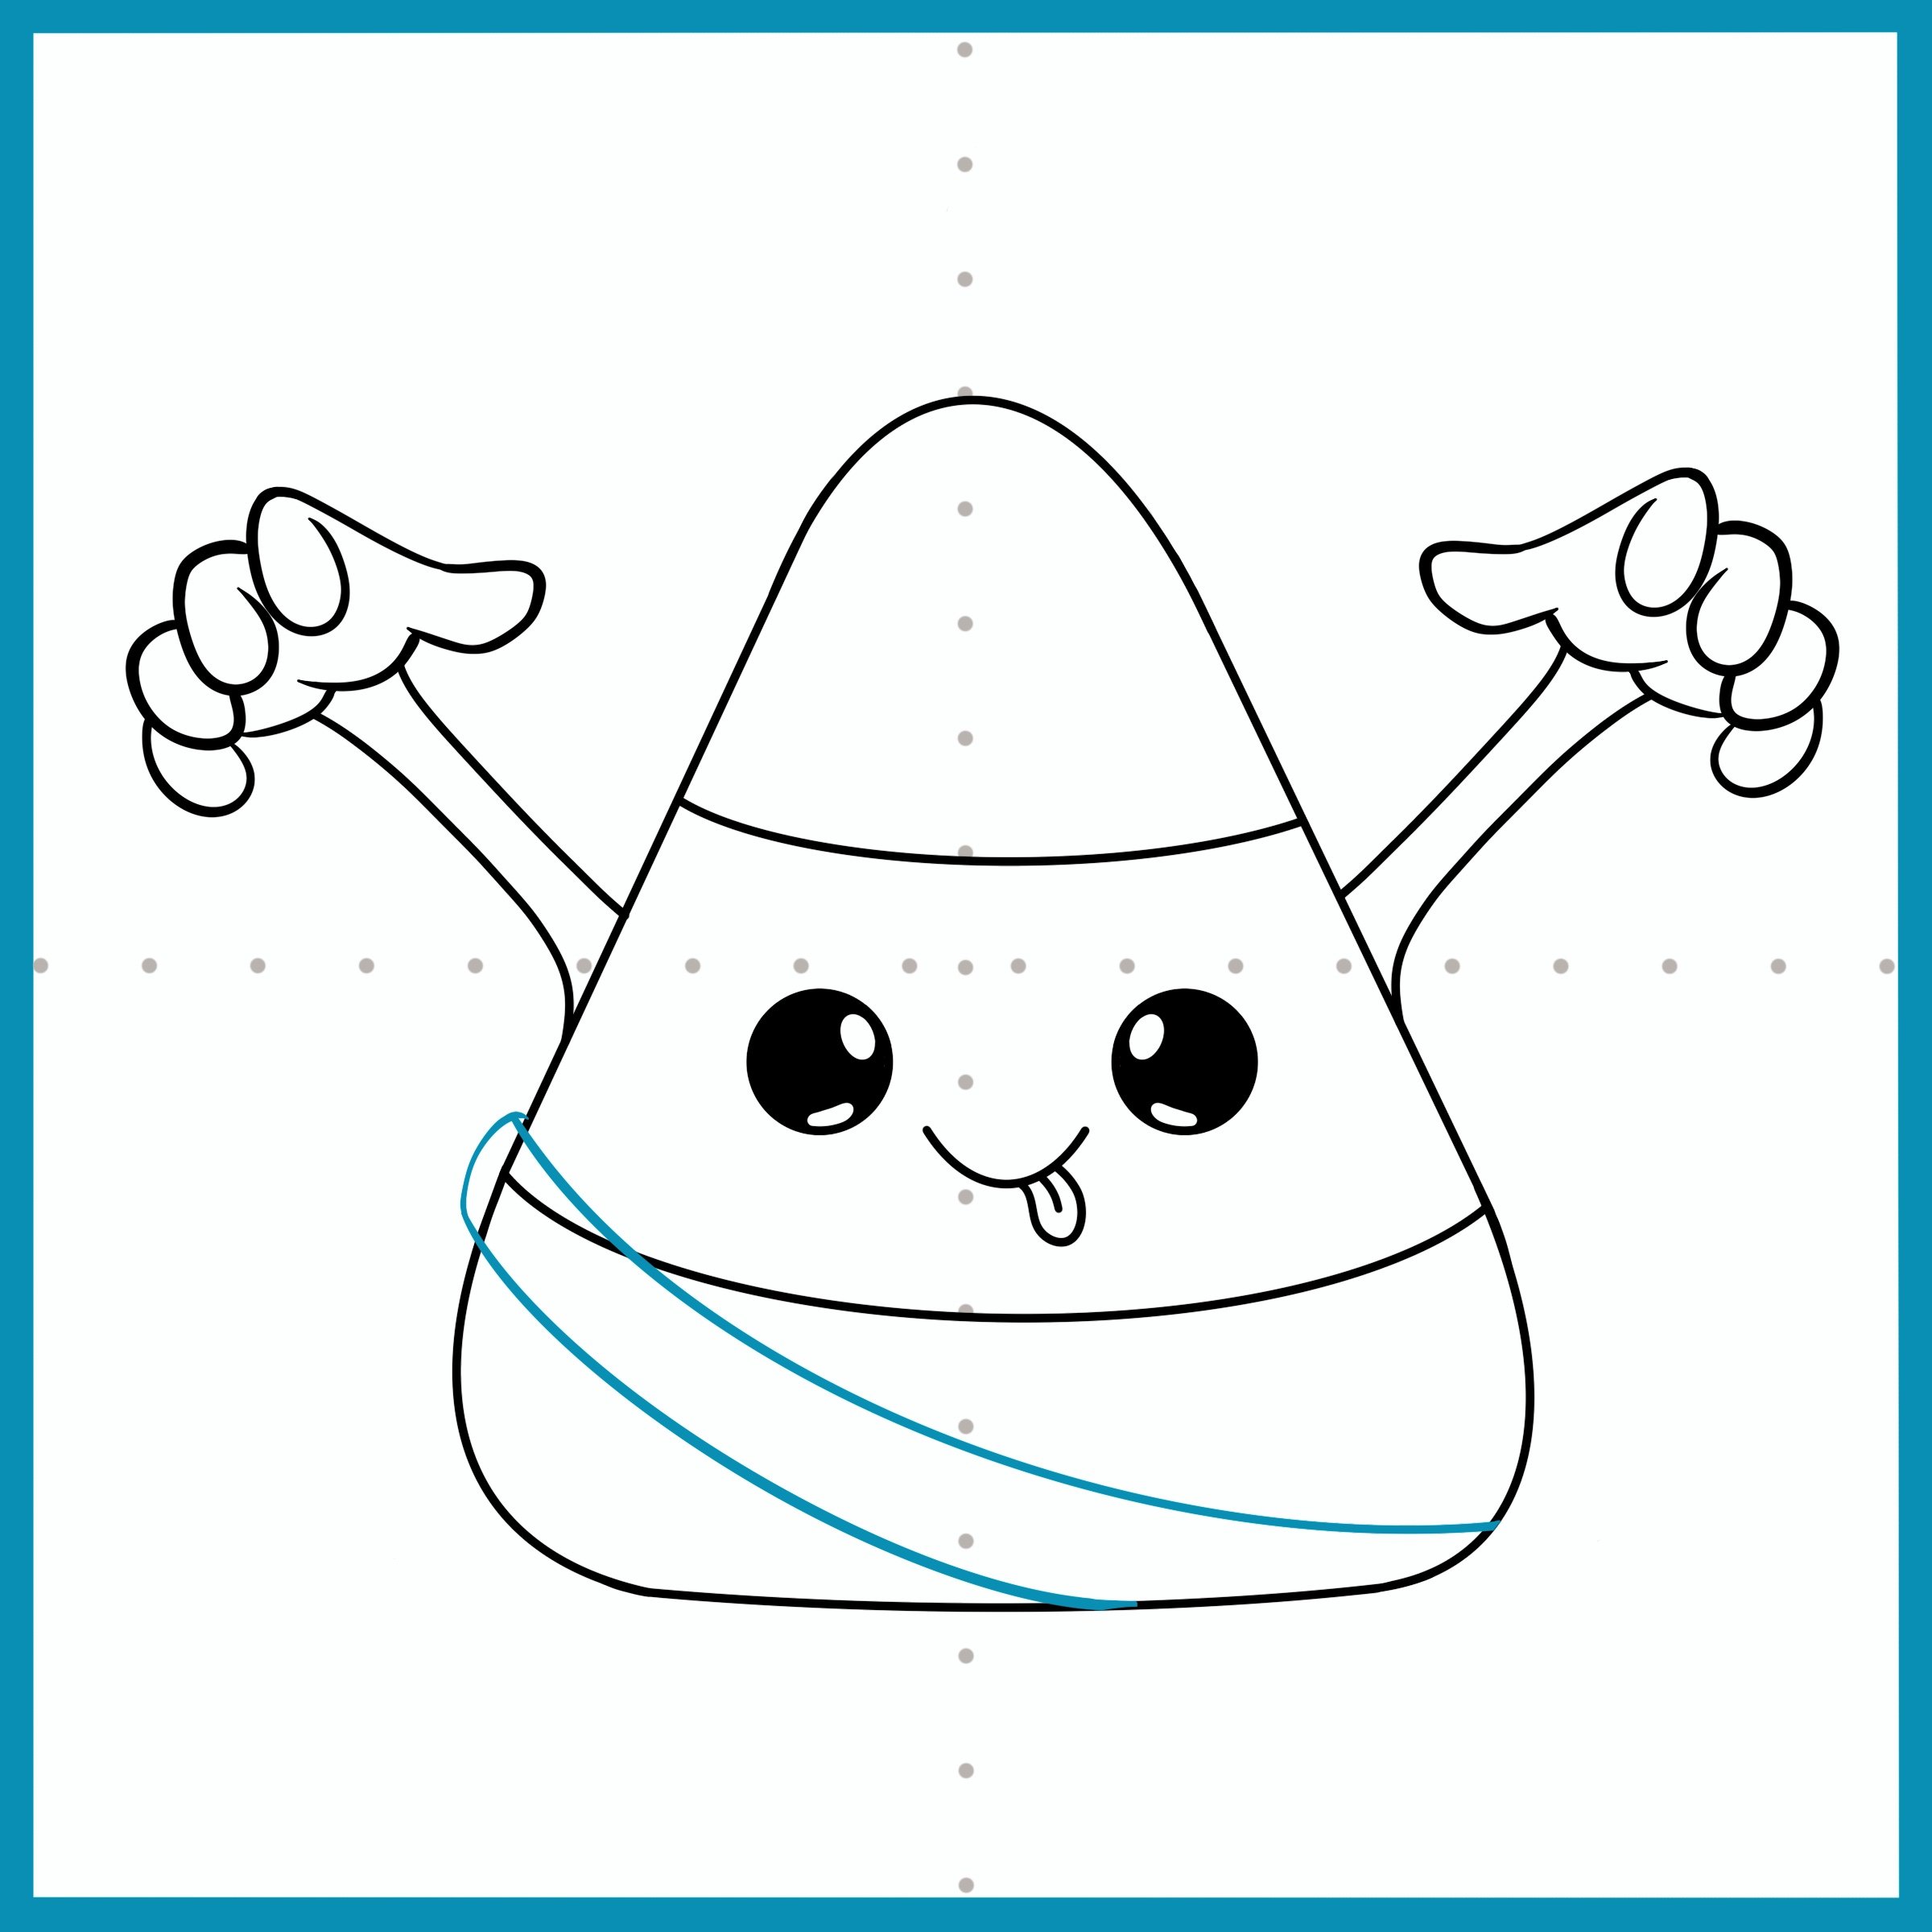
Now it’s time to add the mummy costume to our candy corn! Start wrapping the character with toilet paper-like rolls. Tip: if you draw material outside of the characters frame, it will look like the material is thicker or loose. Let’s do that for our candy corn character.
Step 14
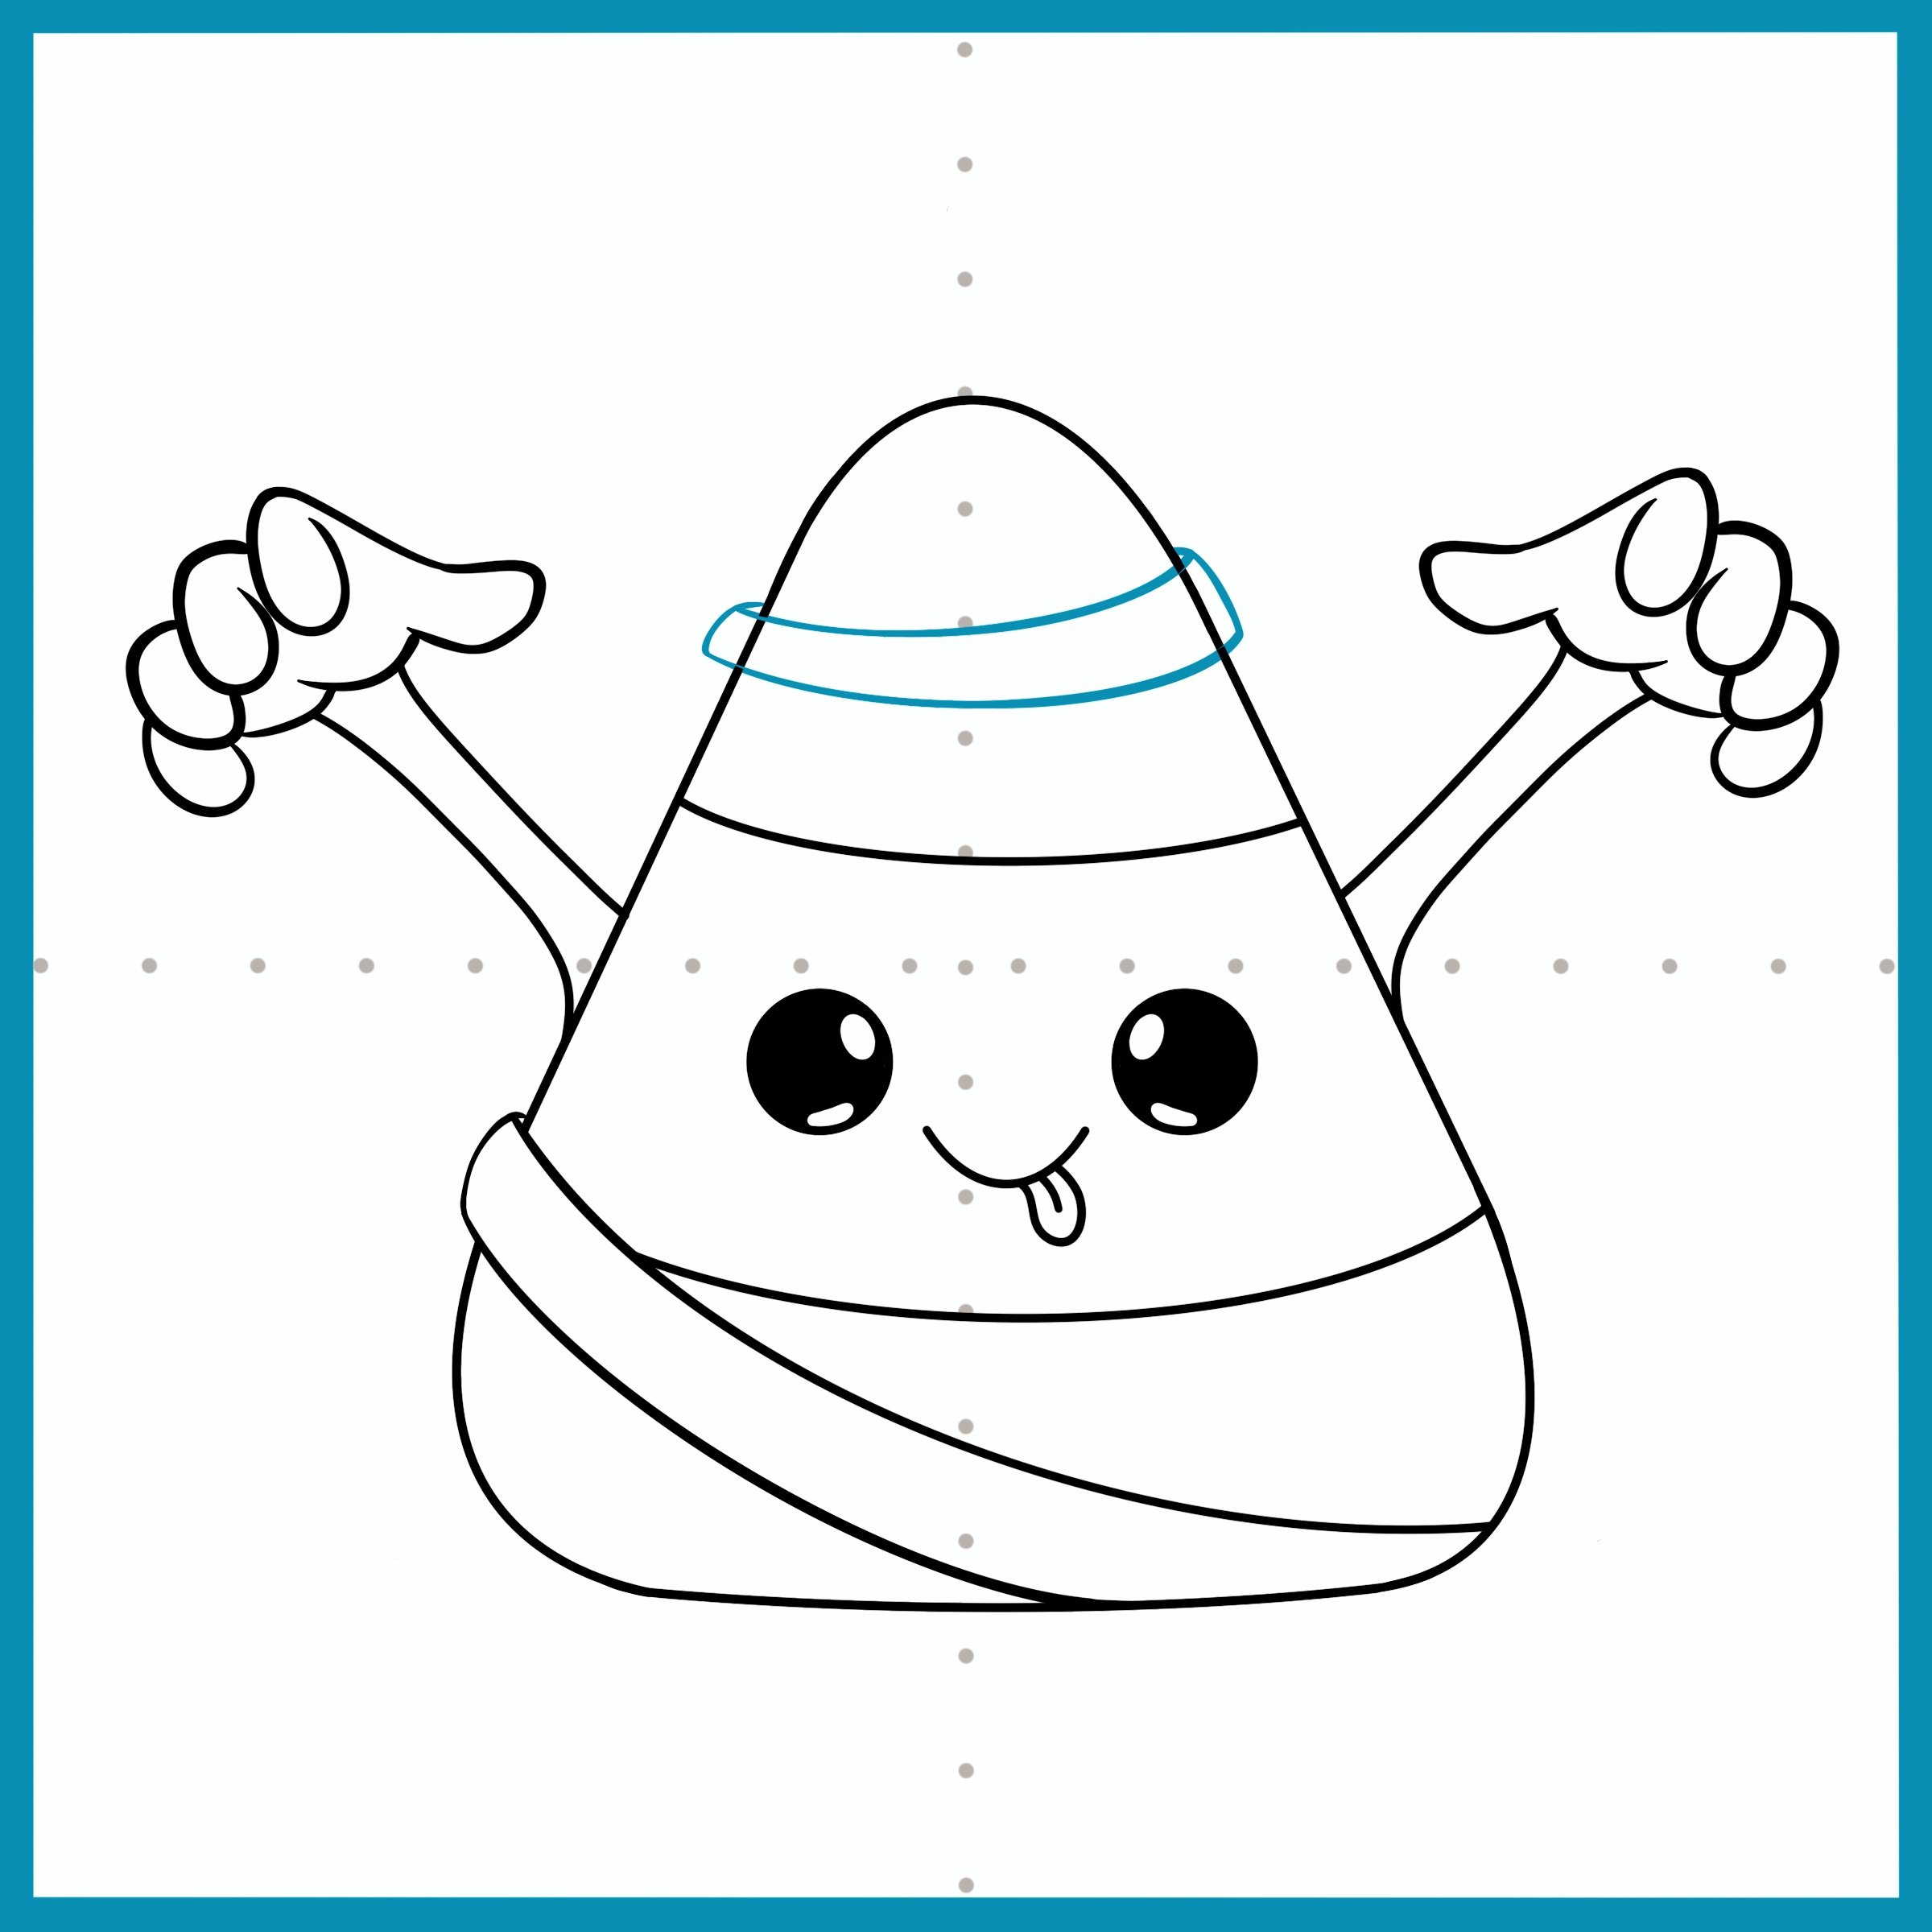
Add another wrap around the head, make the wrap as loose or as tight as you would like.
Step 15
Erase parts of the candy corn that should be hidden under its mummy wraps. Now, let’s add more to the candy corn’s costume. Can you see how the new wraps are drawn underneath the original wraps? We shall use this technique for the rest of the mummy costume.
Step 16
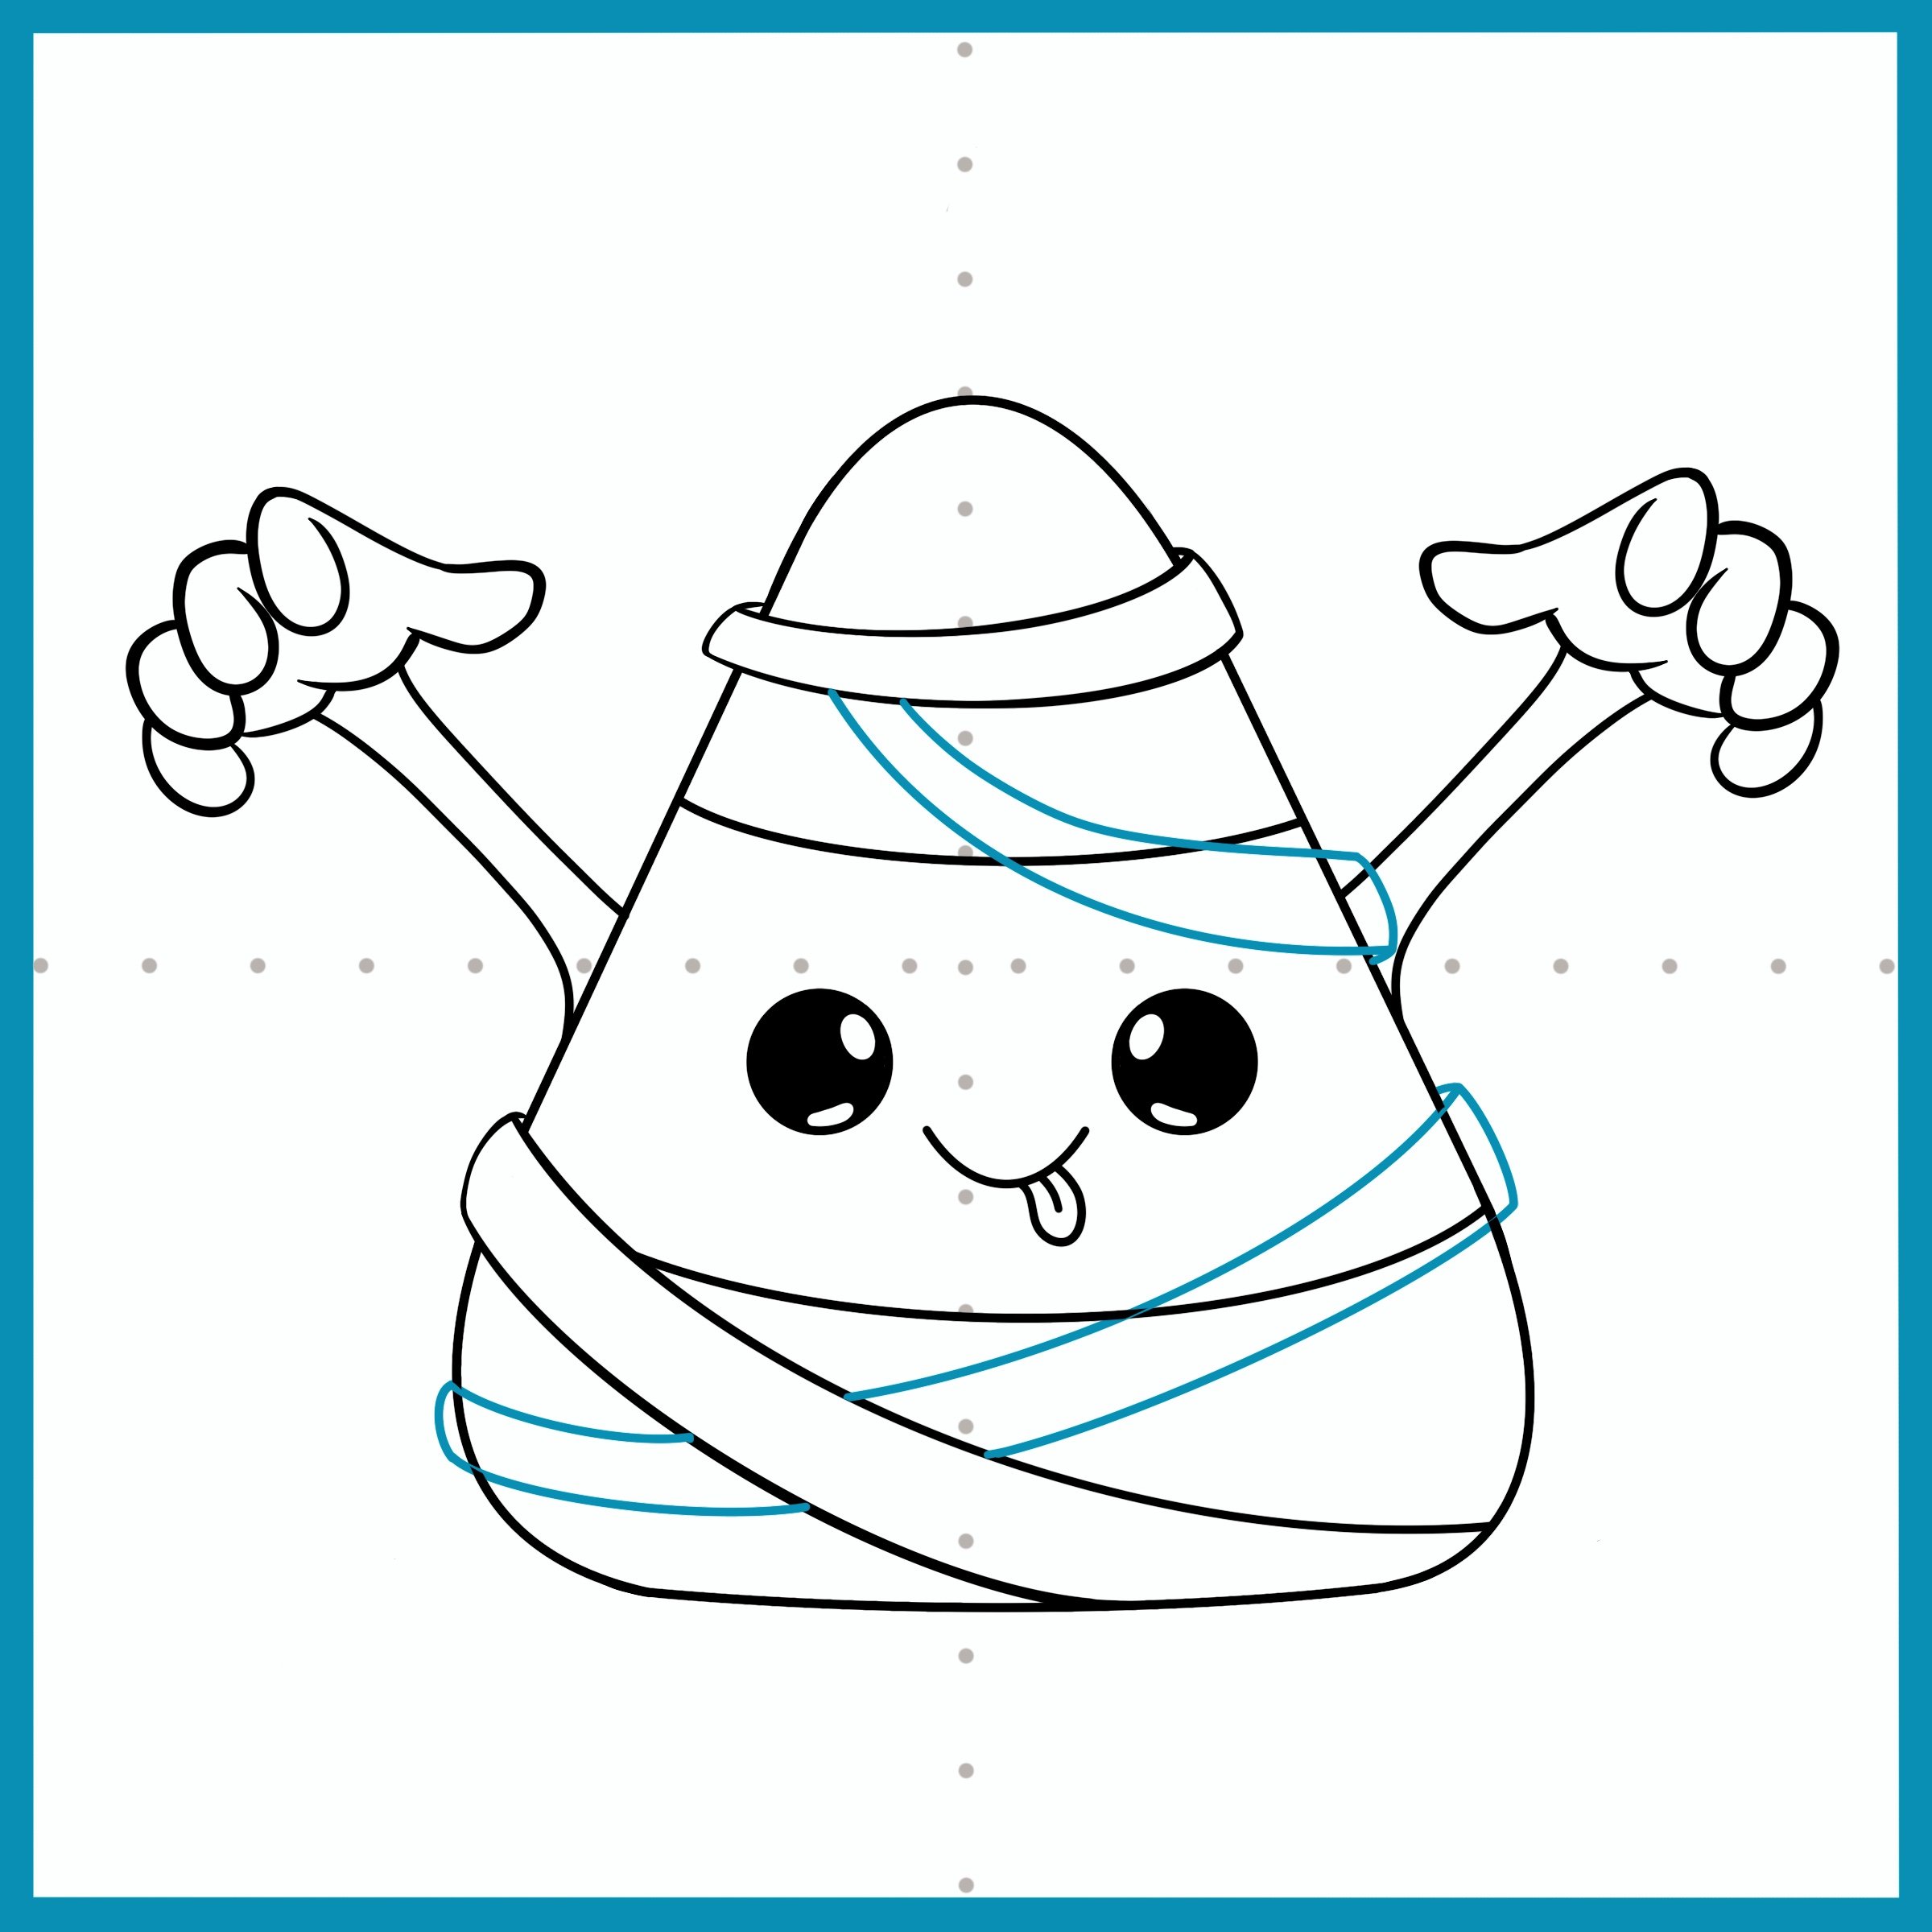
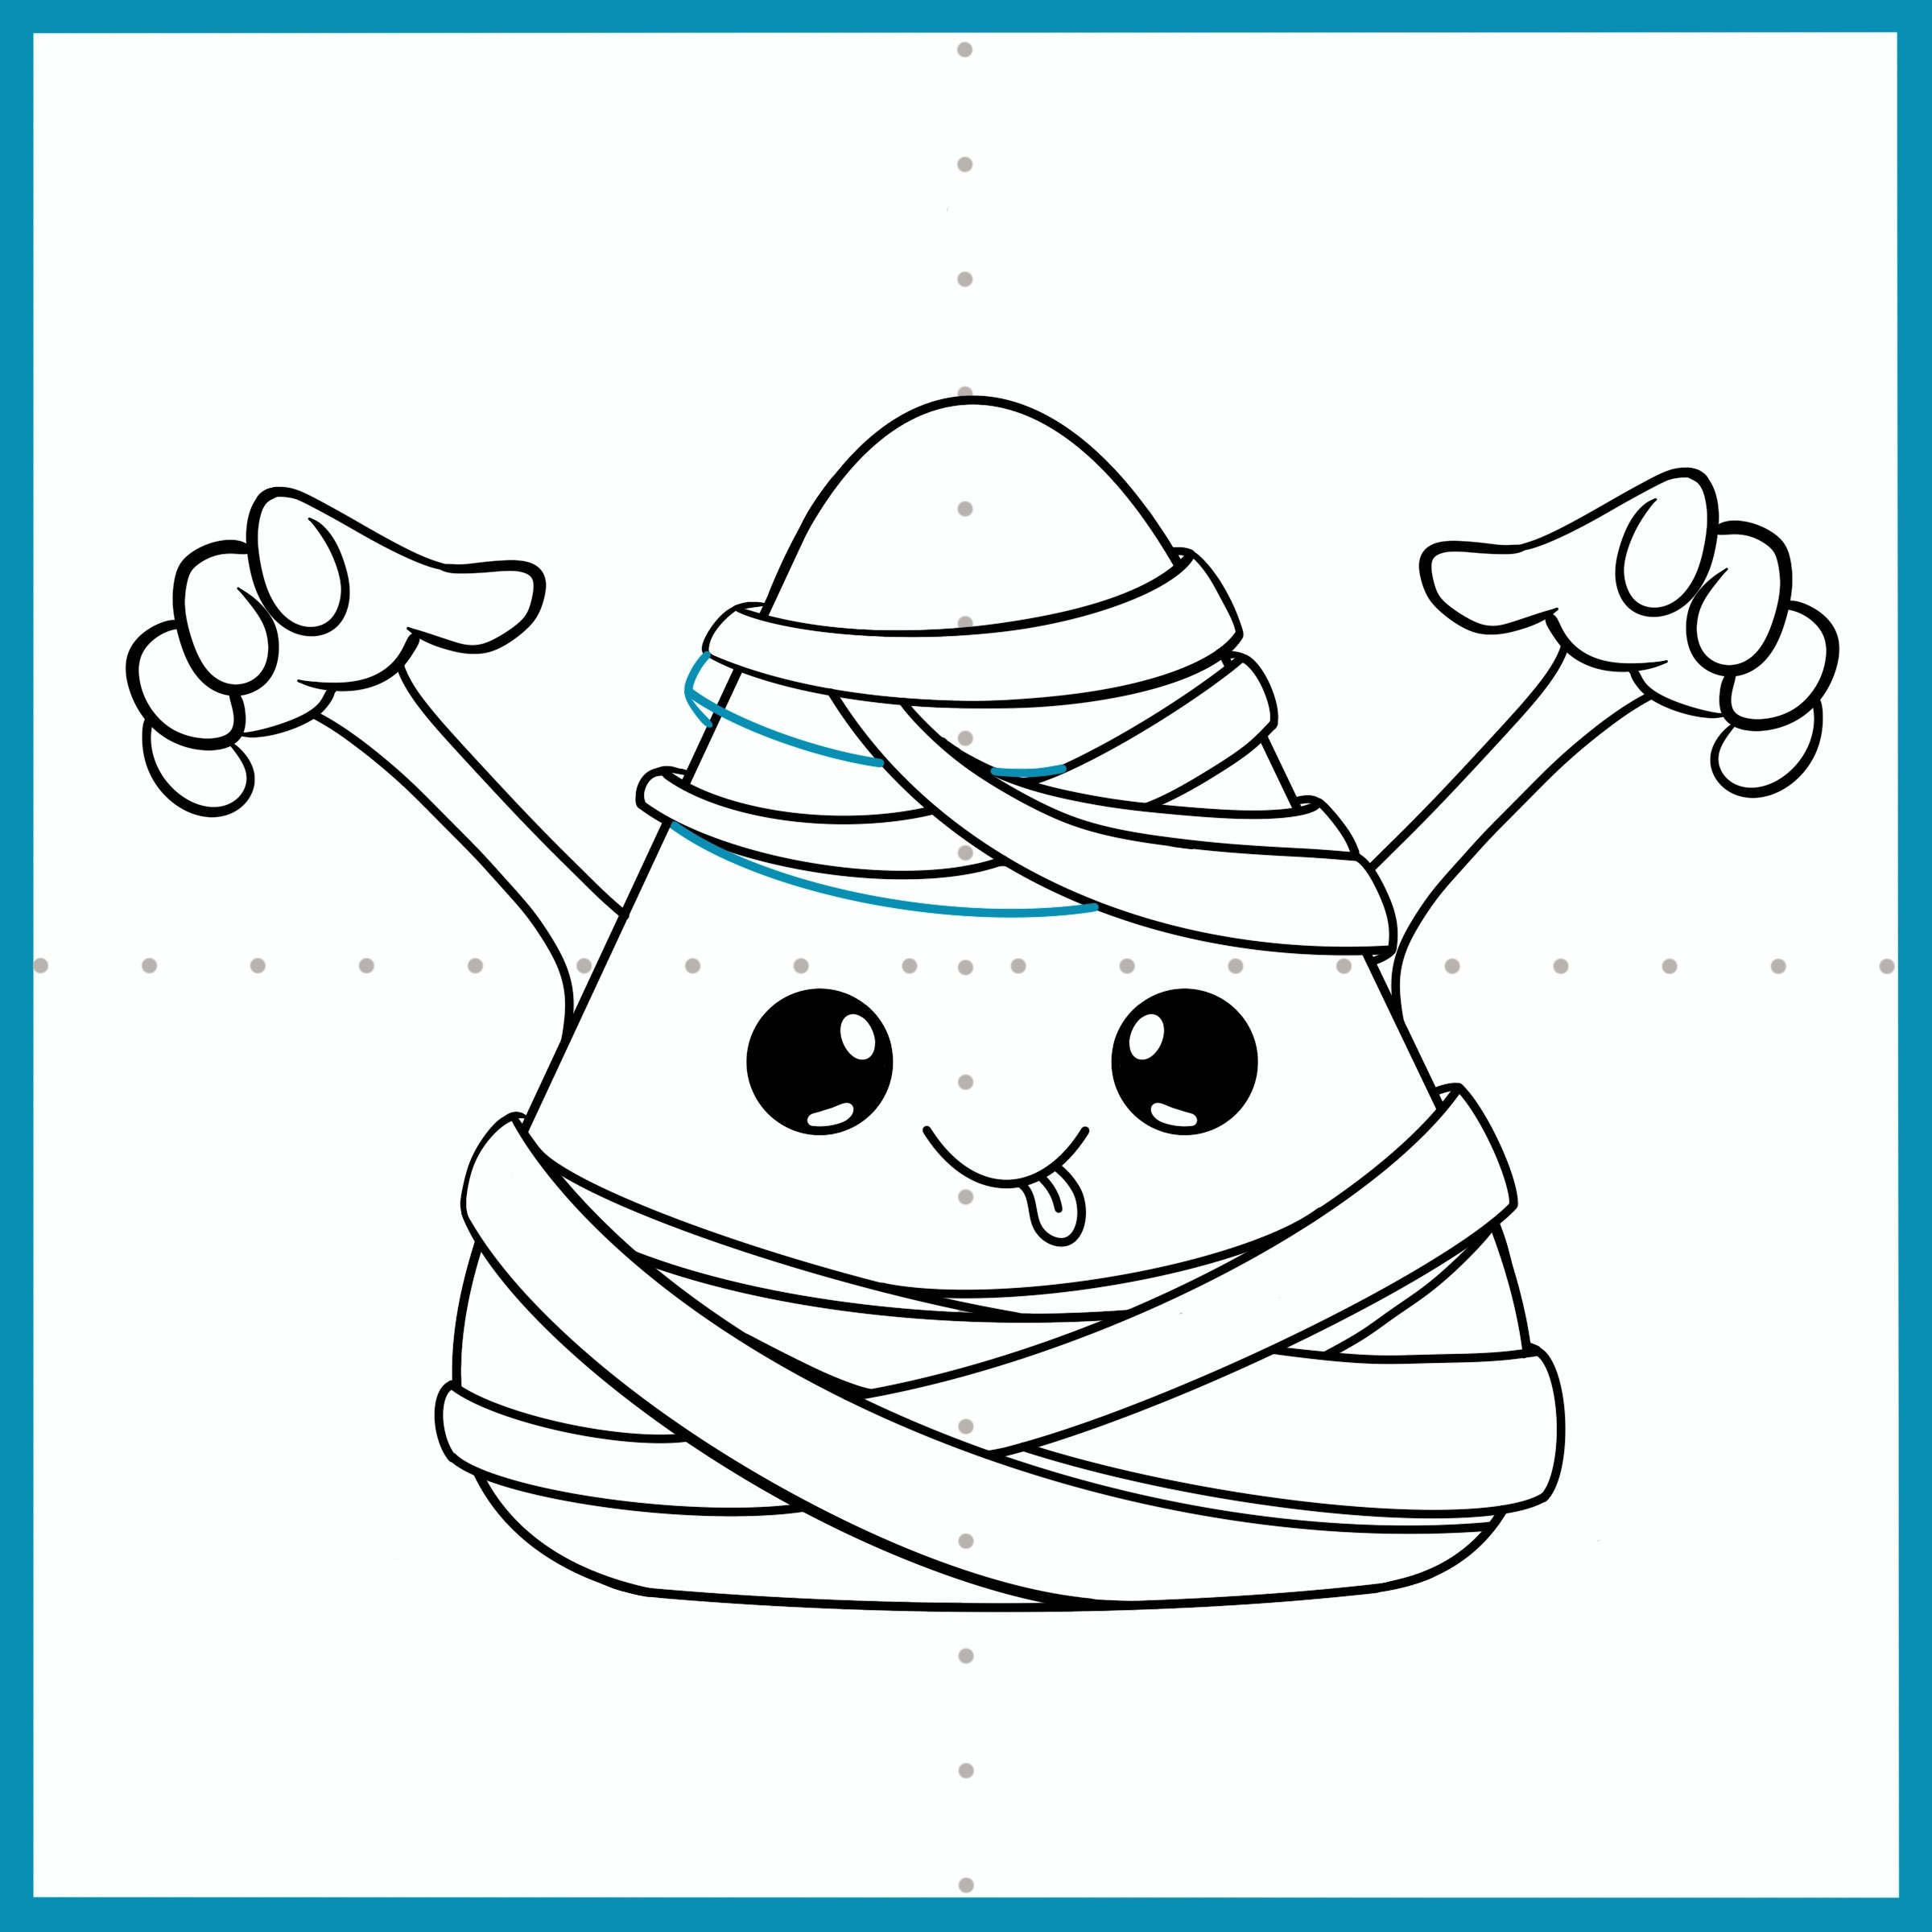
Add two more wraps. Erase any parts of the candy corn that should be hidden under the wraps you draw. Creative idea: Draw as many or as few of wraps as you’d like? Does your mummy costume cover the candy corns face? Are its fingers covered in wraps? Be creative!
Step 17
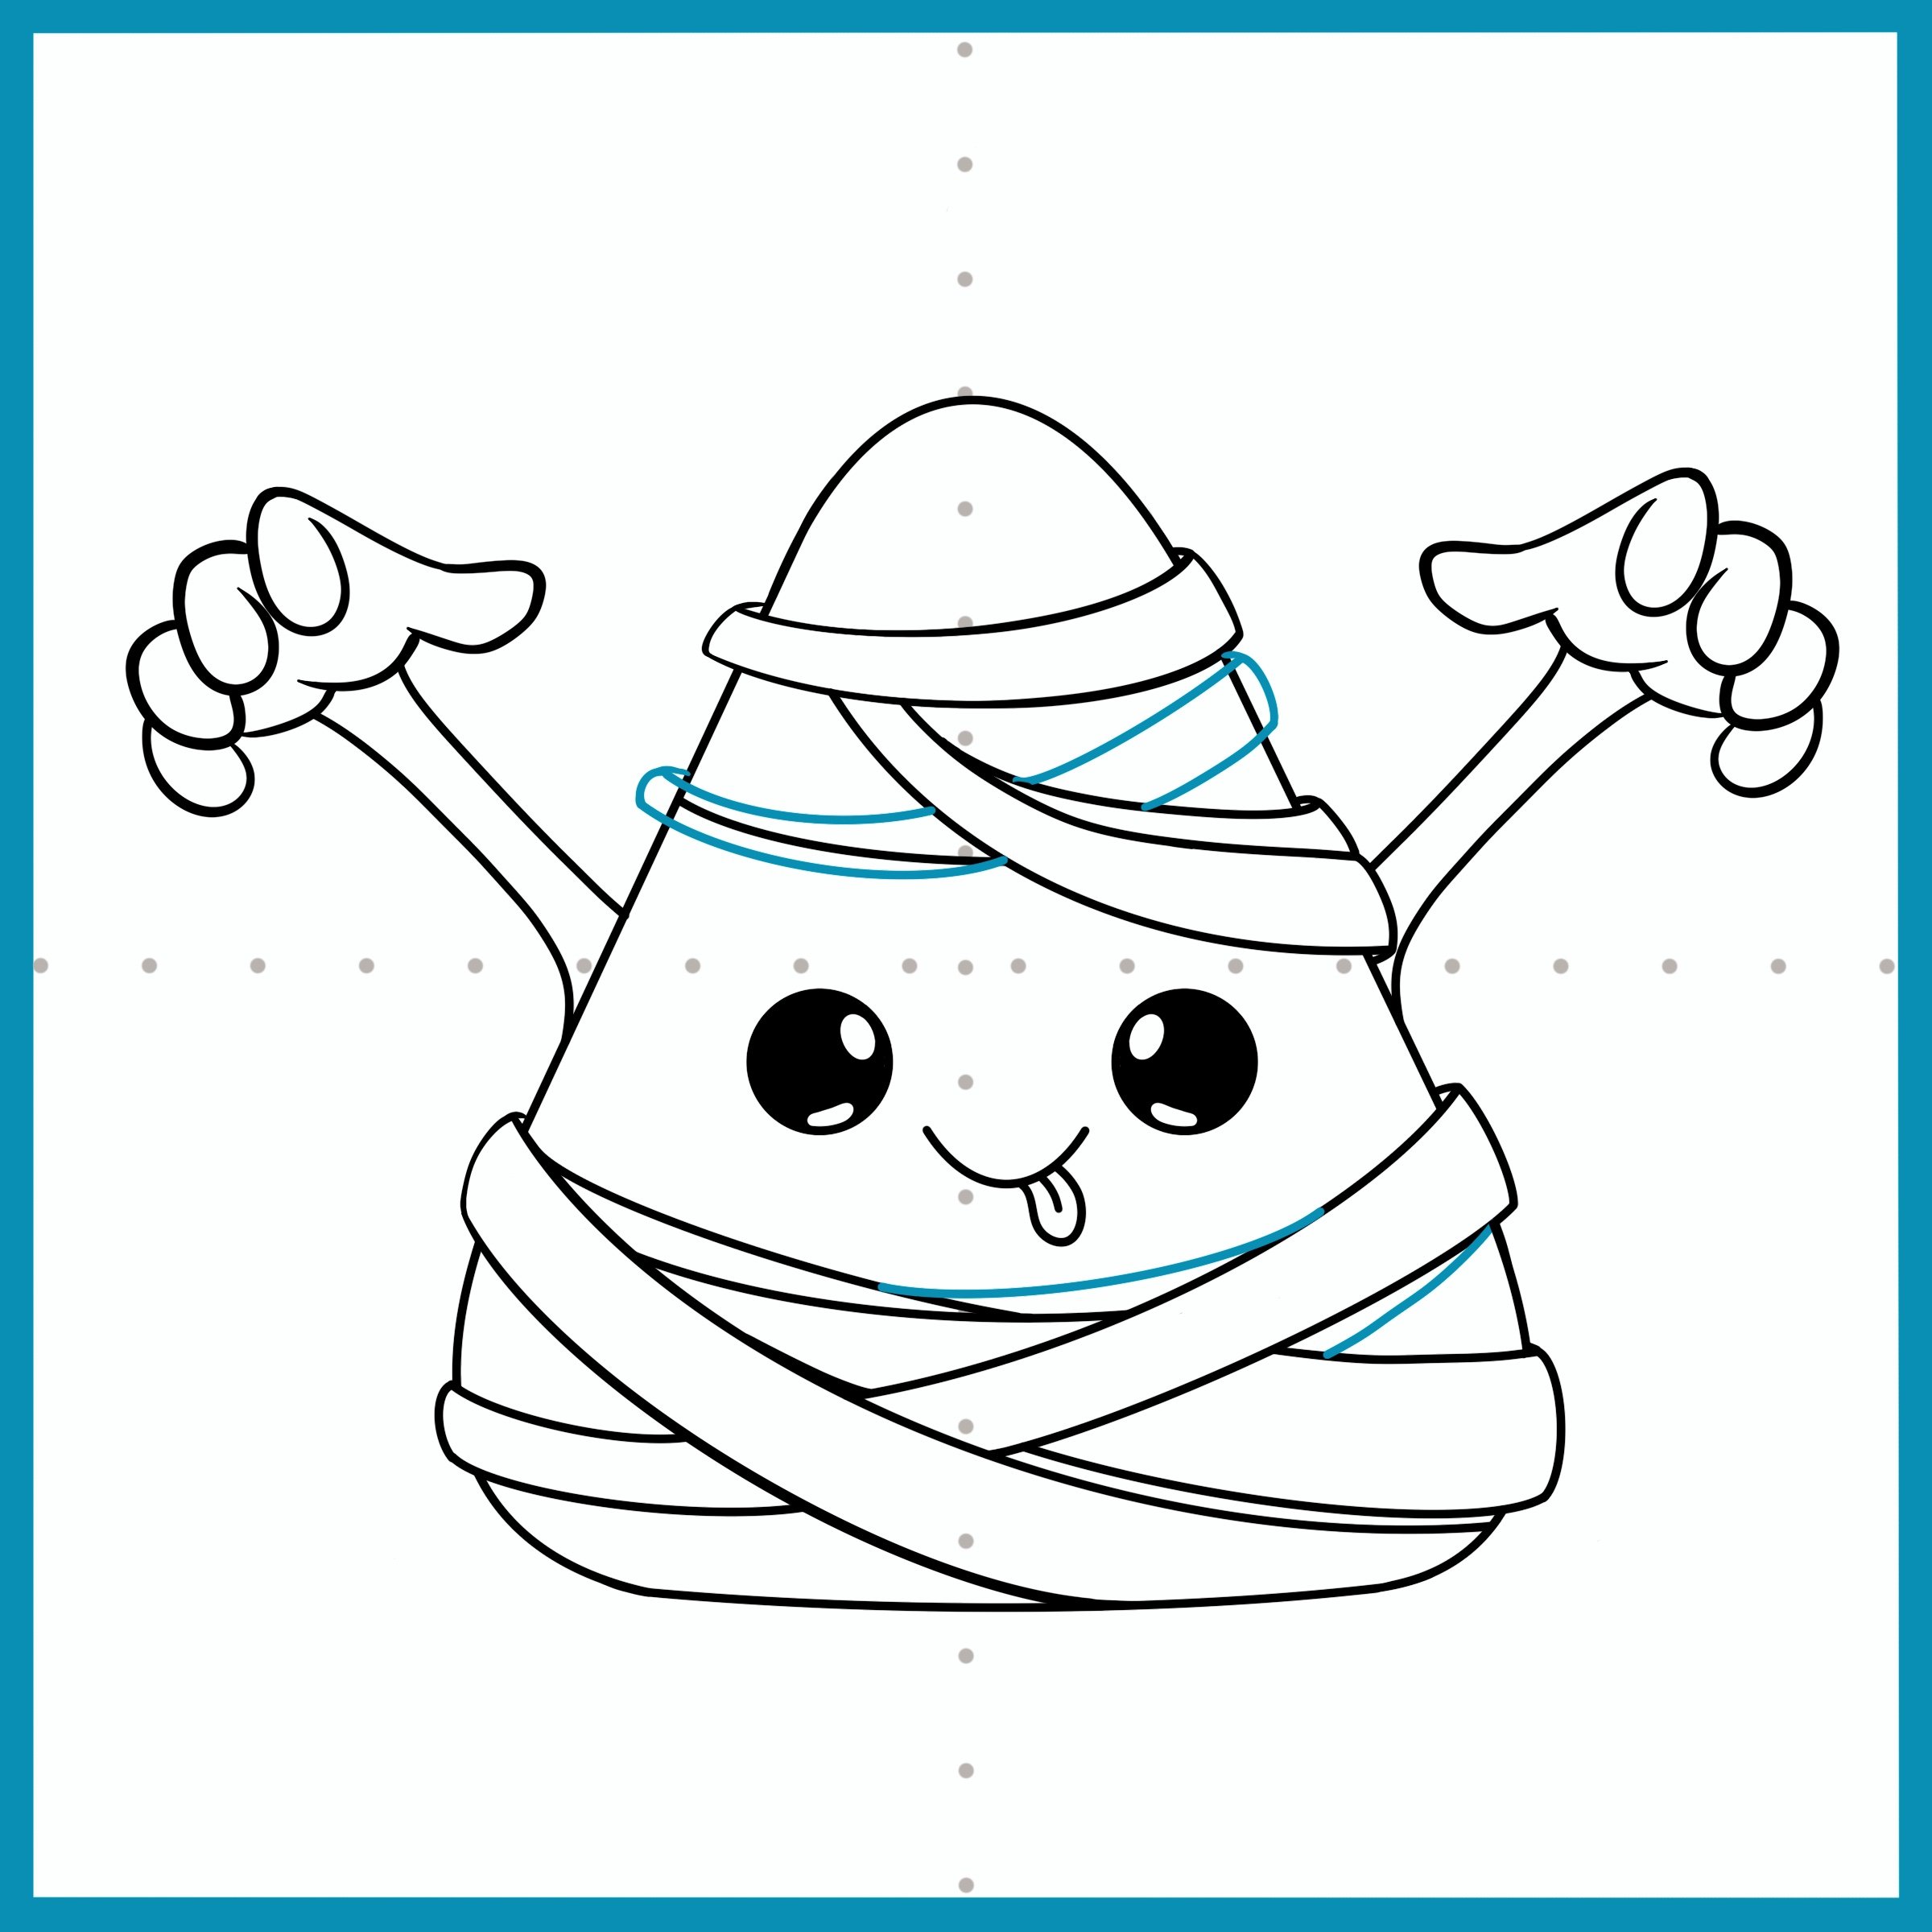
Keep up the good work! Add two more wraps.
Step 18
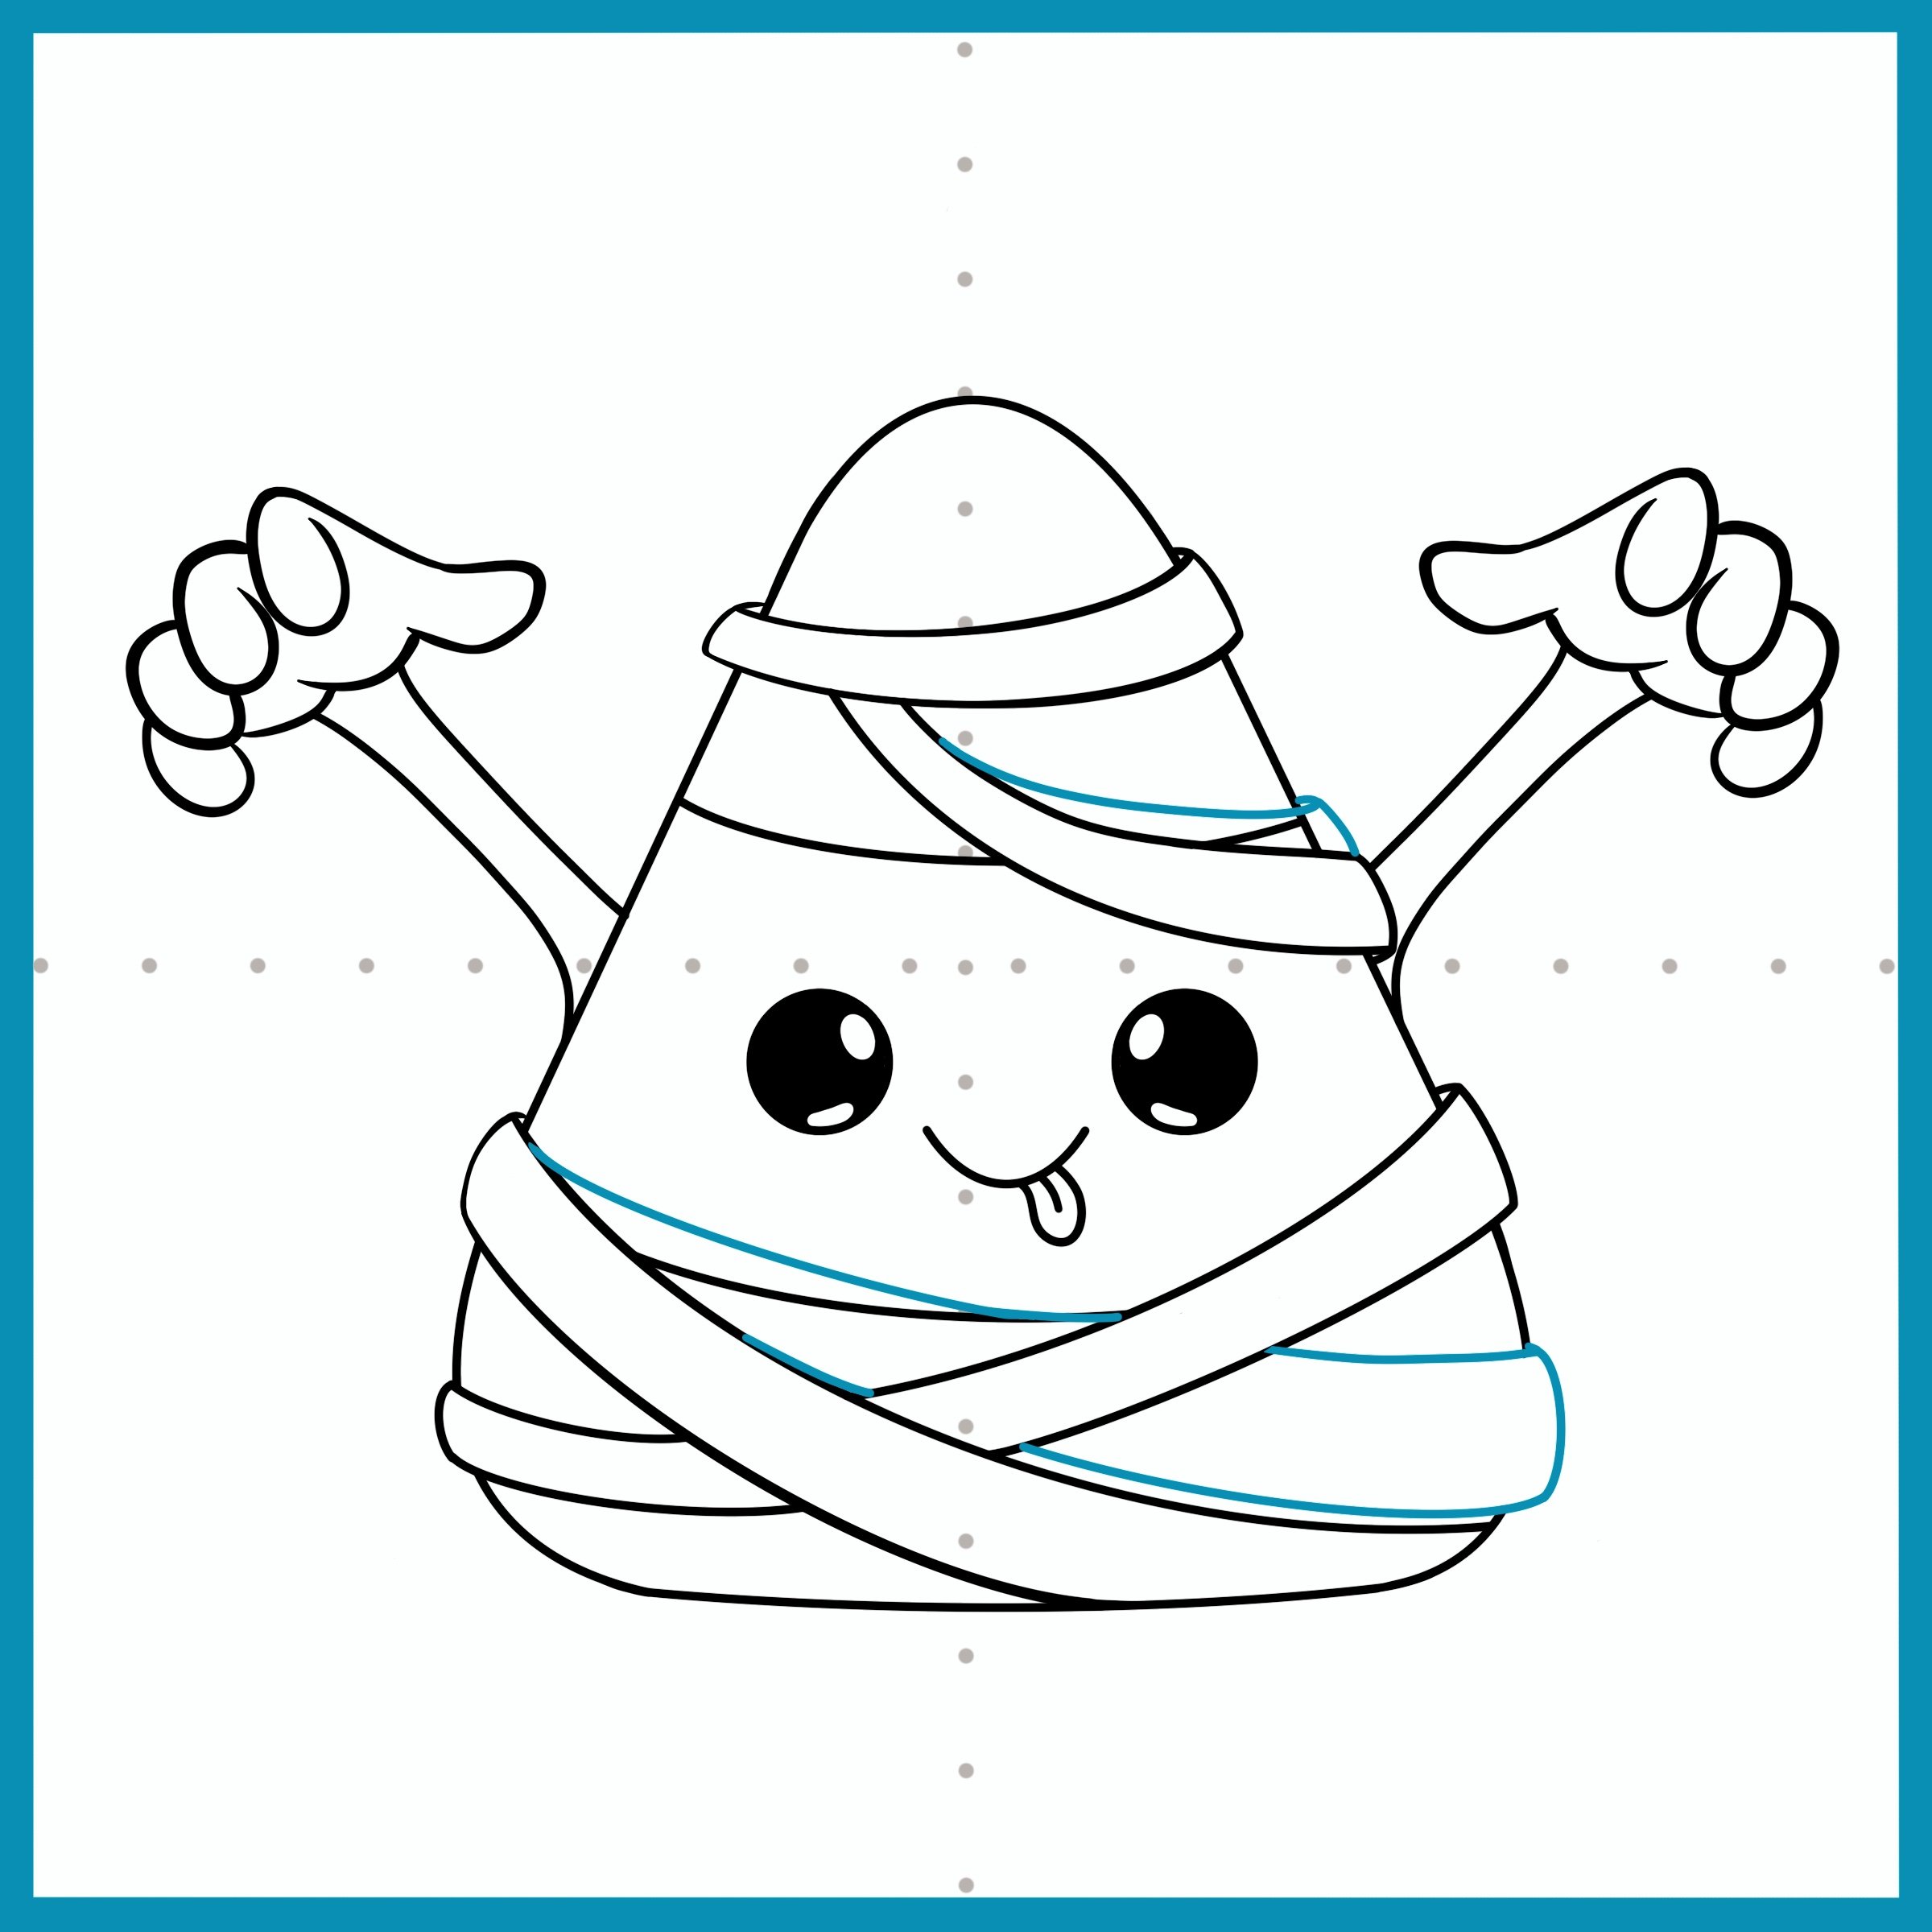
Almost there! Add two more wraps.
Step 19
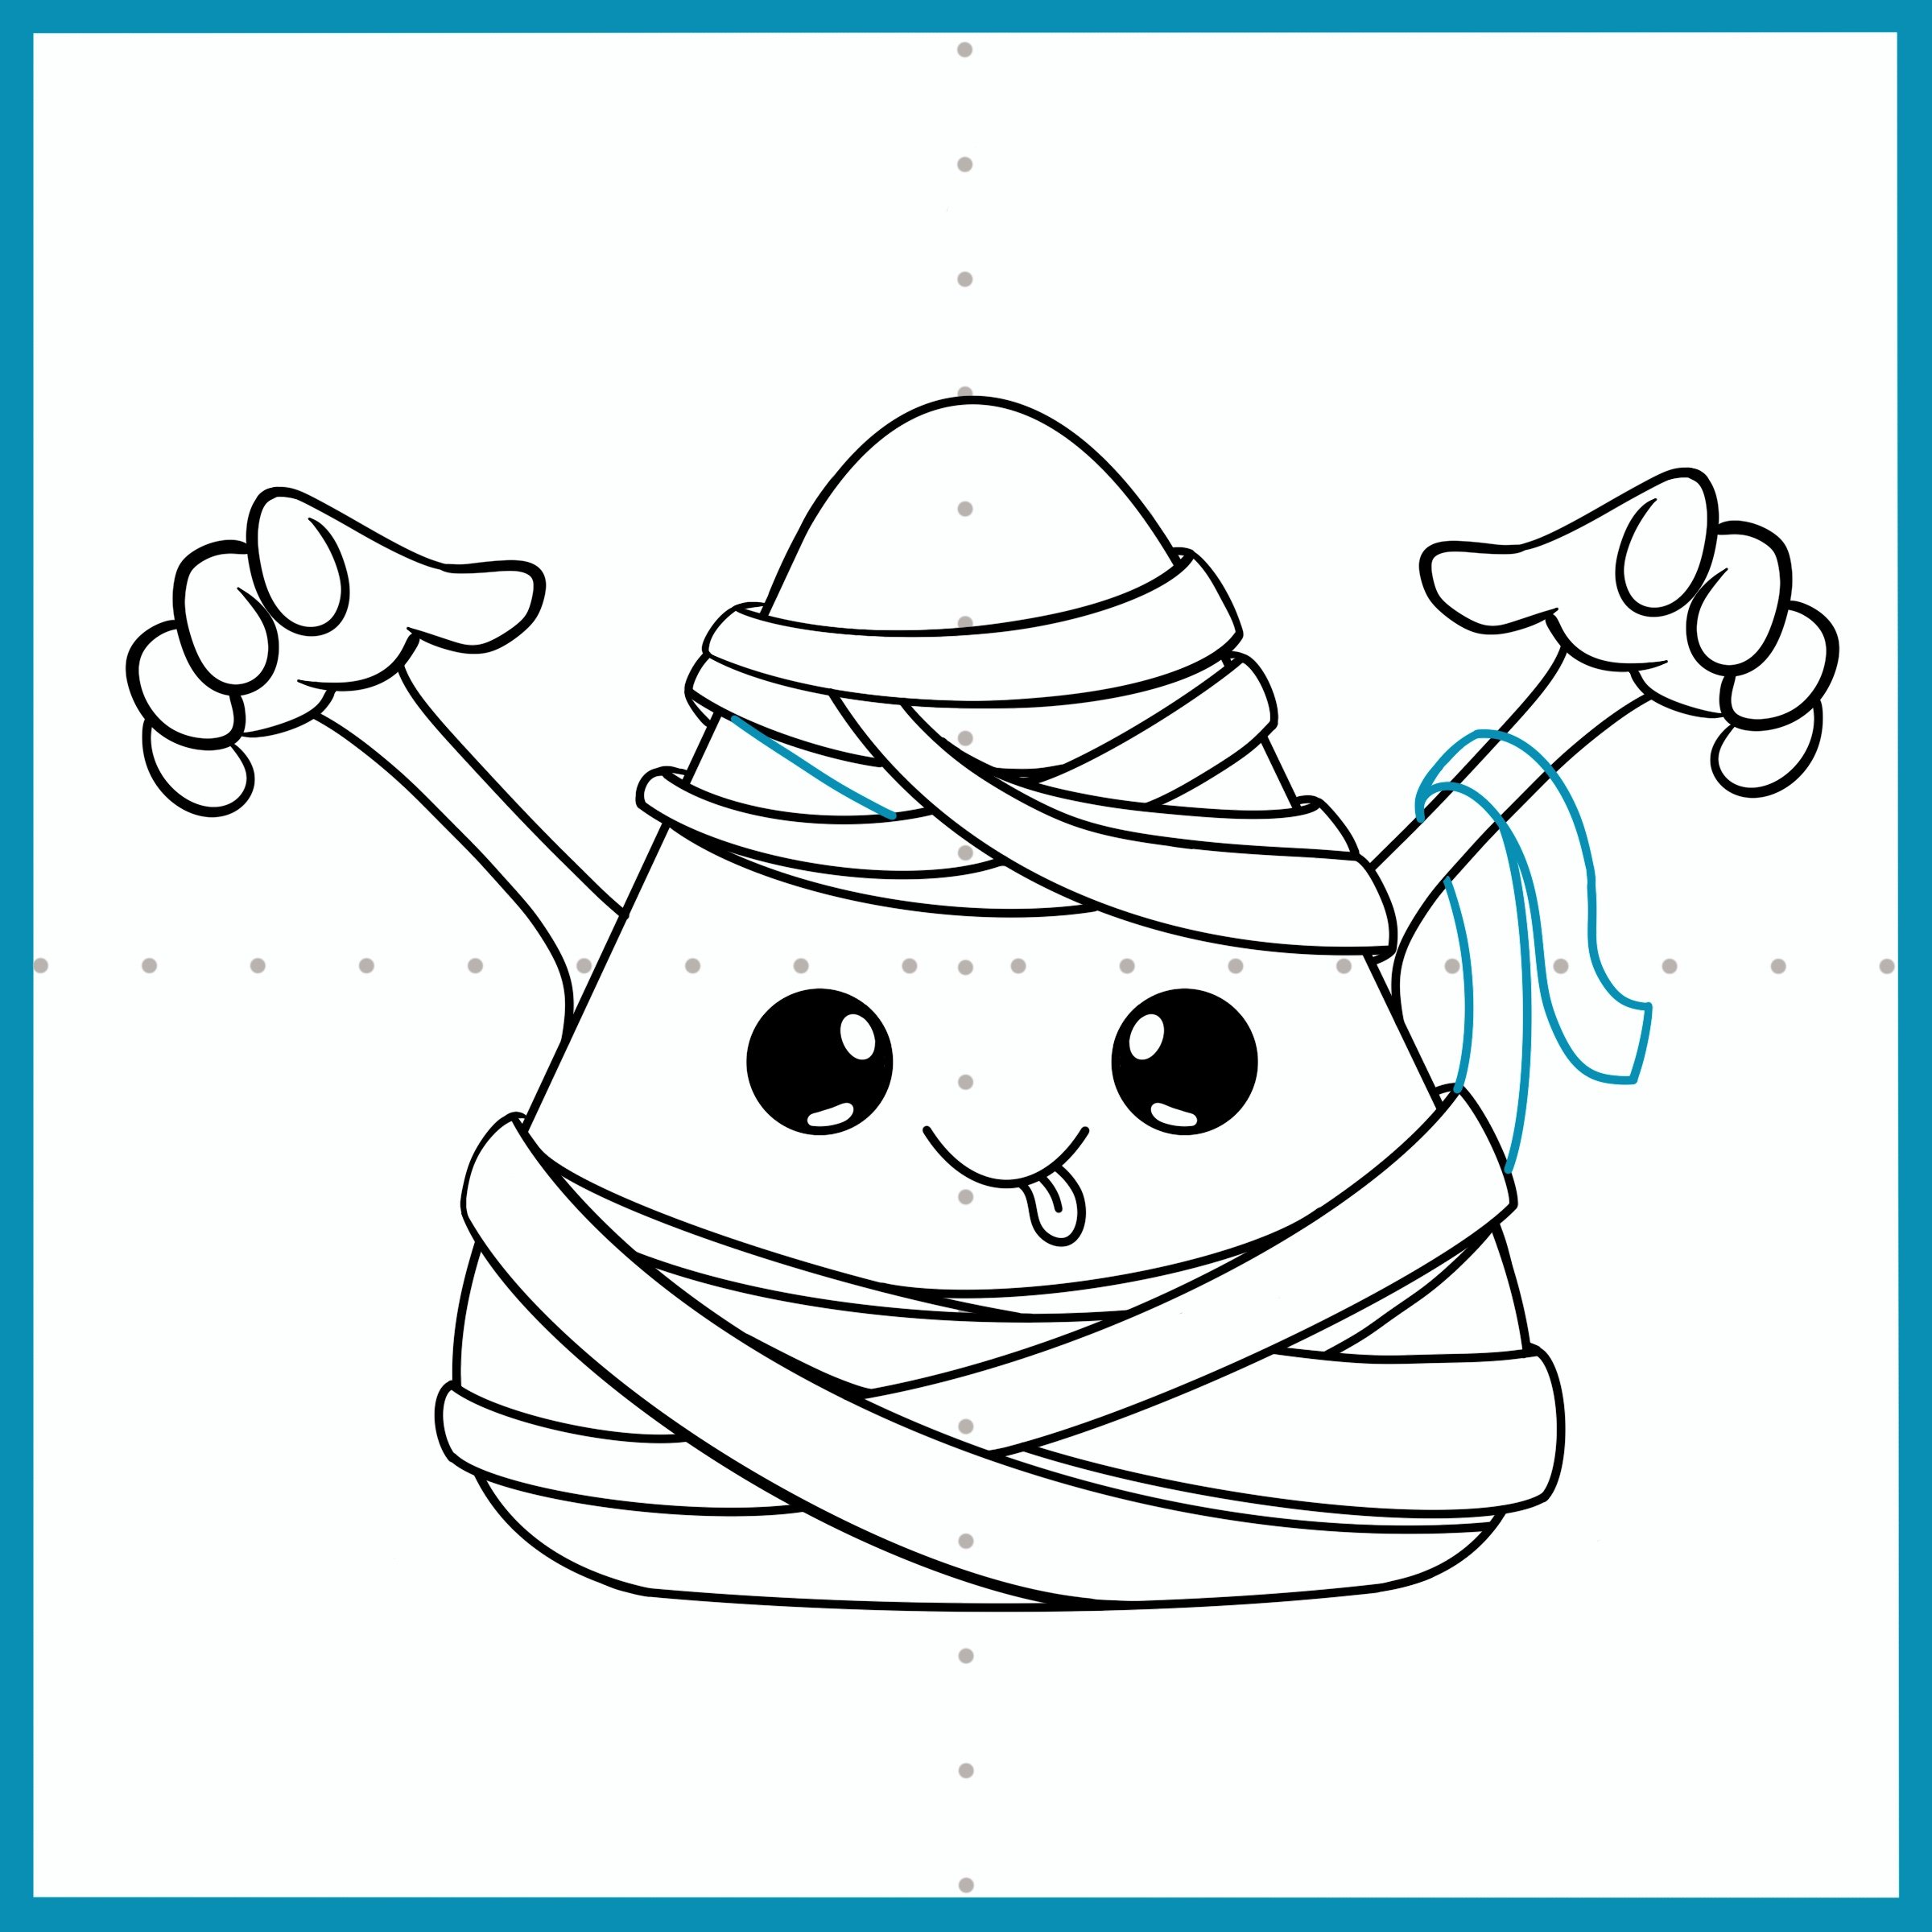
Add the last two wraps. Place the final wrap around the arm, don’t forget to erase parts of the candy corn hidden by the mummy costume. Tip: if your background is windy make the wrap more flowy.
Step 20
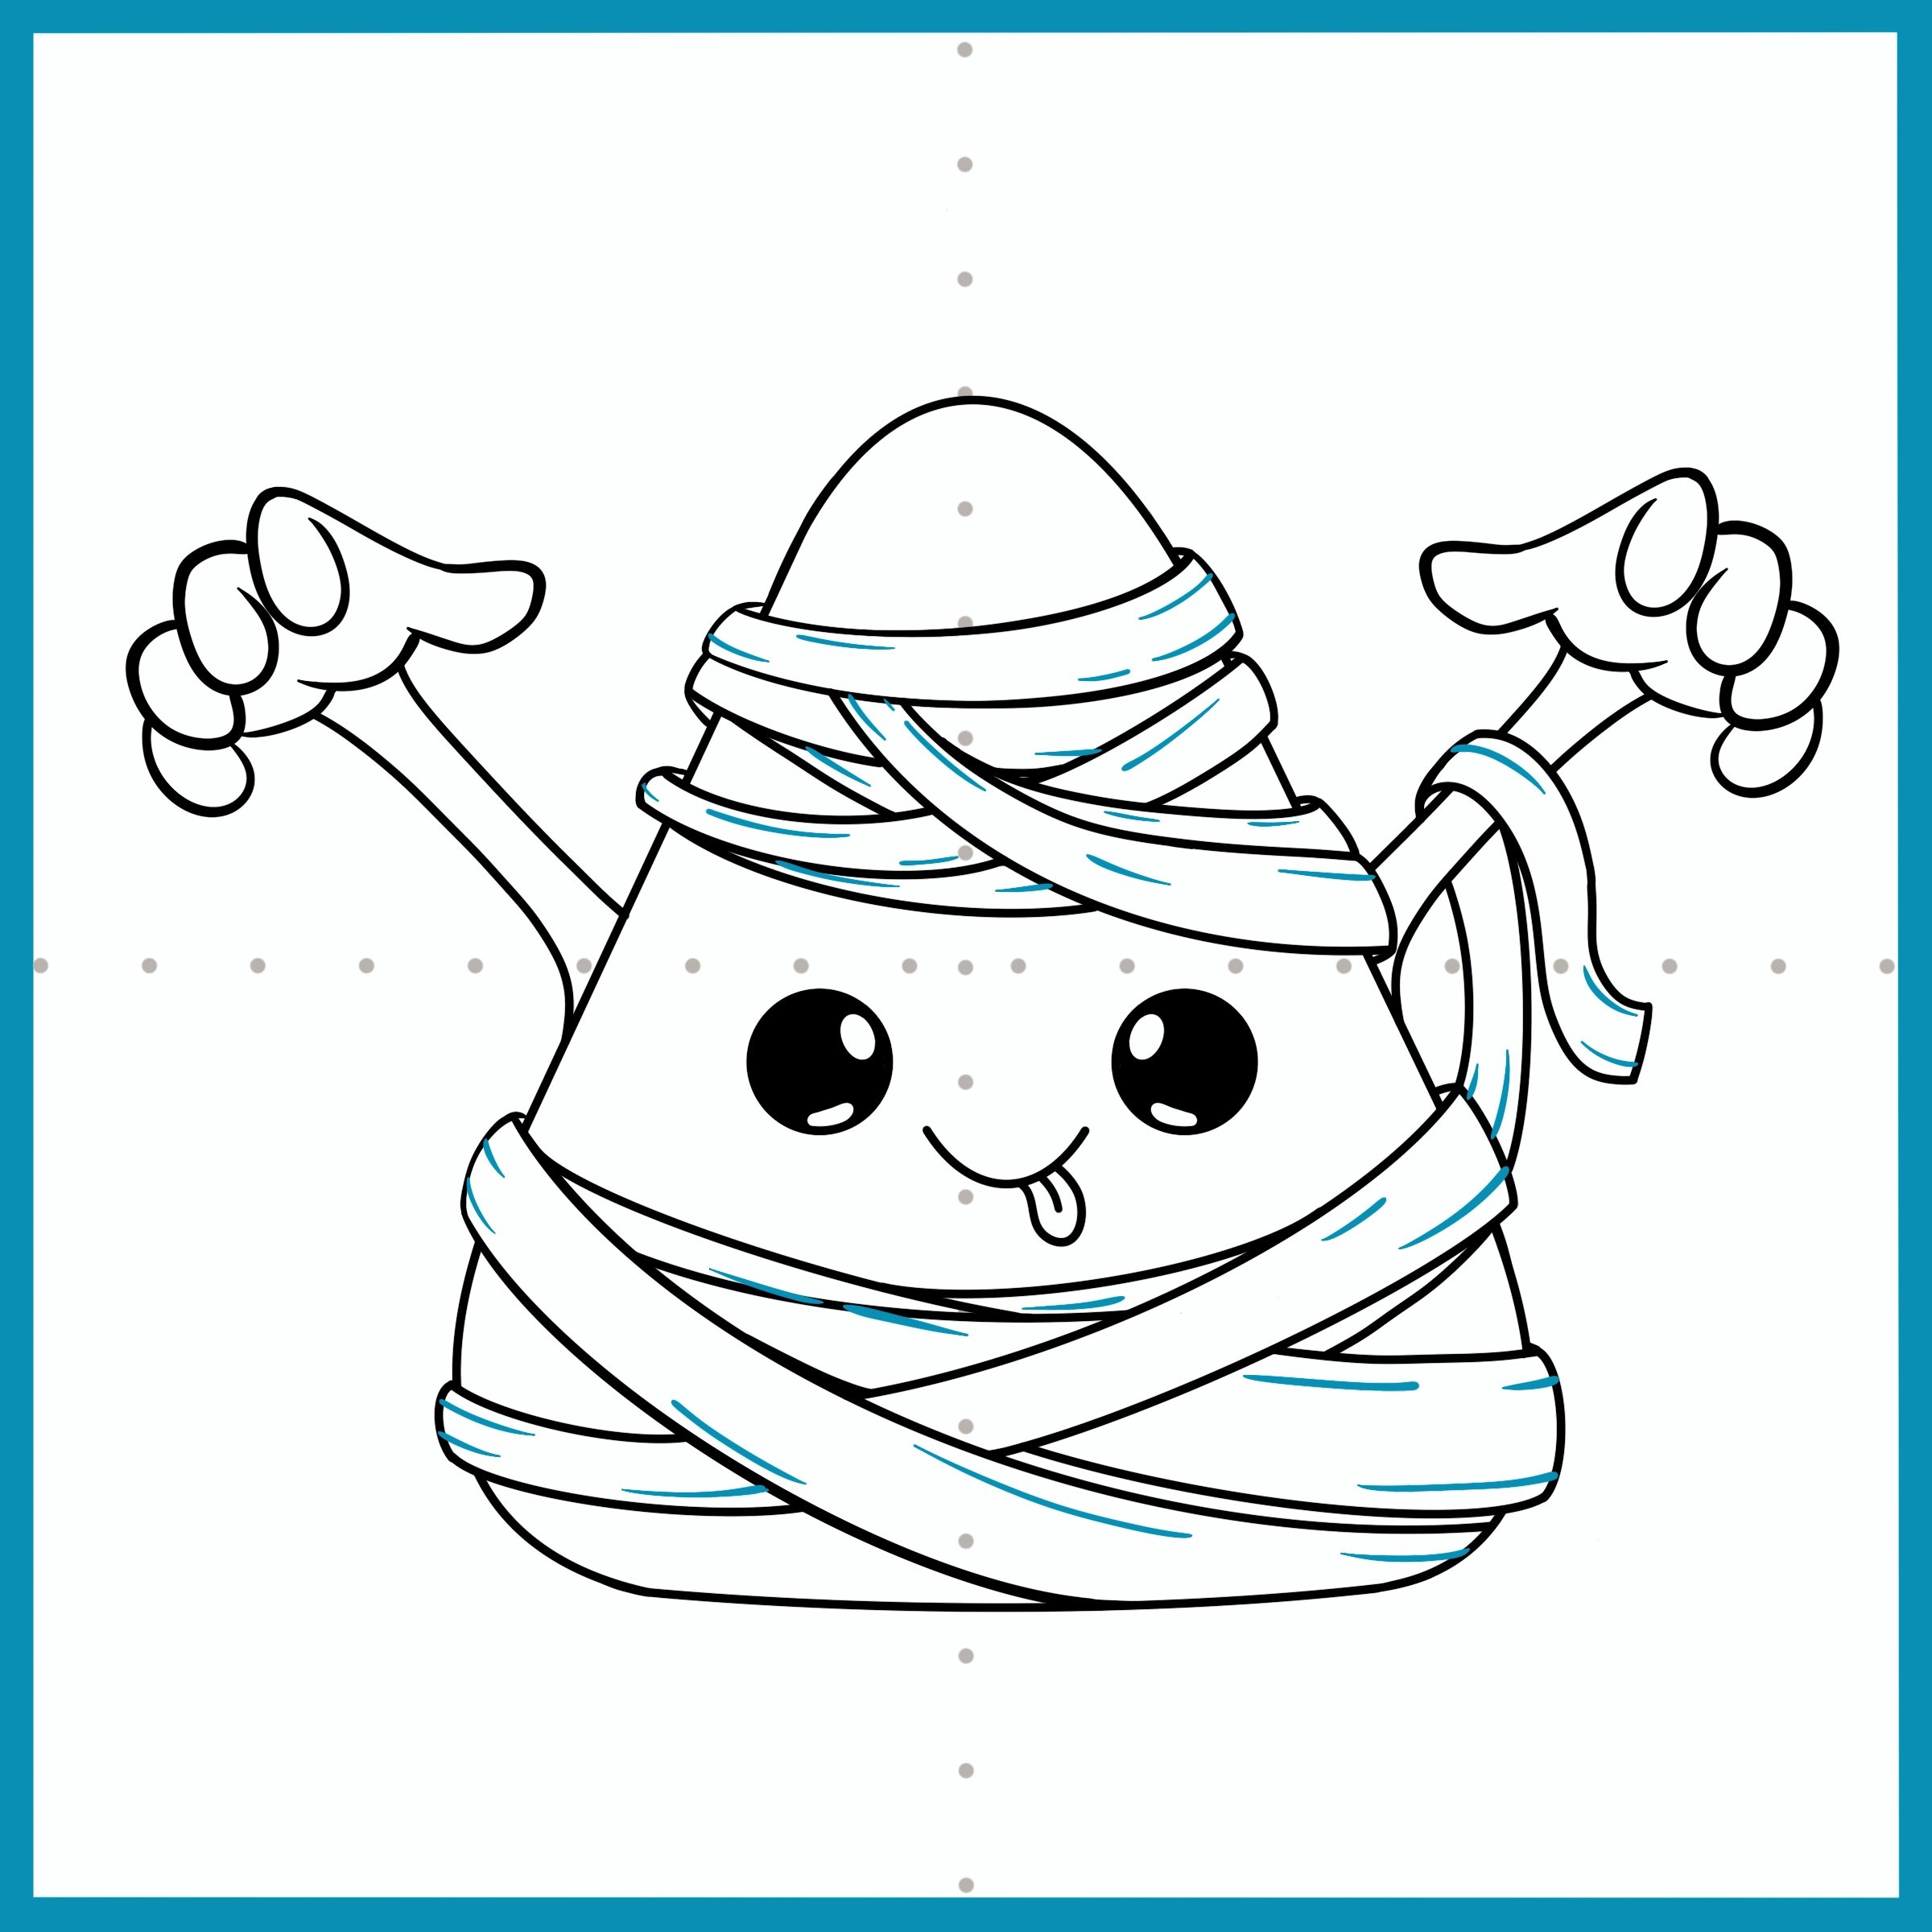
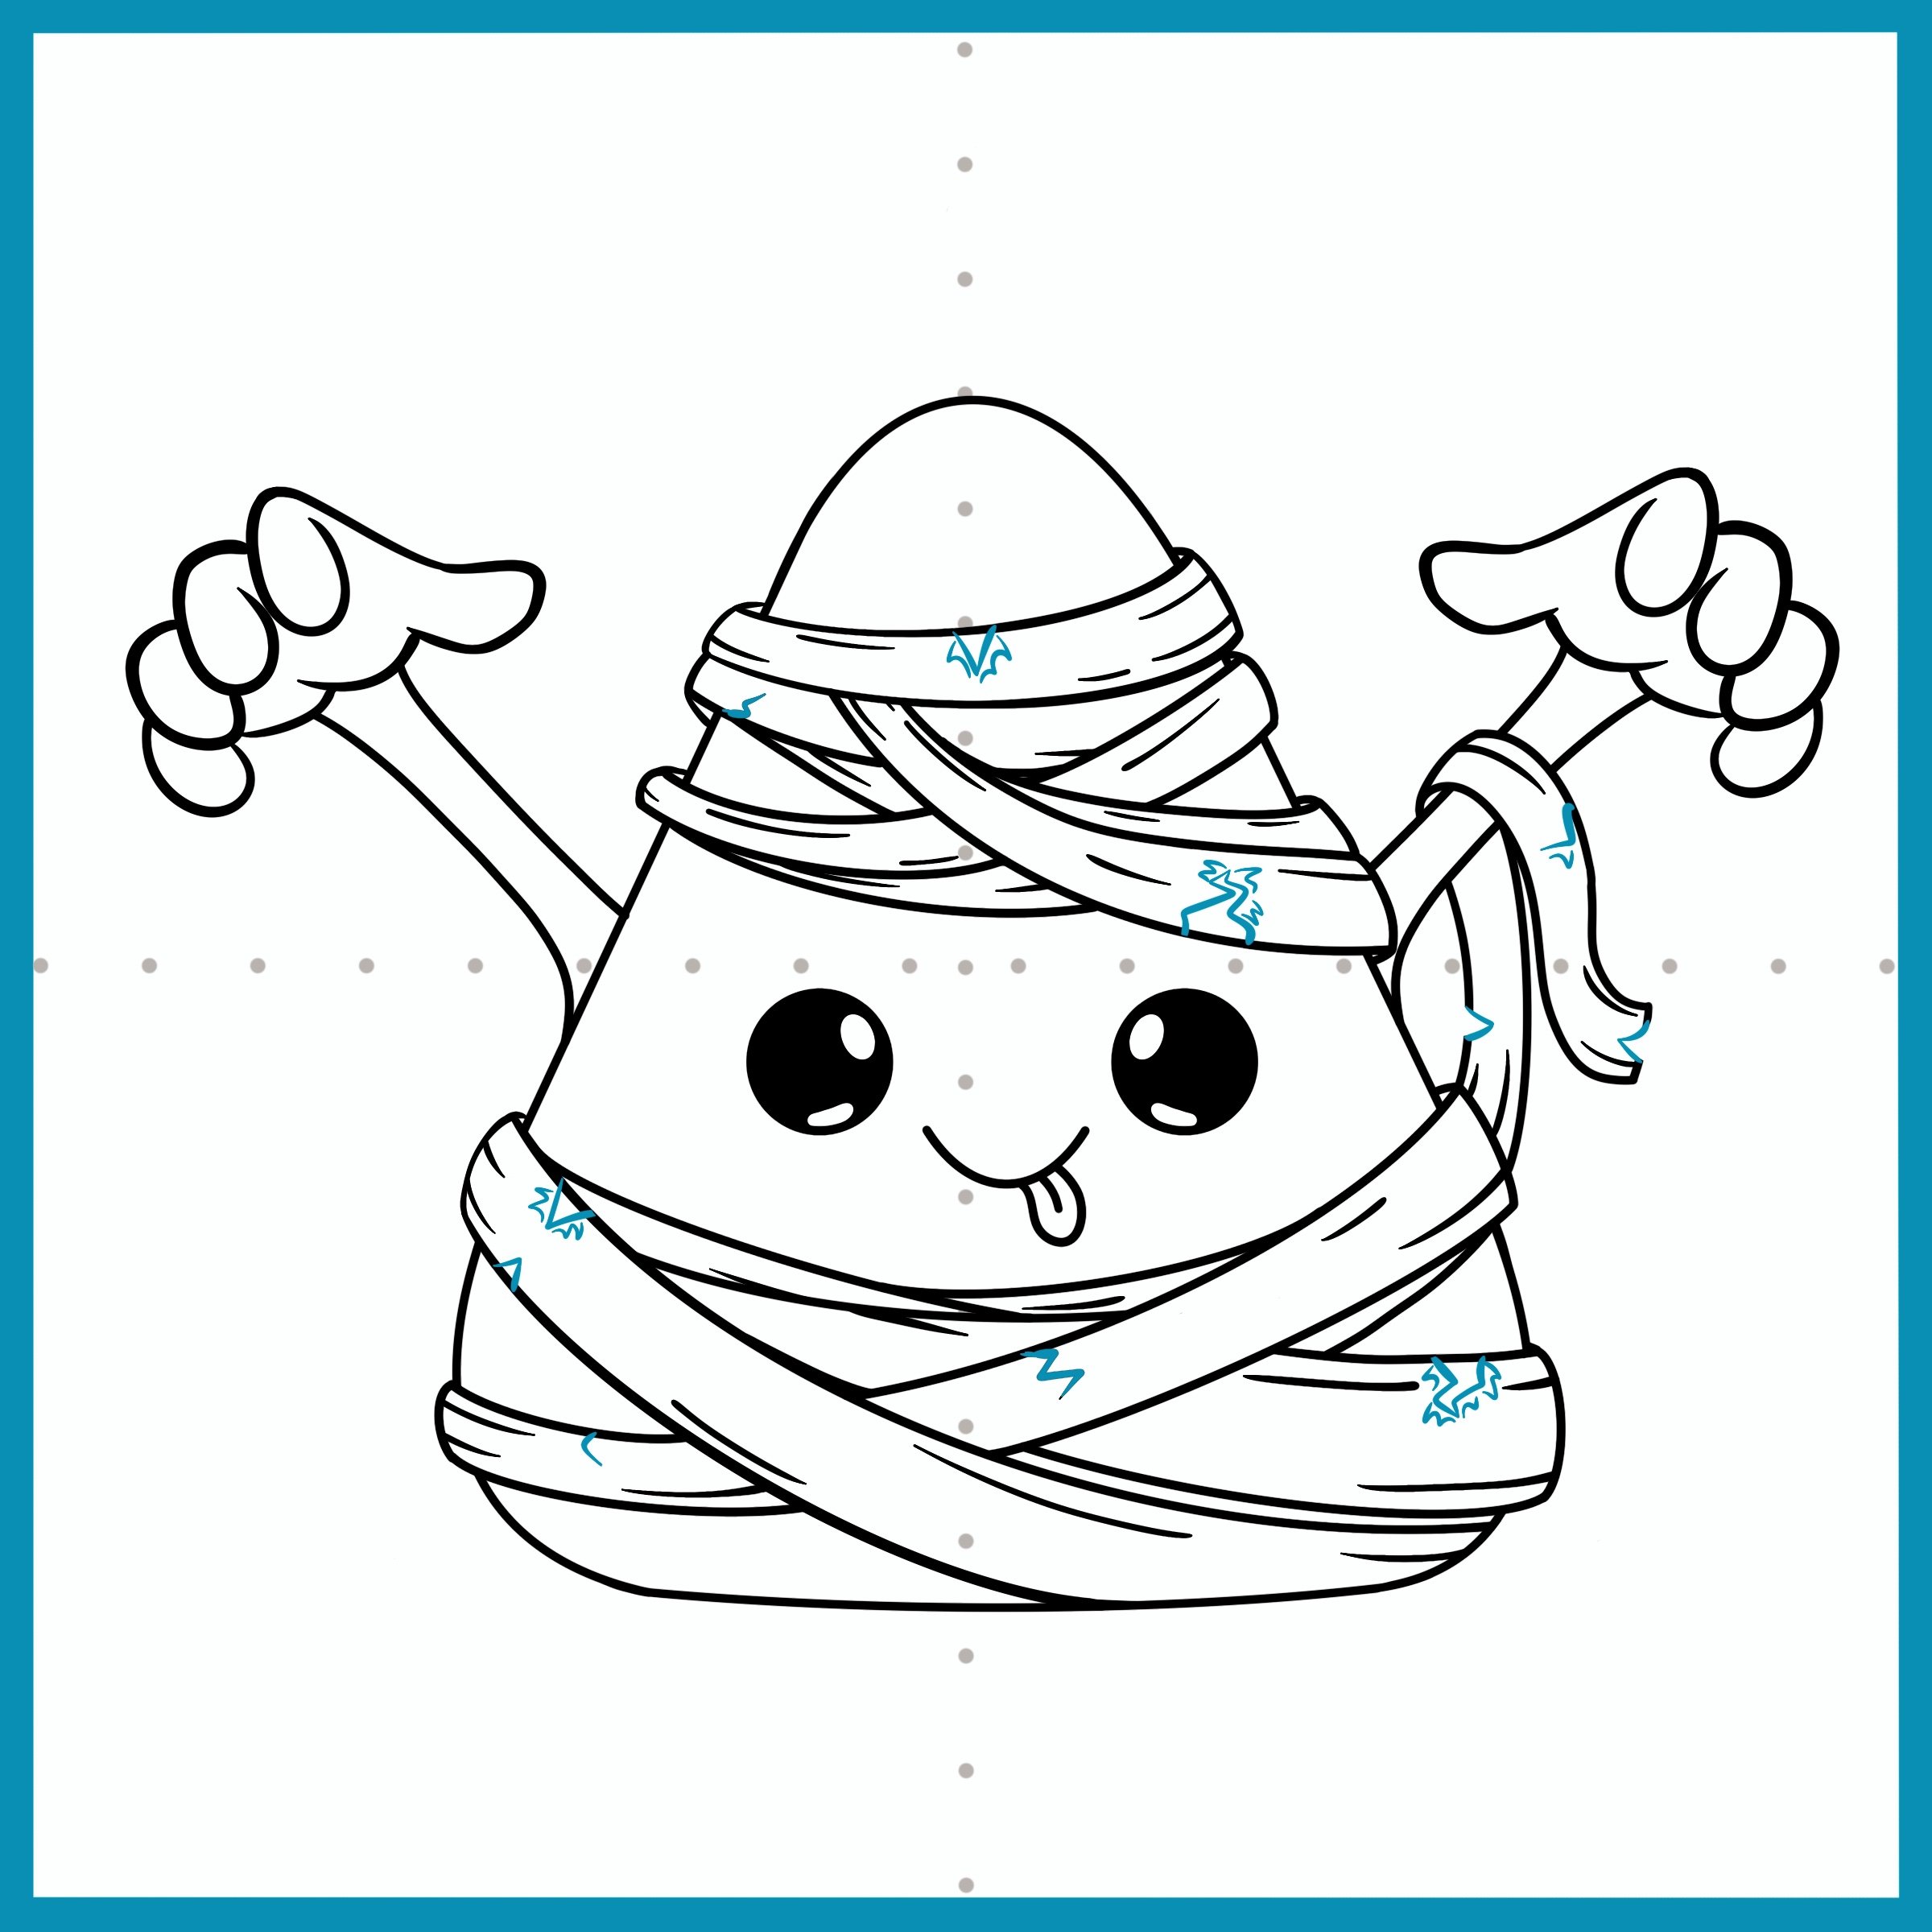
Almost done! Let’s make the mummy costume look old by adding some wrinkles.
Step 21
Finally, add some details to the mummy costume. Rips and folds help date the mummy costume.
Amazing Job!
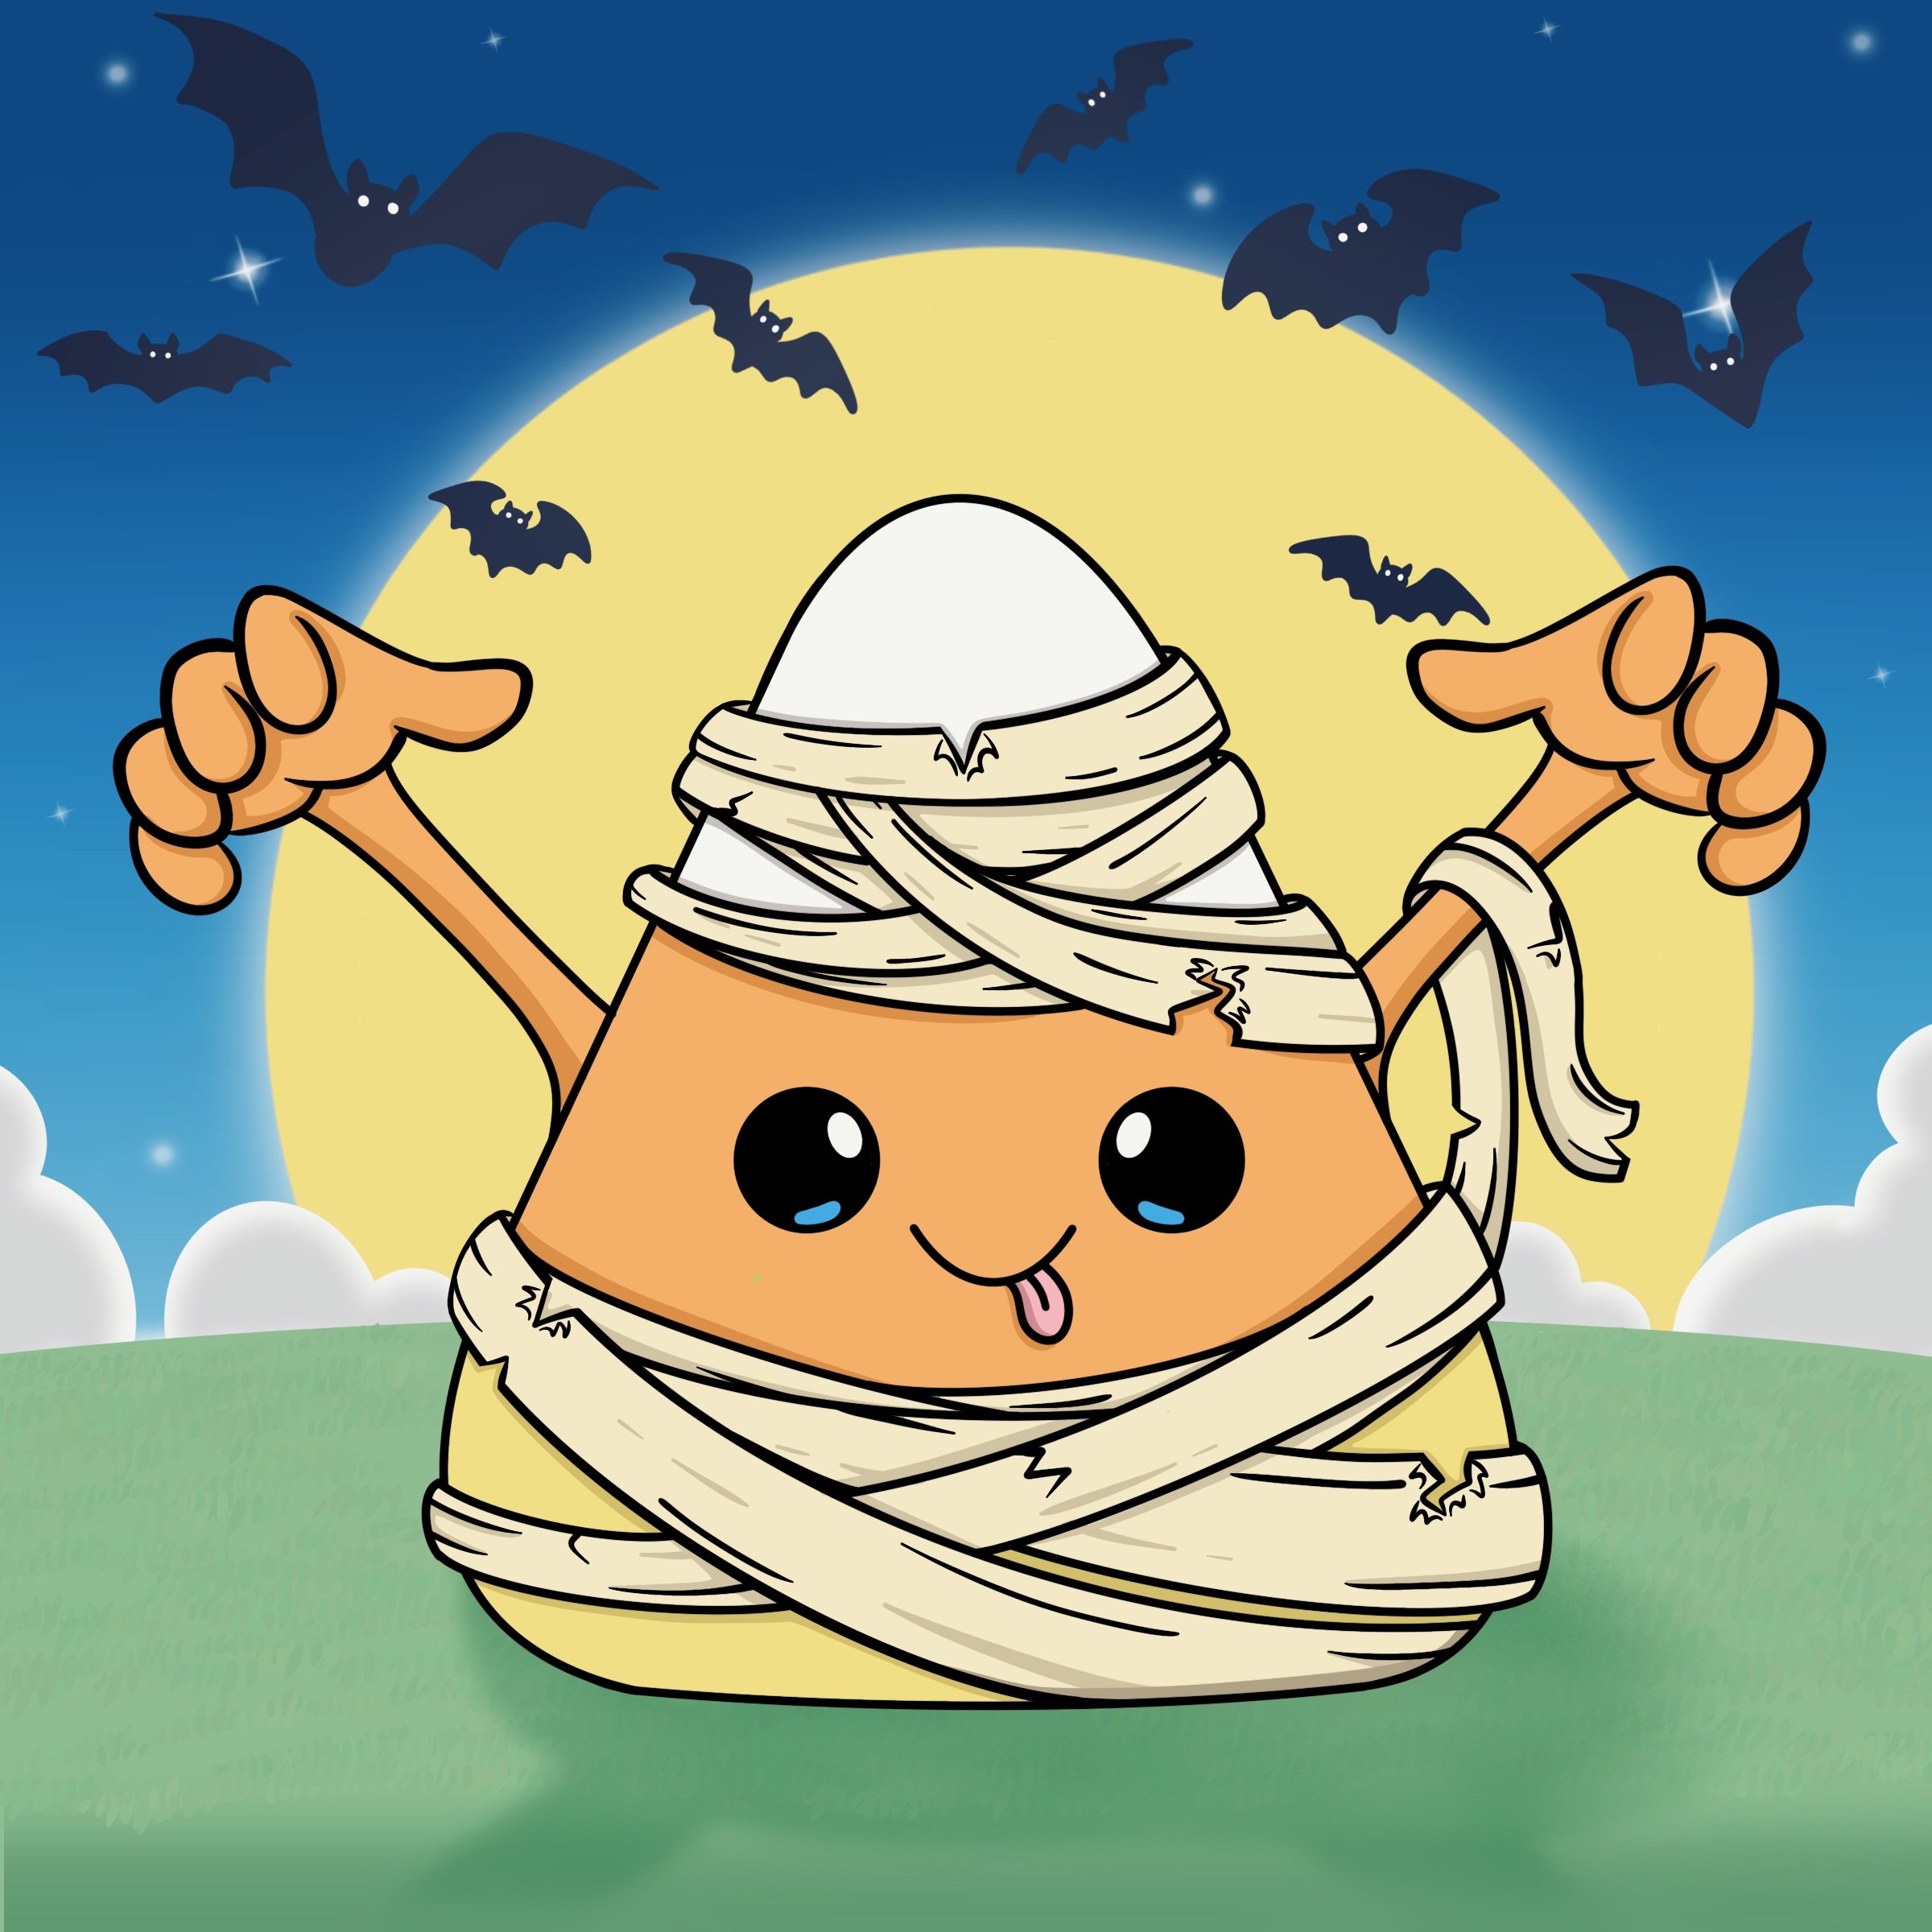
Hooray! You've conjured up your very own candy corn cutie! Now it's time for the real magic to begin. Grab your favorite colors and let's bring this sweet treat to life! Will your candy corn zoom off on a broomstick adventure? Or maybe host a monster mash party? The possibilities are as endless as your imagination! So pick up those crayons, markers, or paints and let's turn this black-and-white sketch into a colorful Halloween story. Remember, in the world of creativity, there are no tricks - only treats!
Need to come back later? Pin it now, draw later:
FREE coloring page just for you!
Click the image for a bigger print
