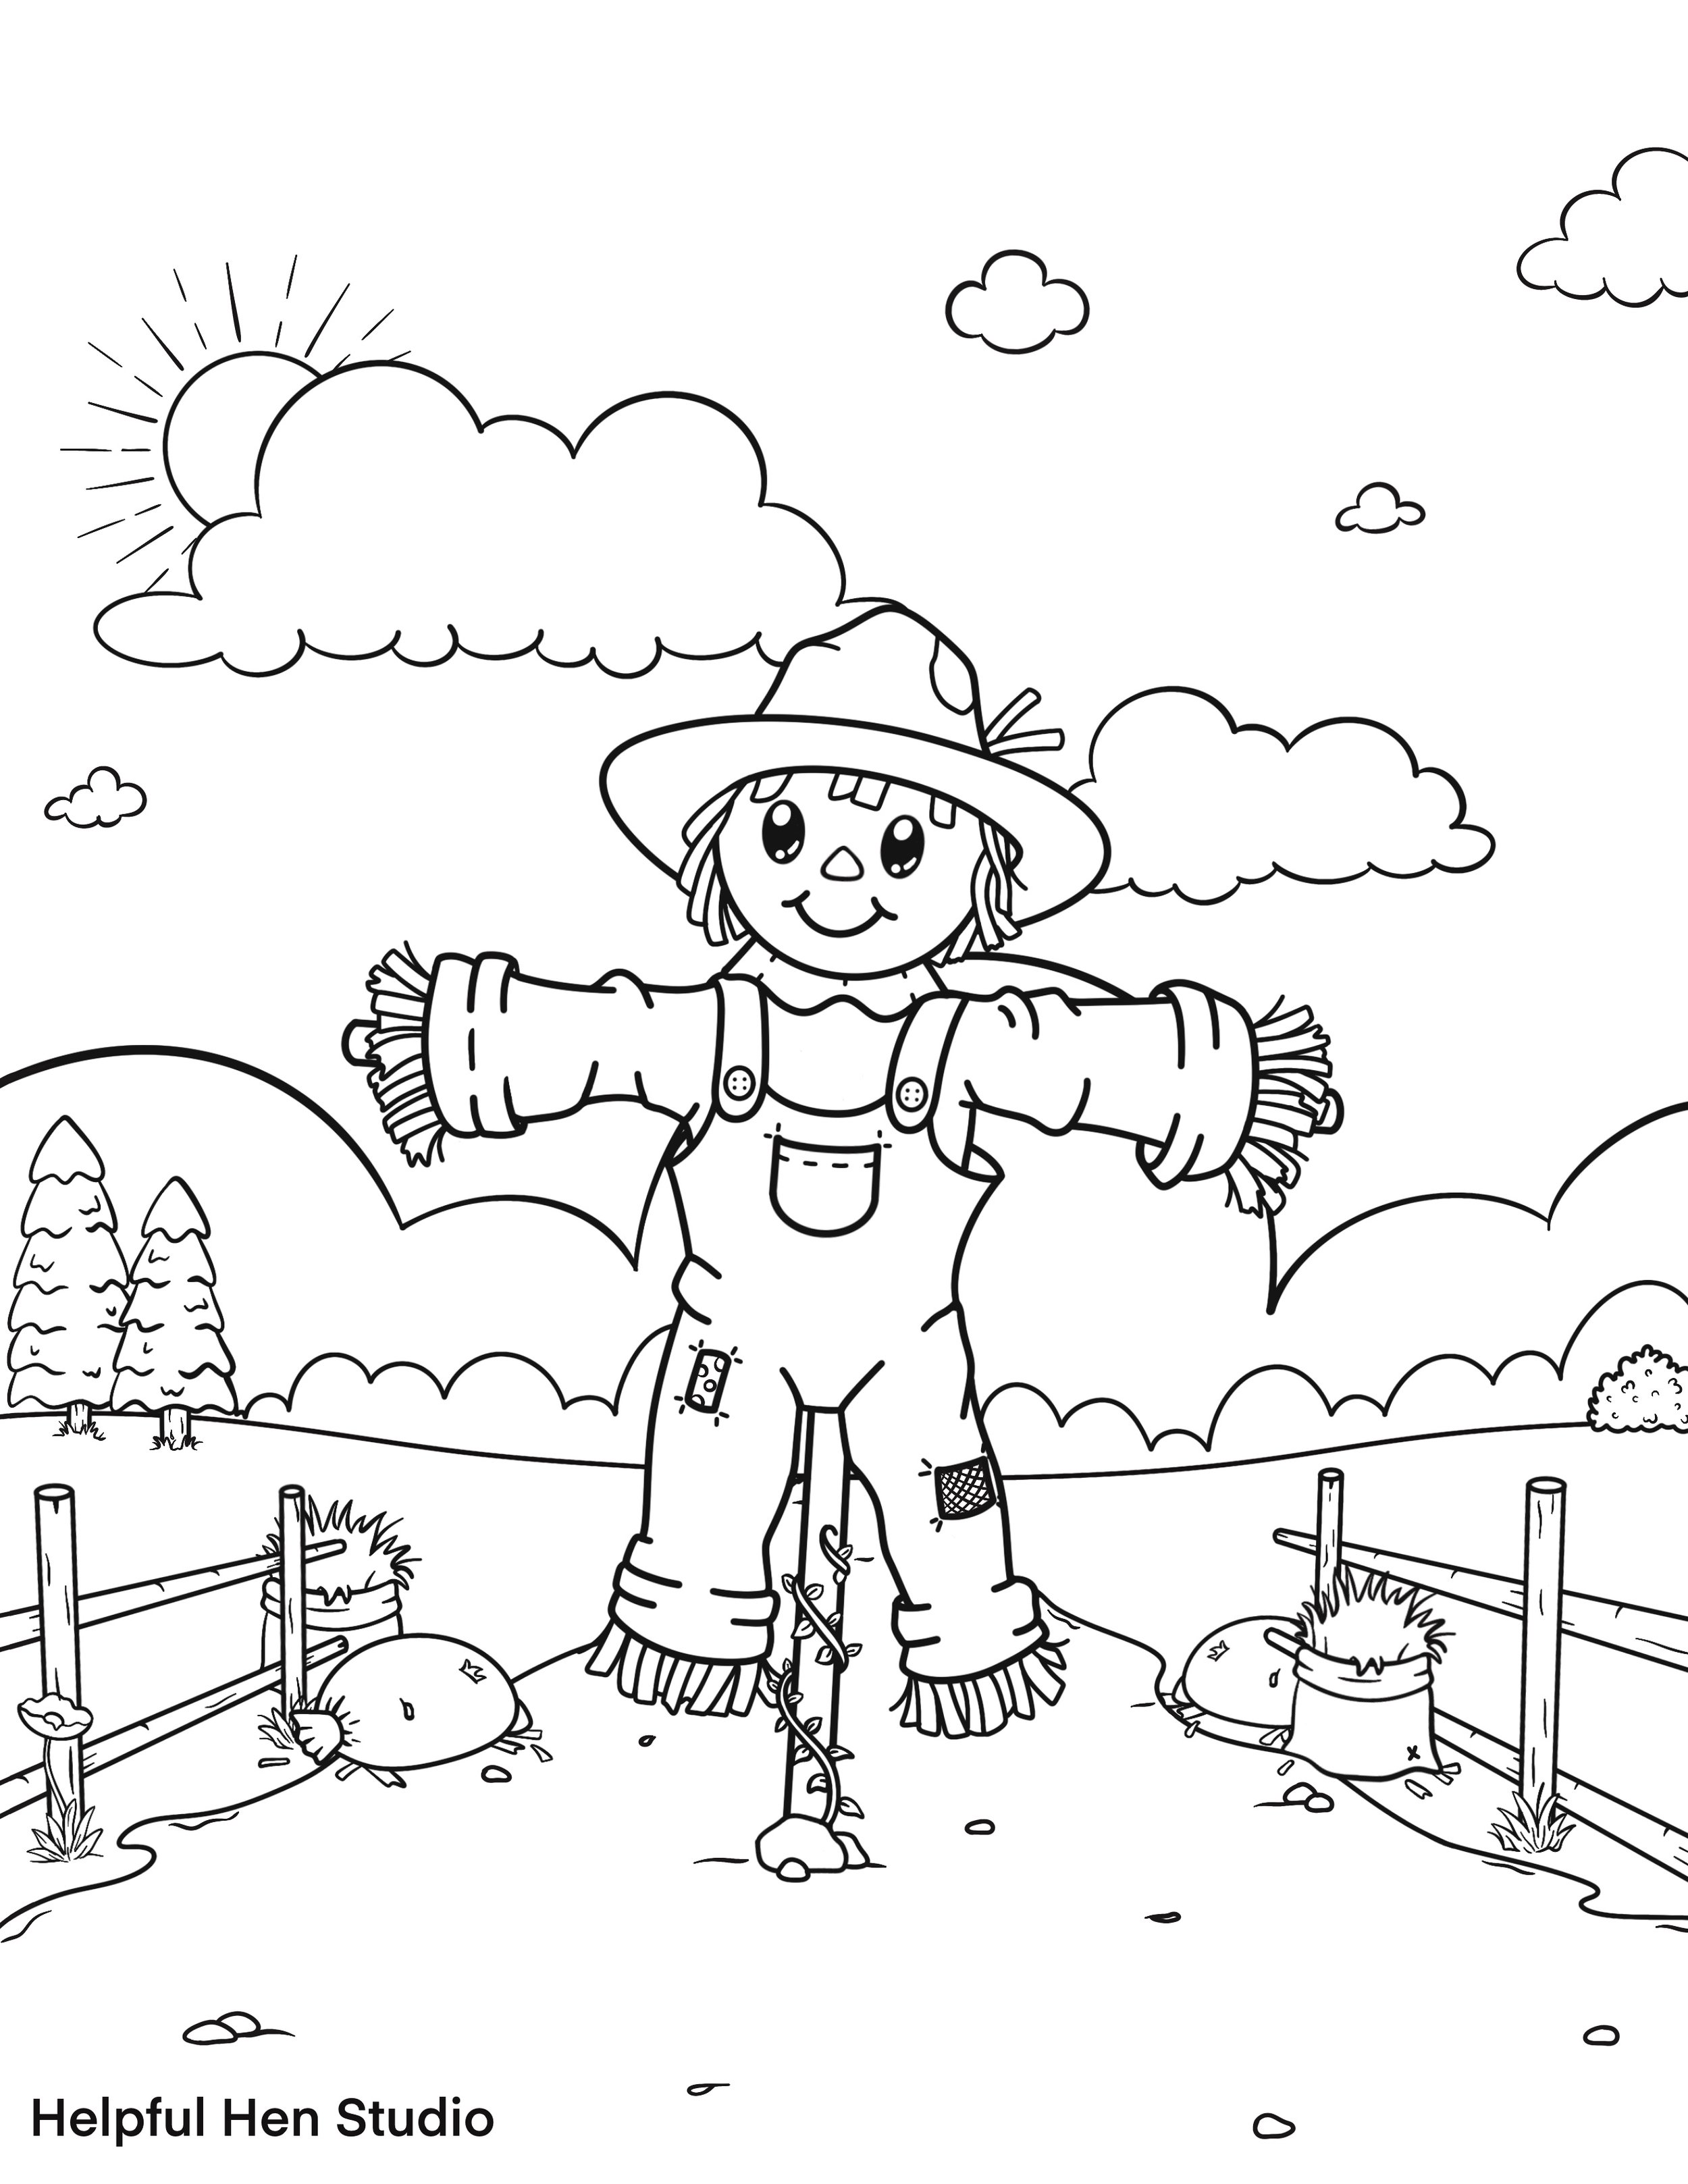
How to Draw: Happy Scarecrow
Happy Scarecrow
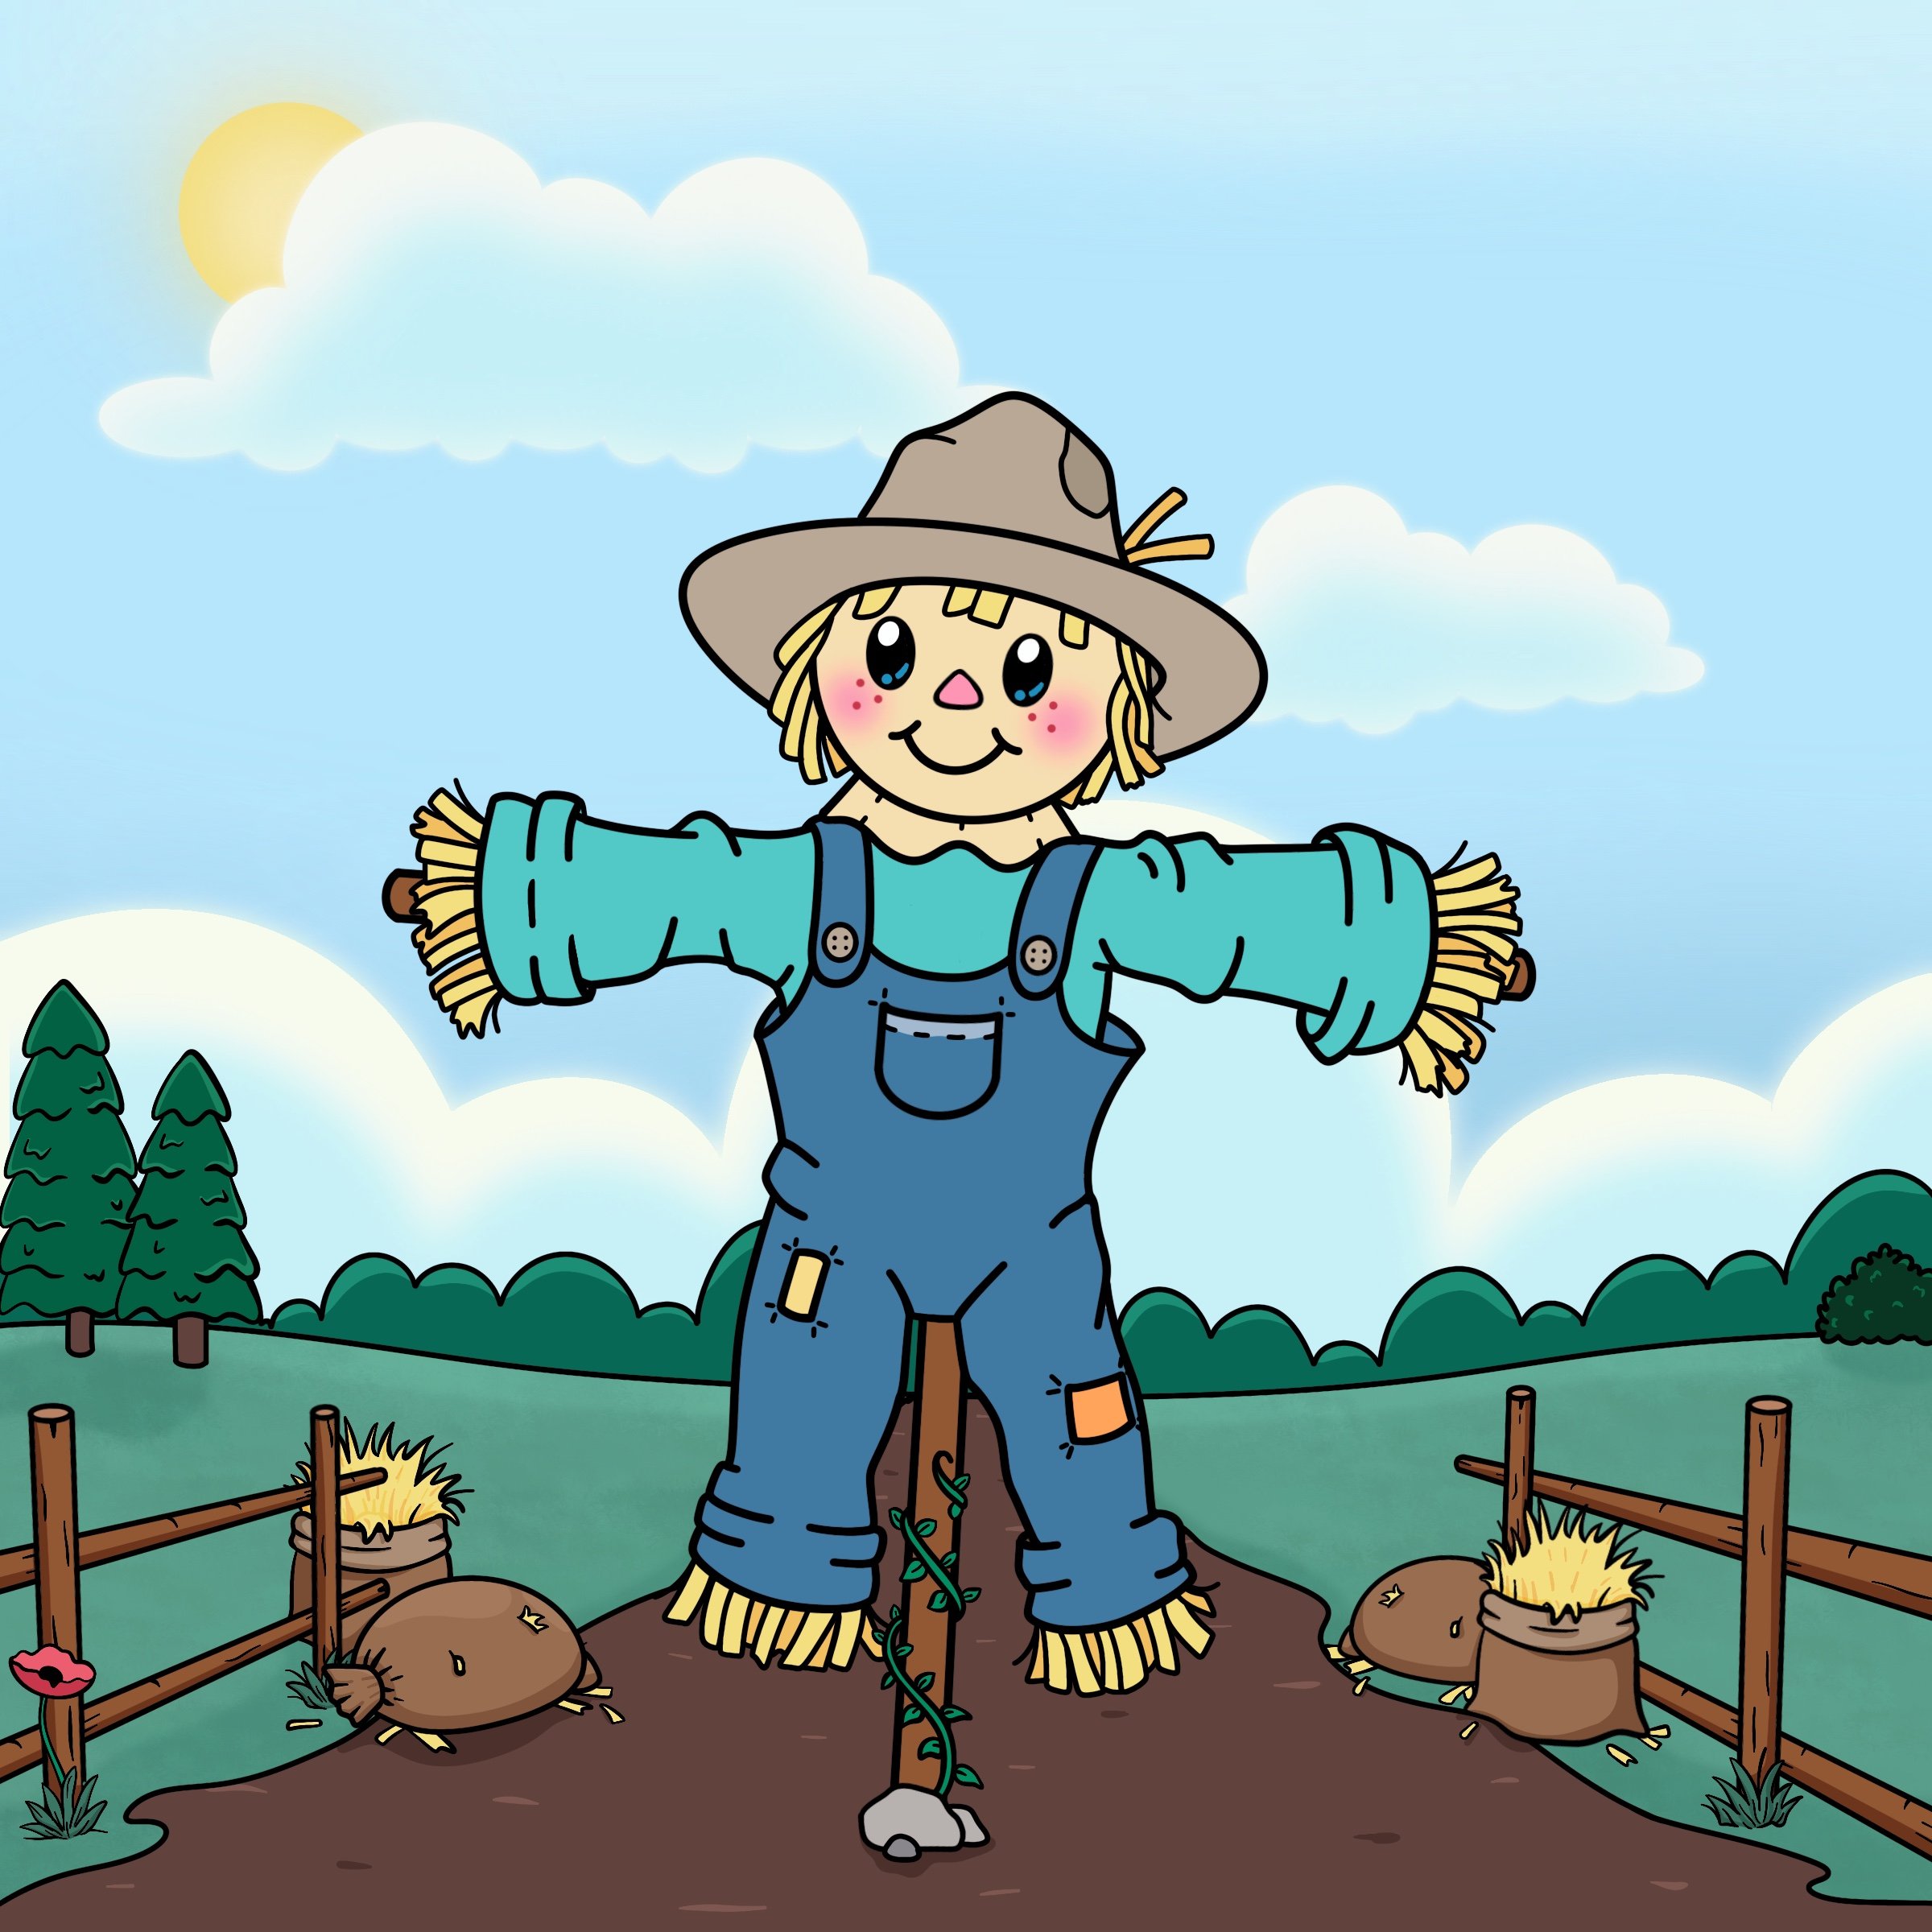
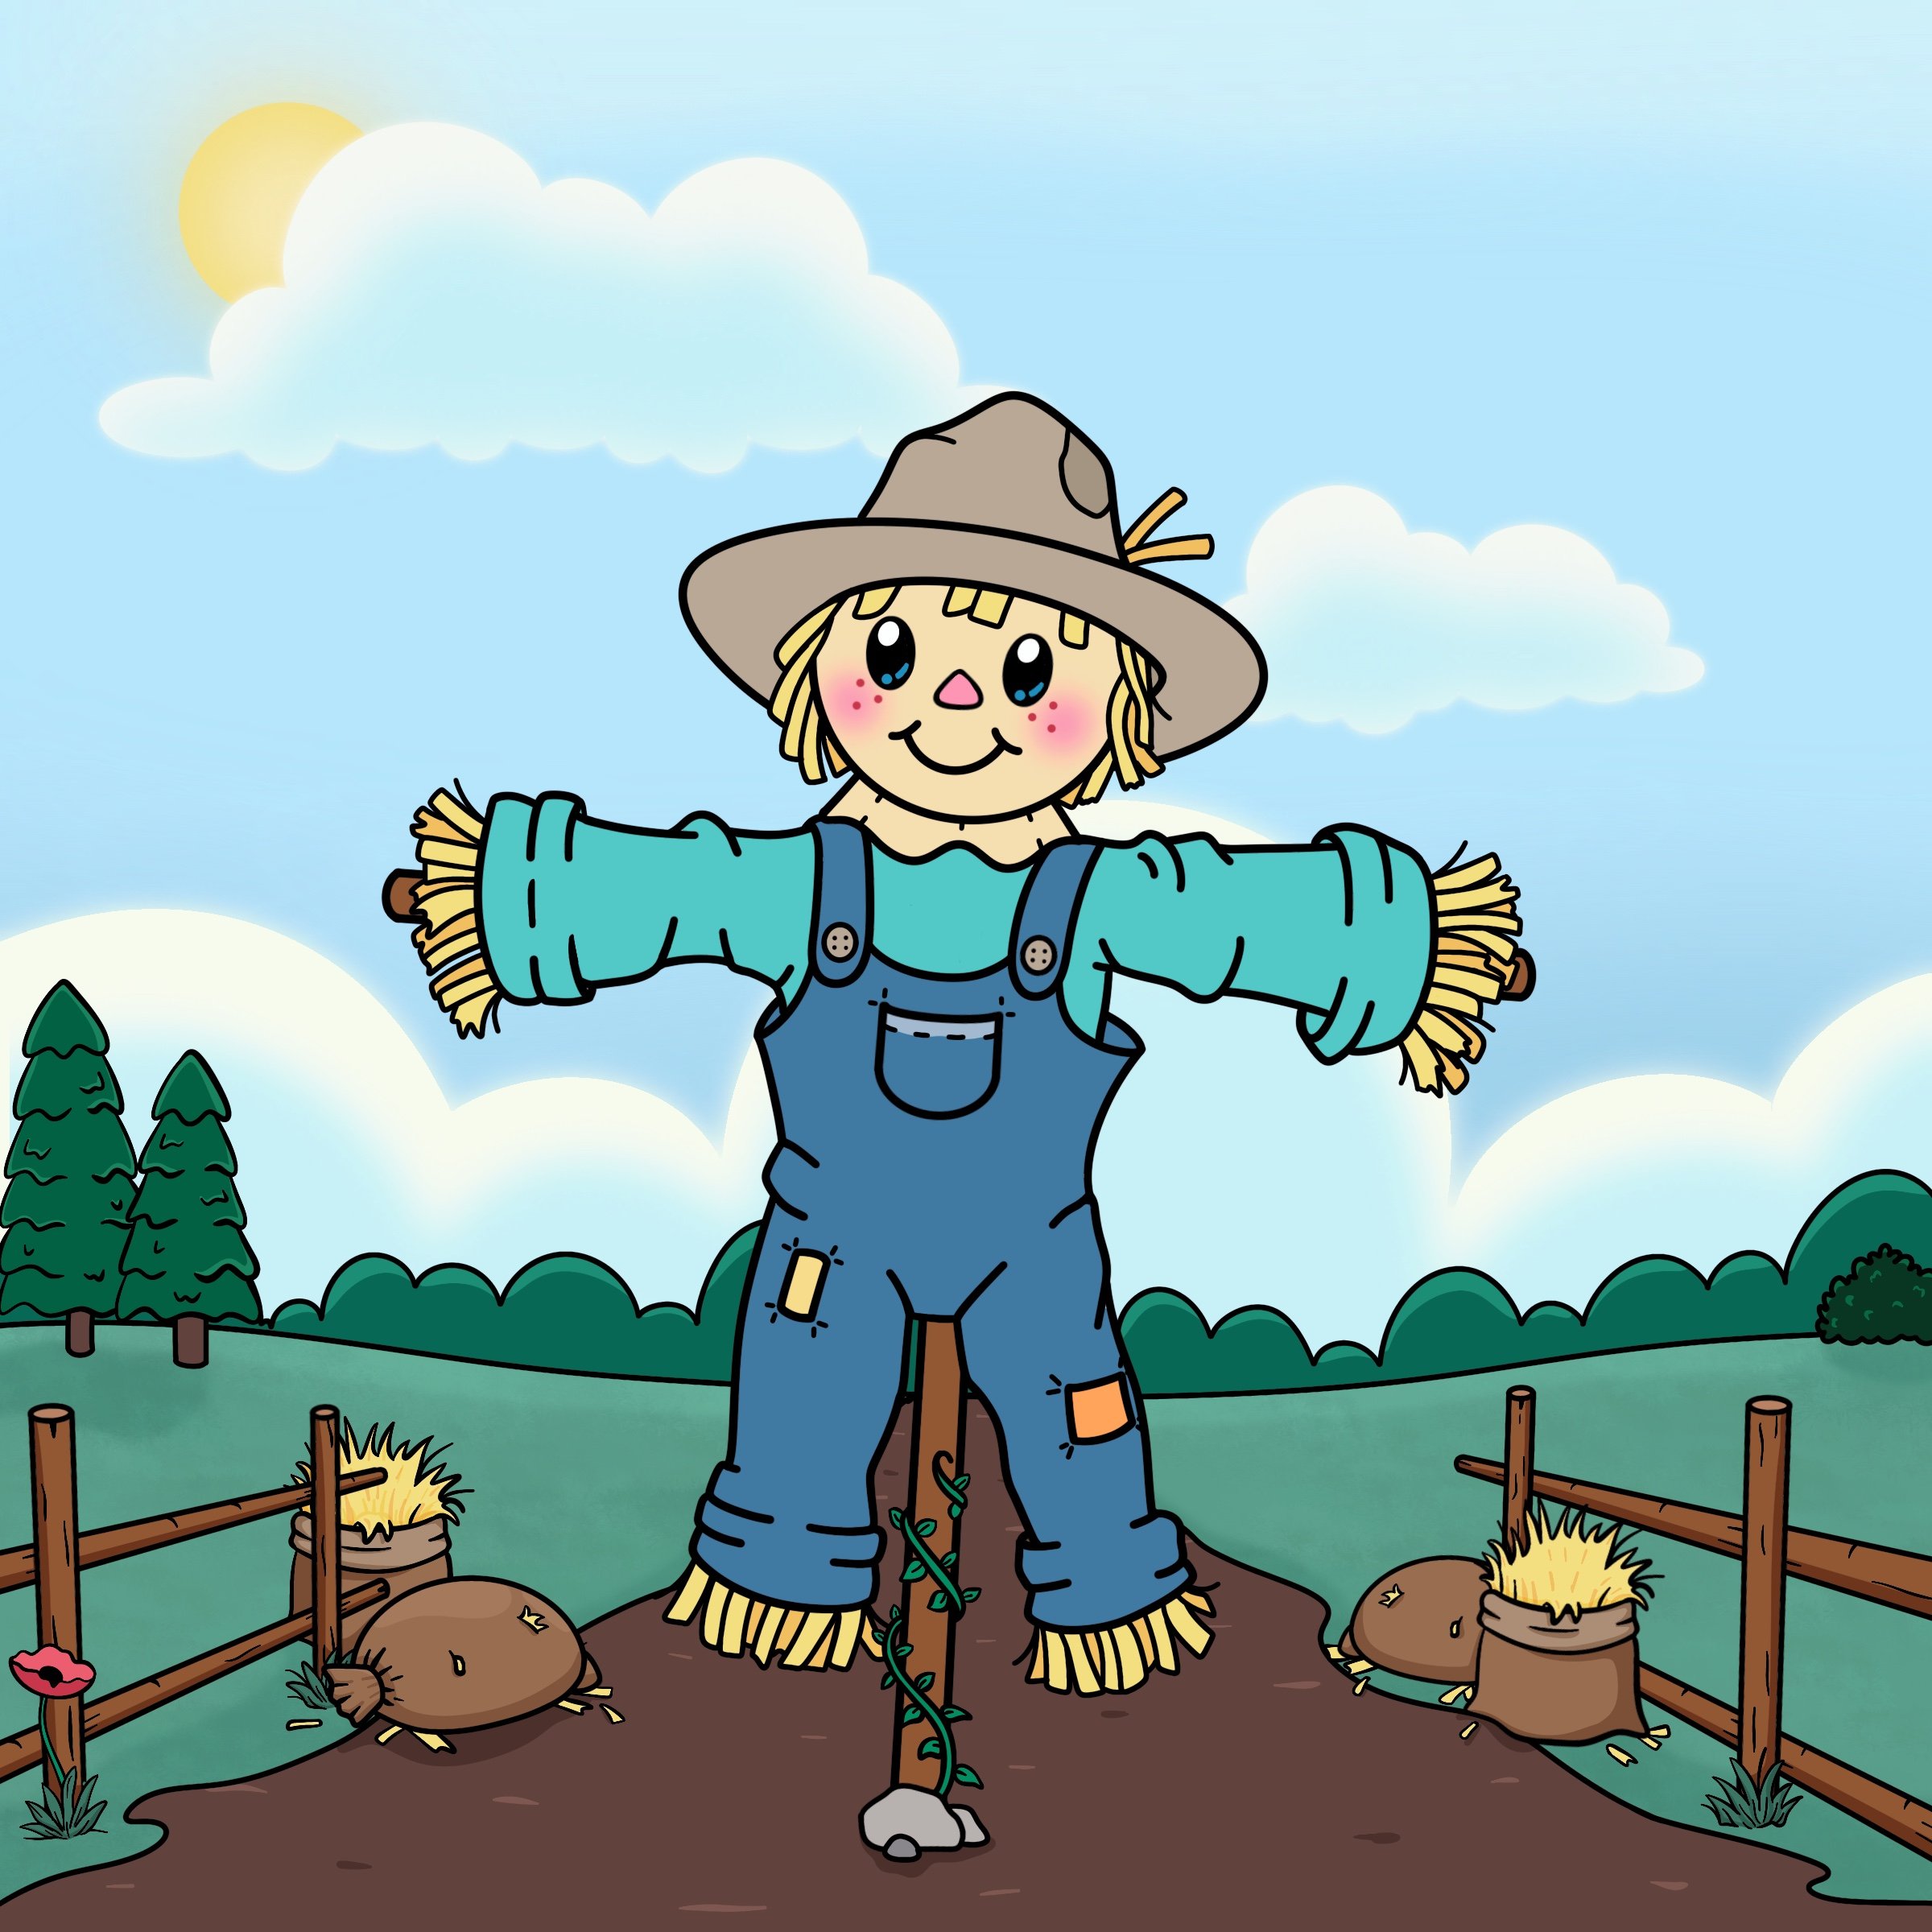
Get ready to harvest some fun with our delightful scarecrow drawing guide! This jolly guardian of the fields is more about spreading smiles than scaring crows. With a straw-stuffed heart of gold and a grin as wide as a cornfield, our happy scarecrow is sure to add a touch of autumn cheer to your artwork. So grab your pencils and let's create the friendliest face to ever grace a pumpkin patch! It's time to draw up some farmyard magic that'll have even the crows coming back for a chat!
Free coloring page included! Scroll to the end for the link
Materials Needed:
Paper
Pencil
Eraser
Colored pencils, crayons, paint, or any other way you would like to add color, be creative!
If Using Procreate:
I have only used default brushes in these tutorials. If you have Procreate and would like to use the same brushes: for the outline use Monoline, and Hand draw. For the coloring use Hard Blend Airbrush, Hand Draw, and Soft Air Brush.
FREE Drawing Grids Available for Download
Need a drawing grid to follow along? I have included two FREE drawing grids available for download, just click on your preferred size:
Simply download, print, and start drawing with enhanced precision and accuracy today!
Step 1
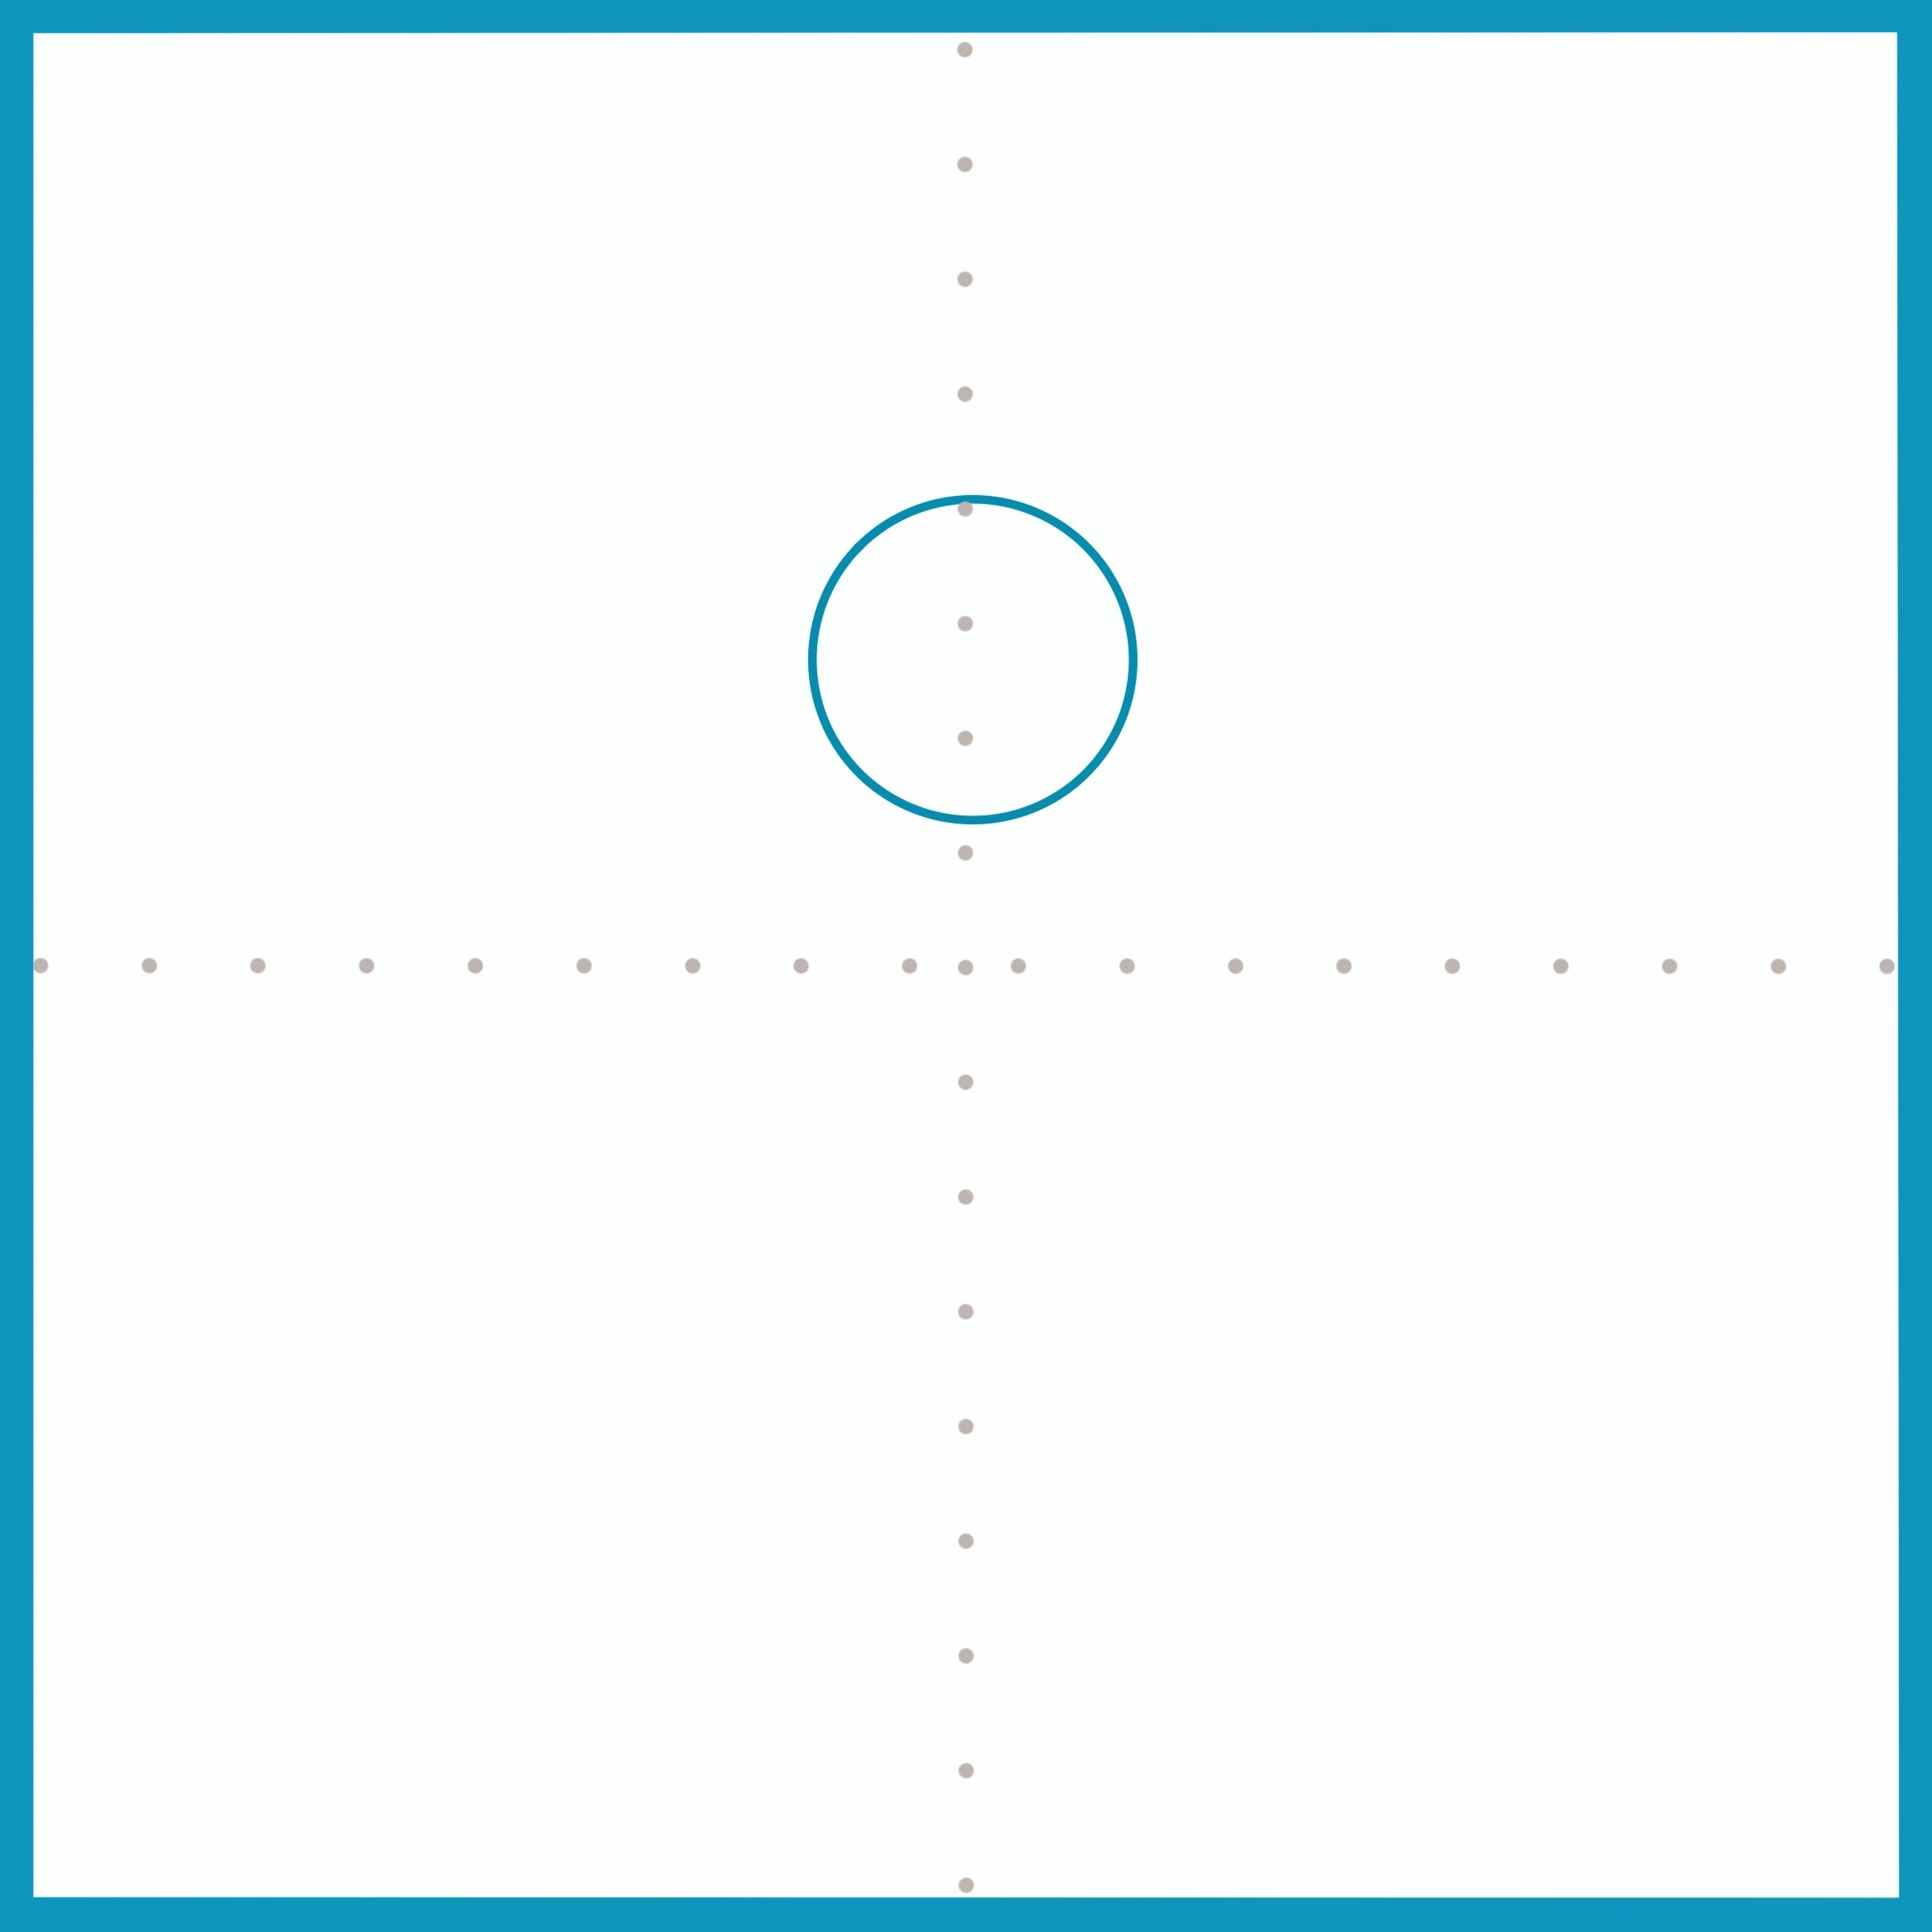
Draw a circle for the head
Step 2
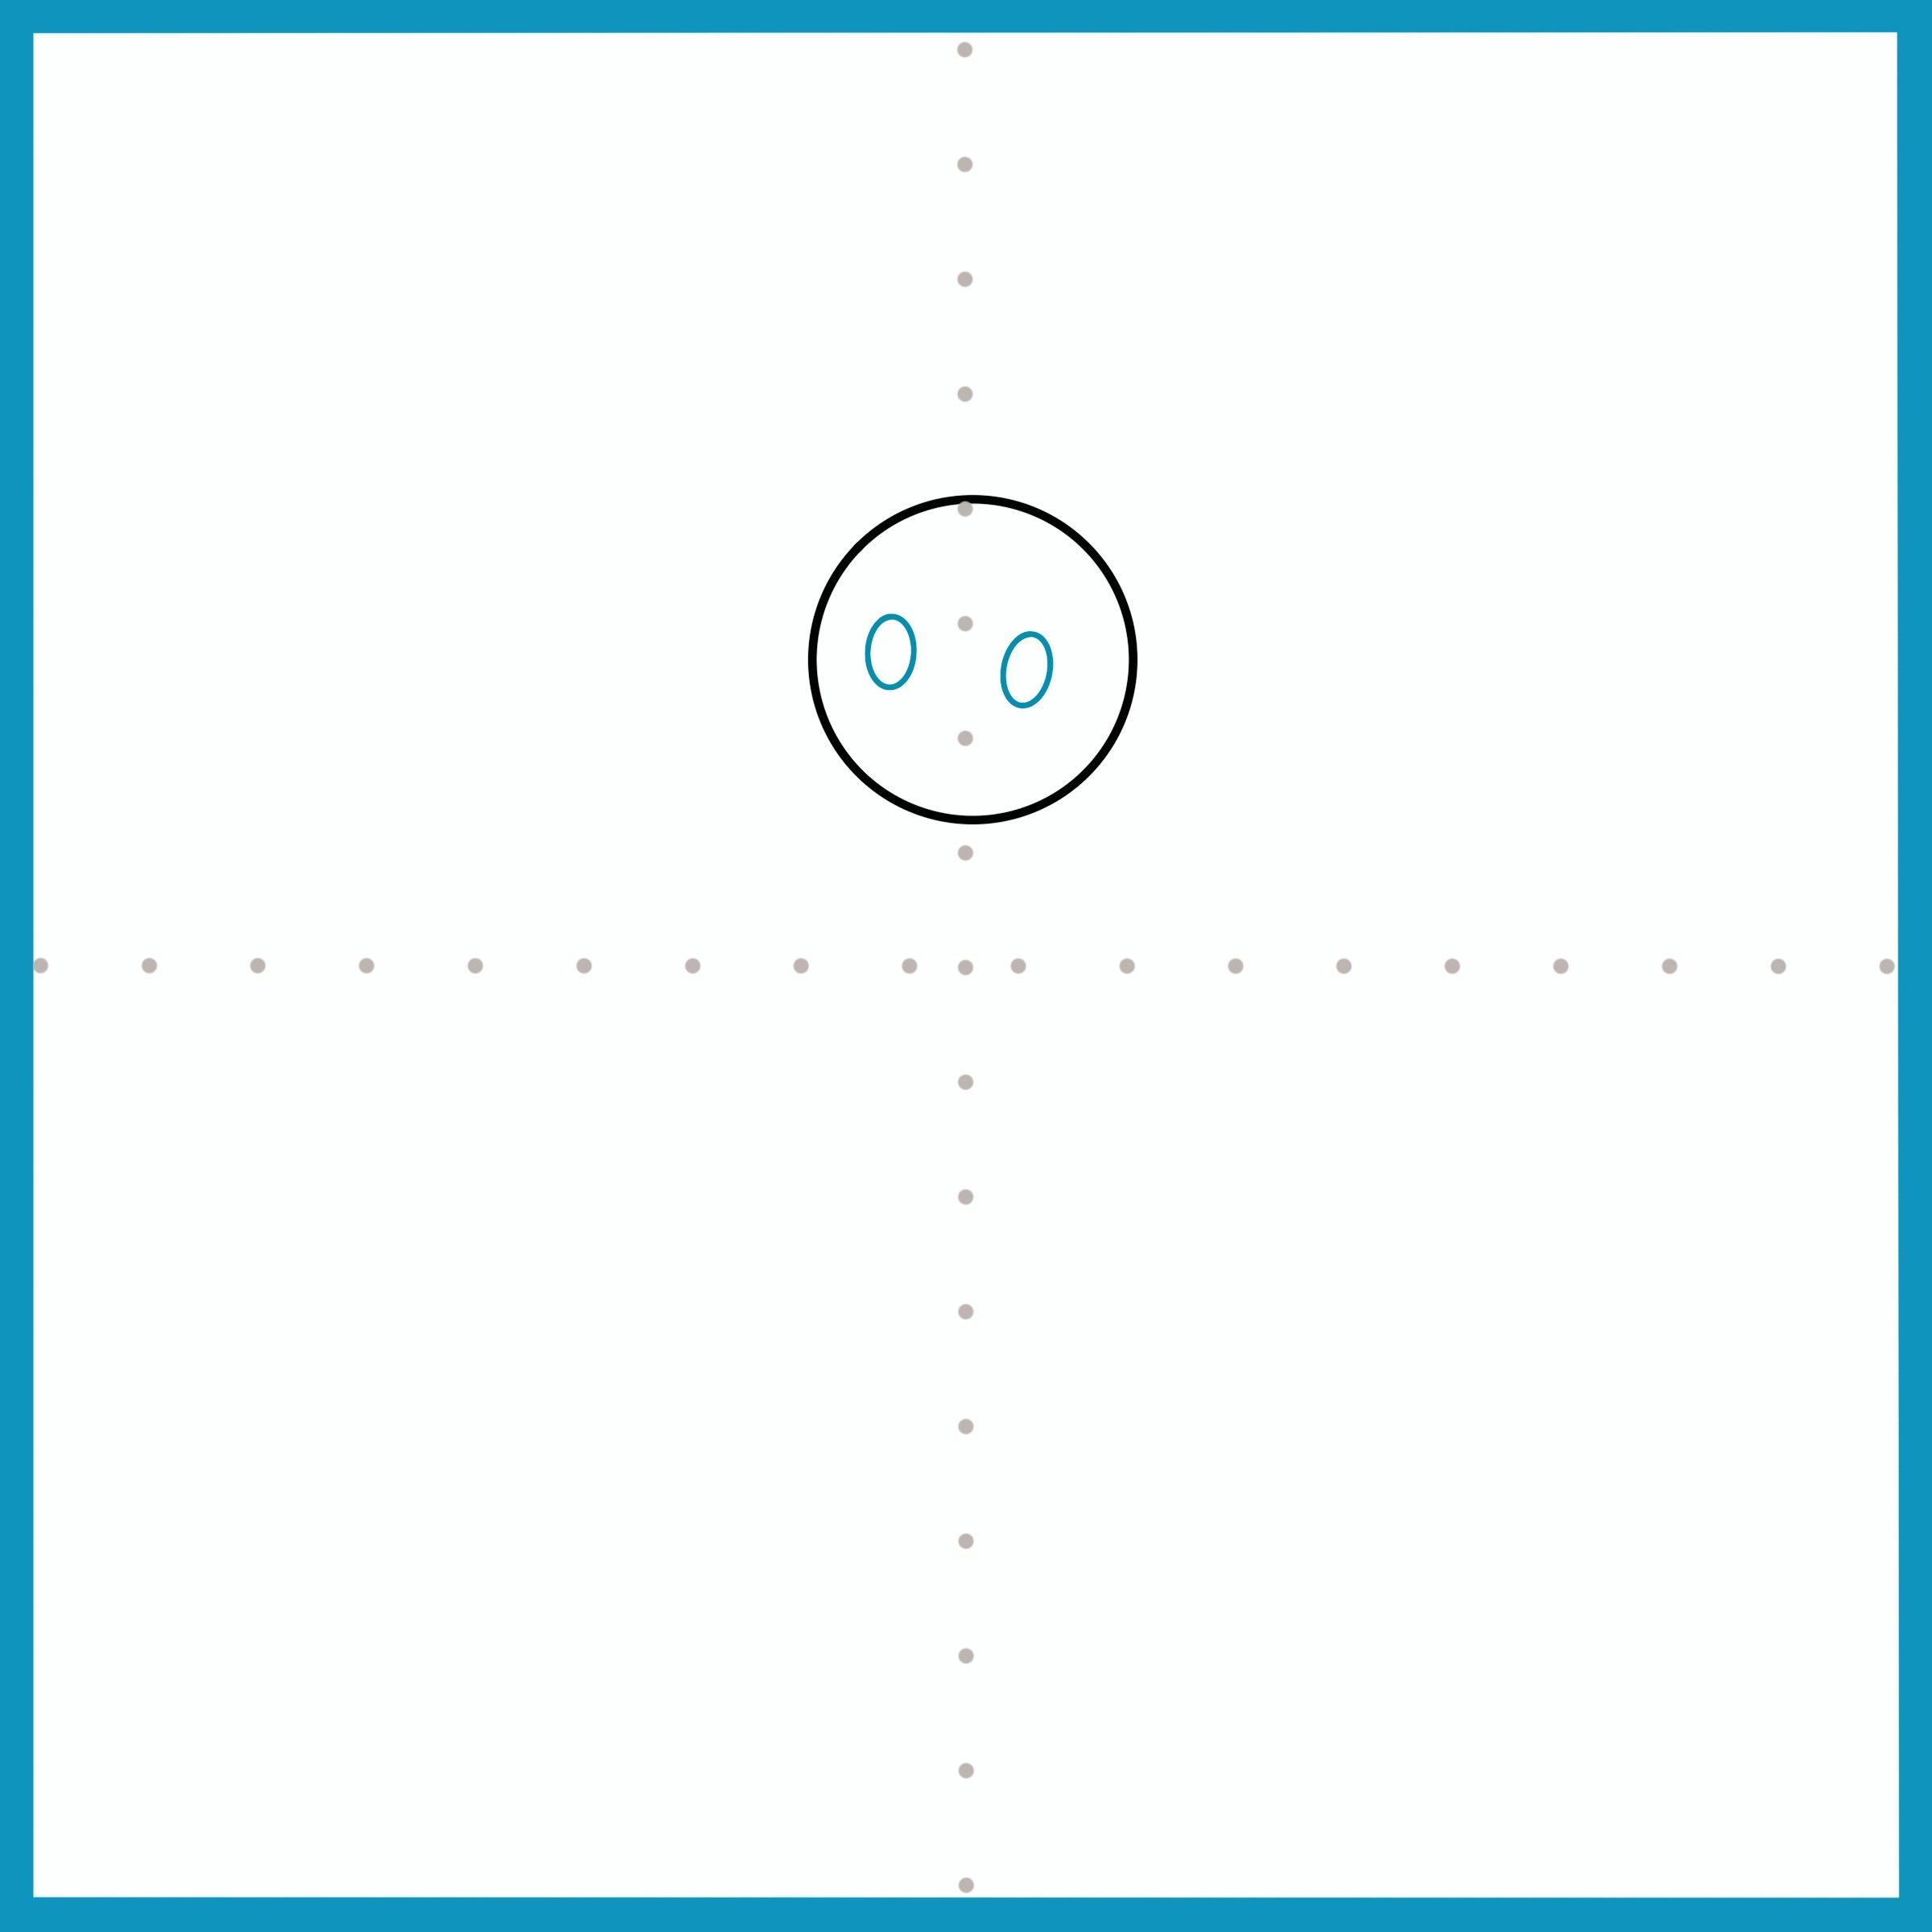
Draw two ovals for the eyes of your scarecrow. Creative idea: What kind of eyes will your scarecrow have? Will they be circular buttons? Sewed on triangle eyes? Square patches? You decide!
Step 3
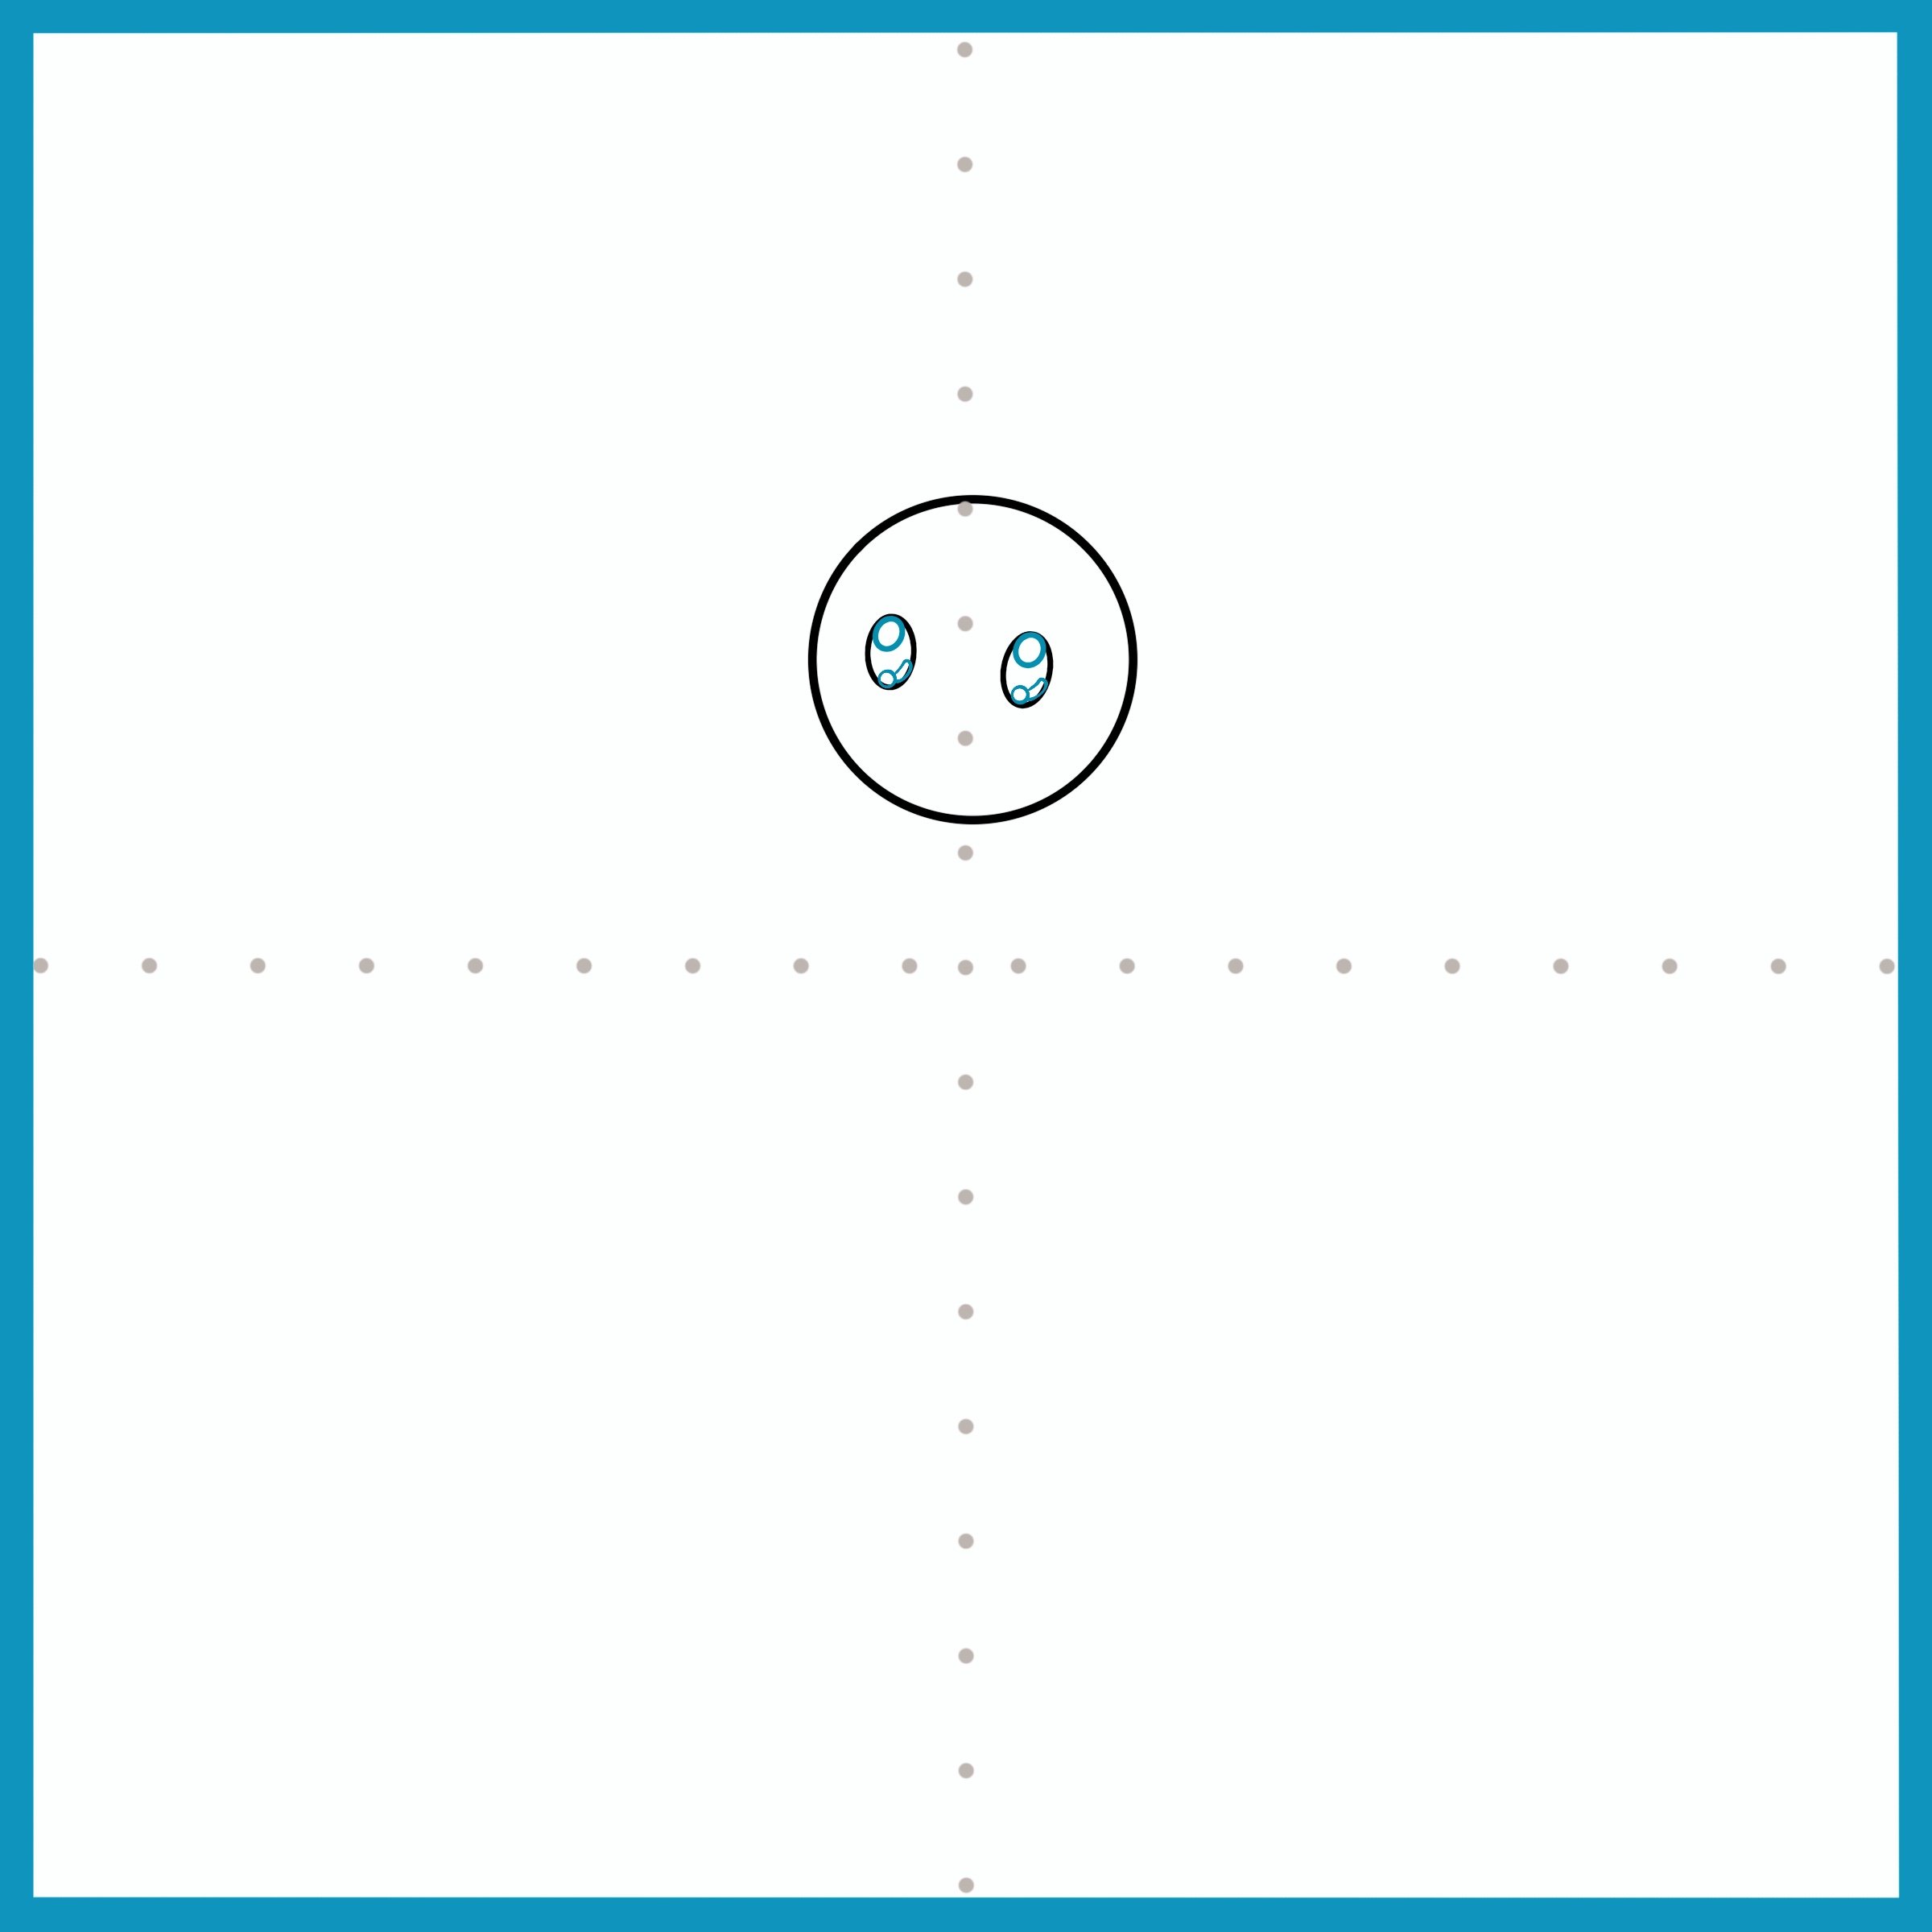
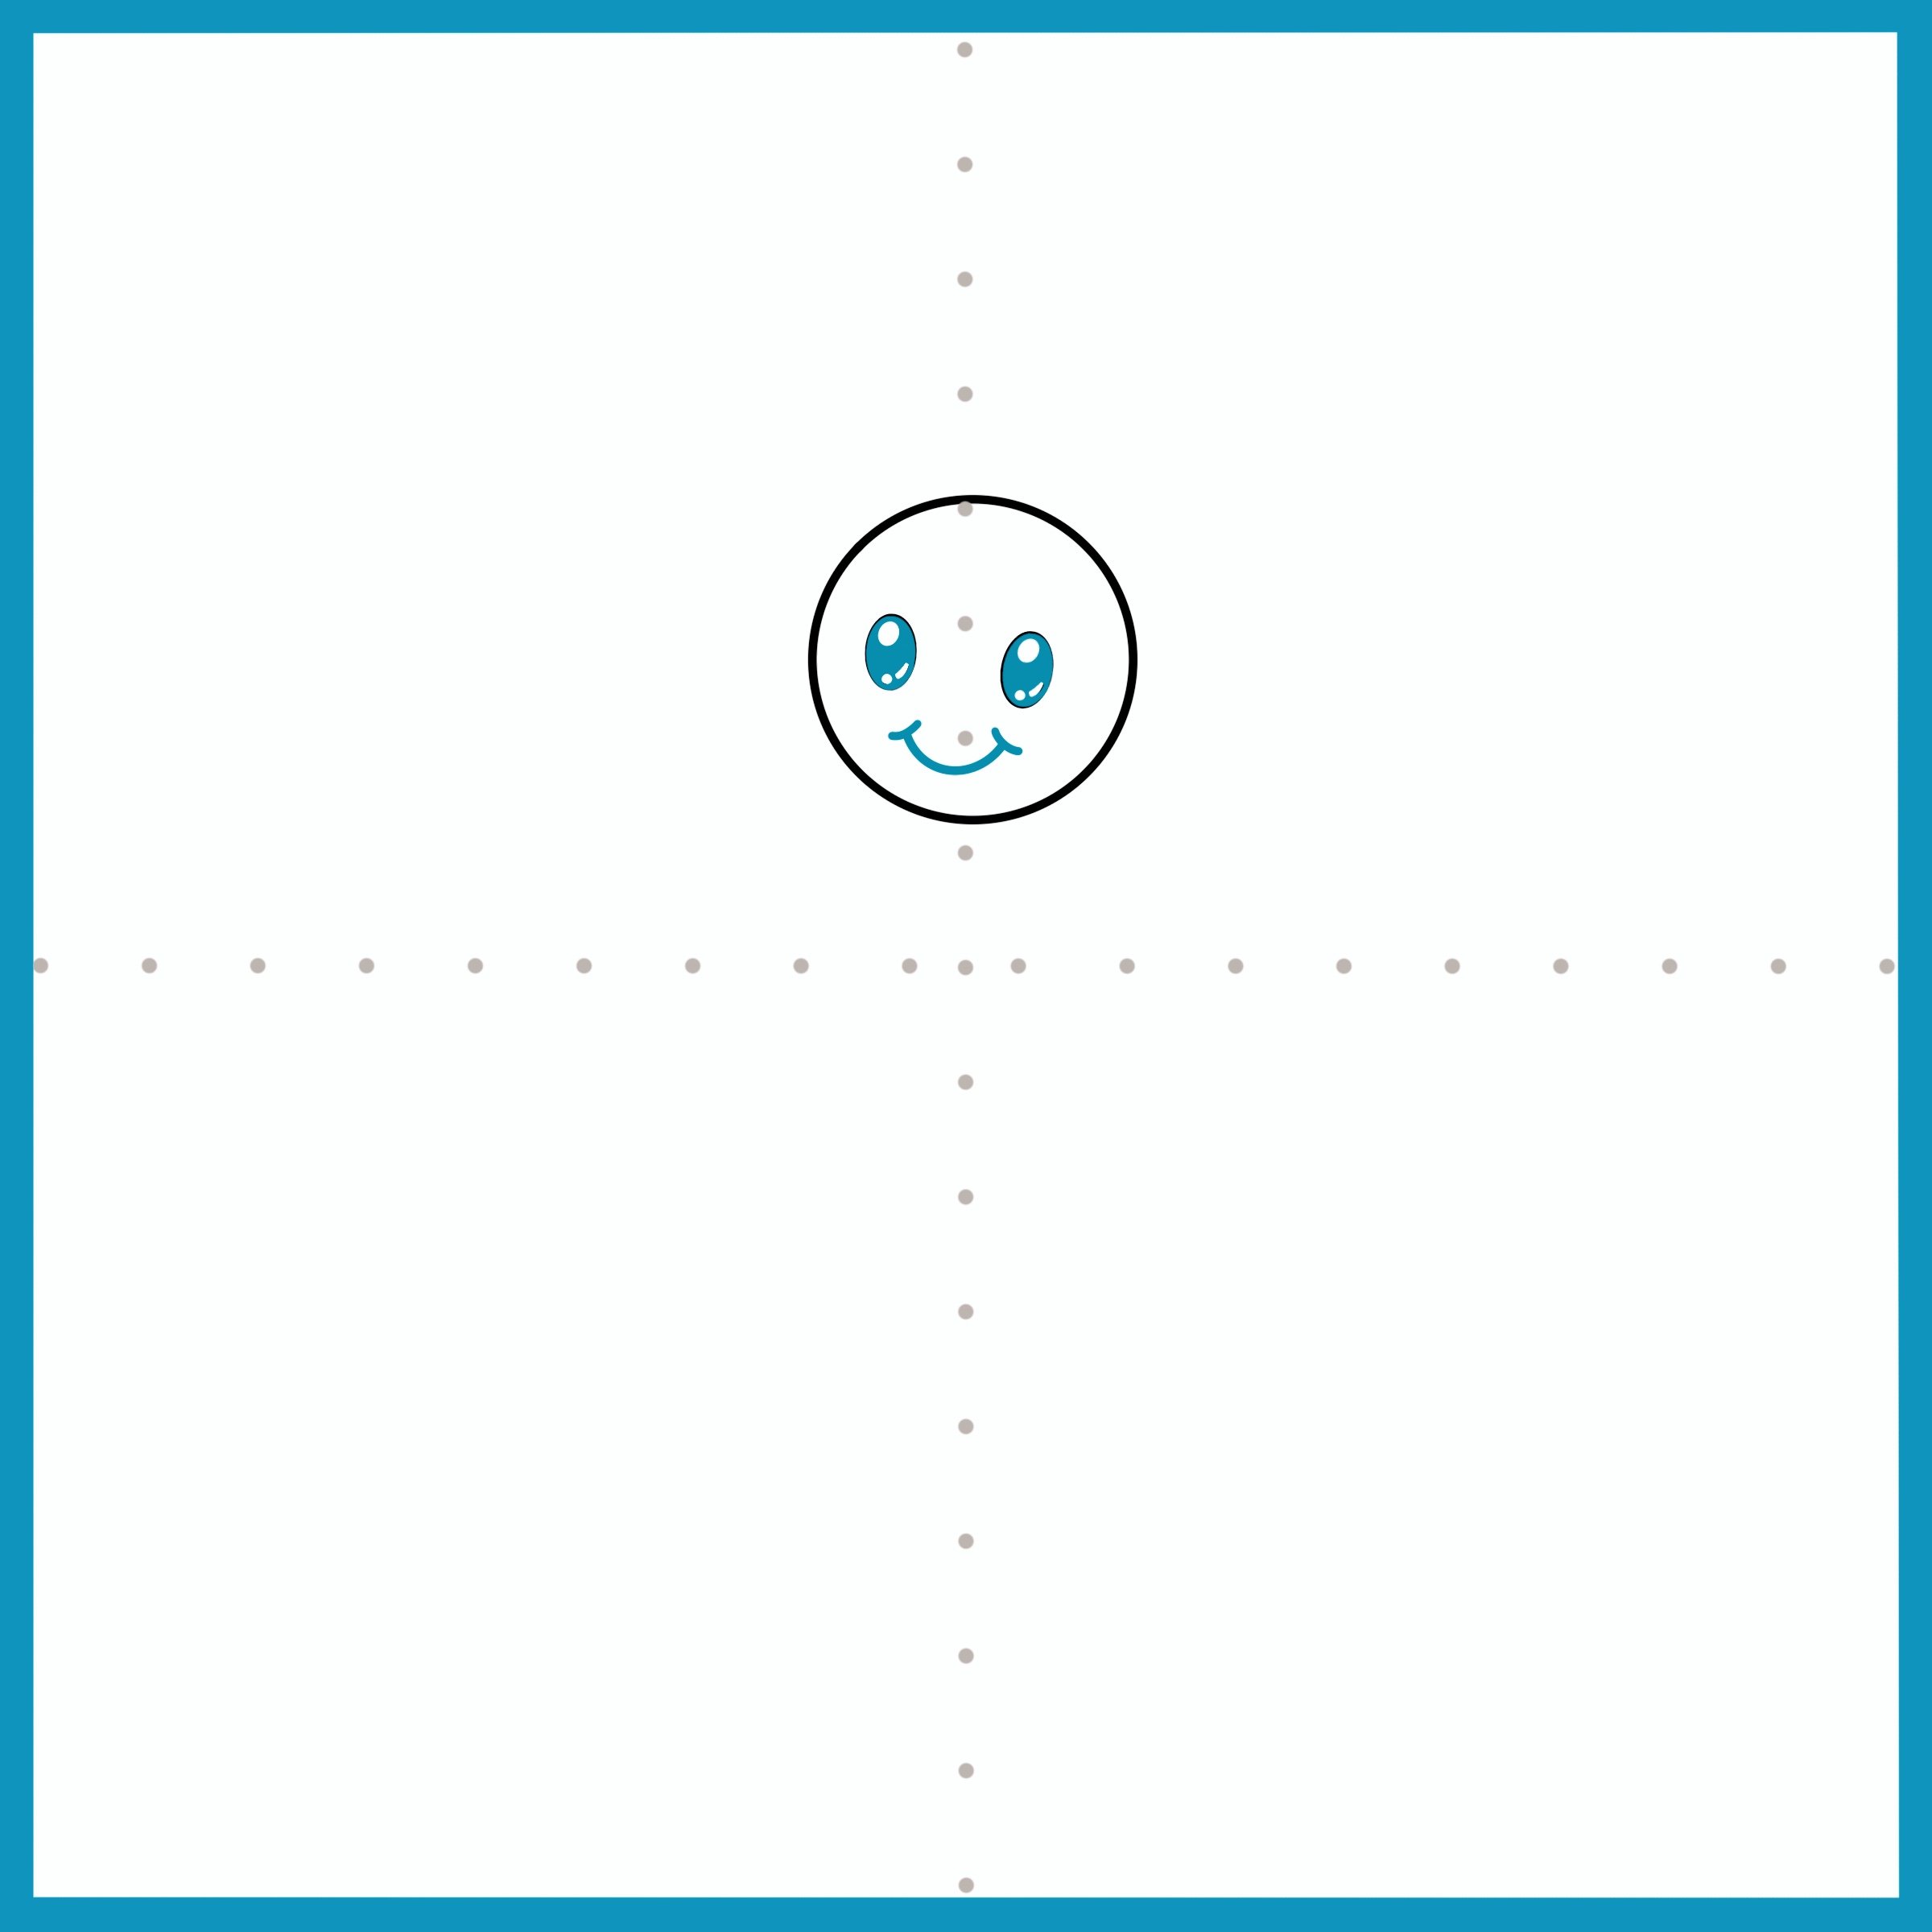
Shade in the eyes. Show where the eyes are looking by adding a white reflective circle inside. Finally, adding a hint of an iris reflection can really enhance the character’s cuteness. Creative idea: is your character looking at something? Place the reflective circles towards what you want your character to look at!
Step 4
Color in the eyes of your scarecrow. Then, draw a mouth. Creative idea: What kind of mouth will your scarecrow have? Will it be smiling? Surprised? Perhaps, scary or angry looking? Be creative!
Step 5
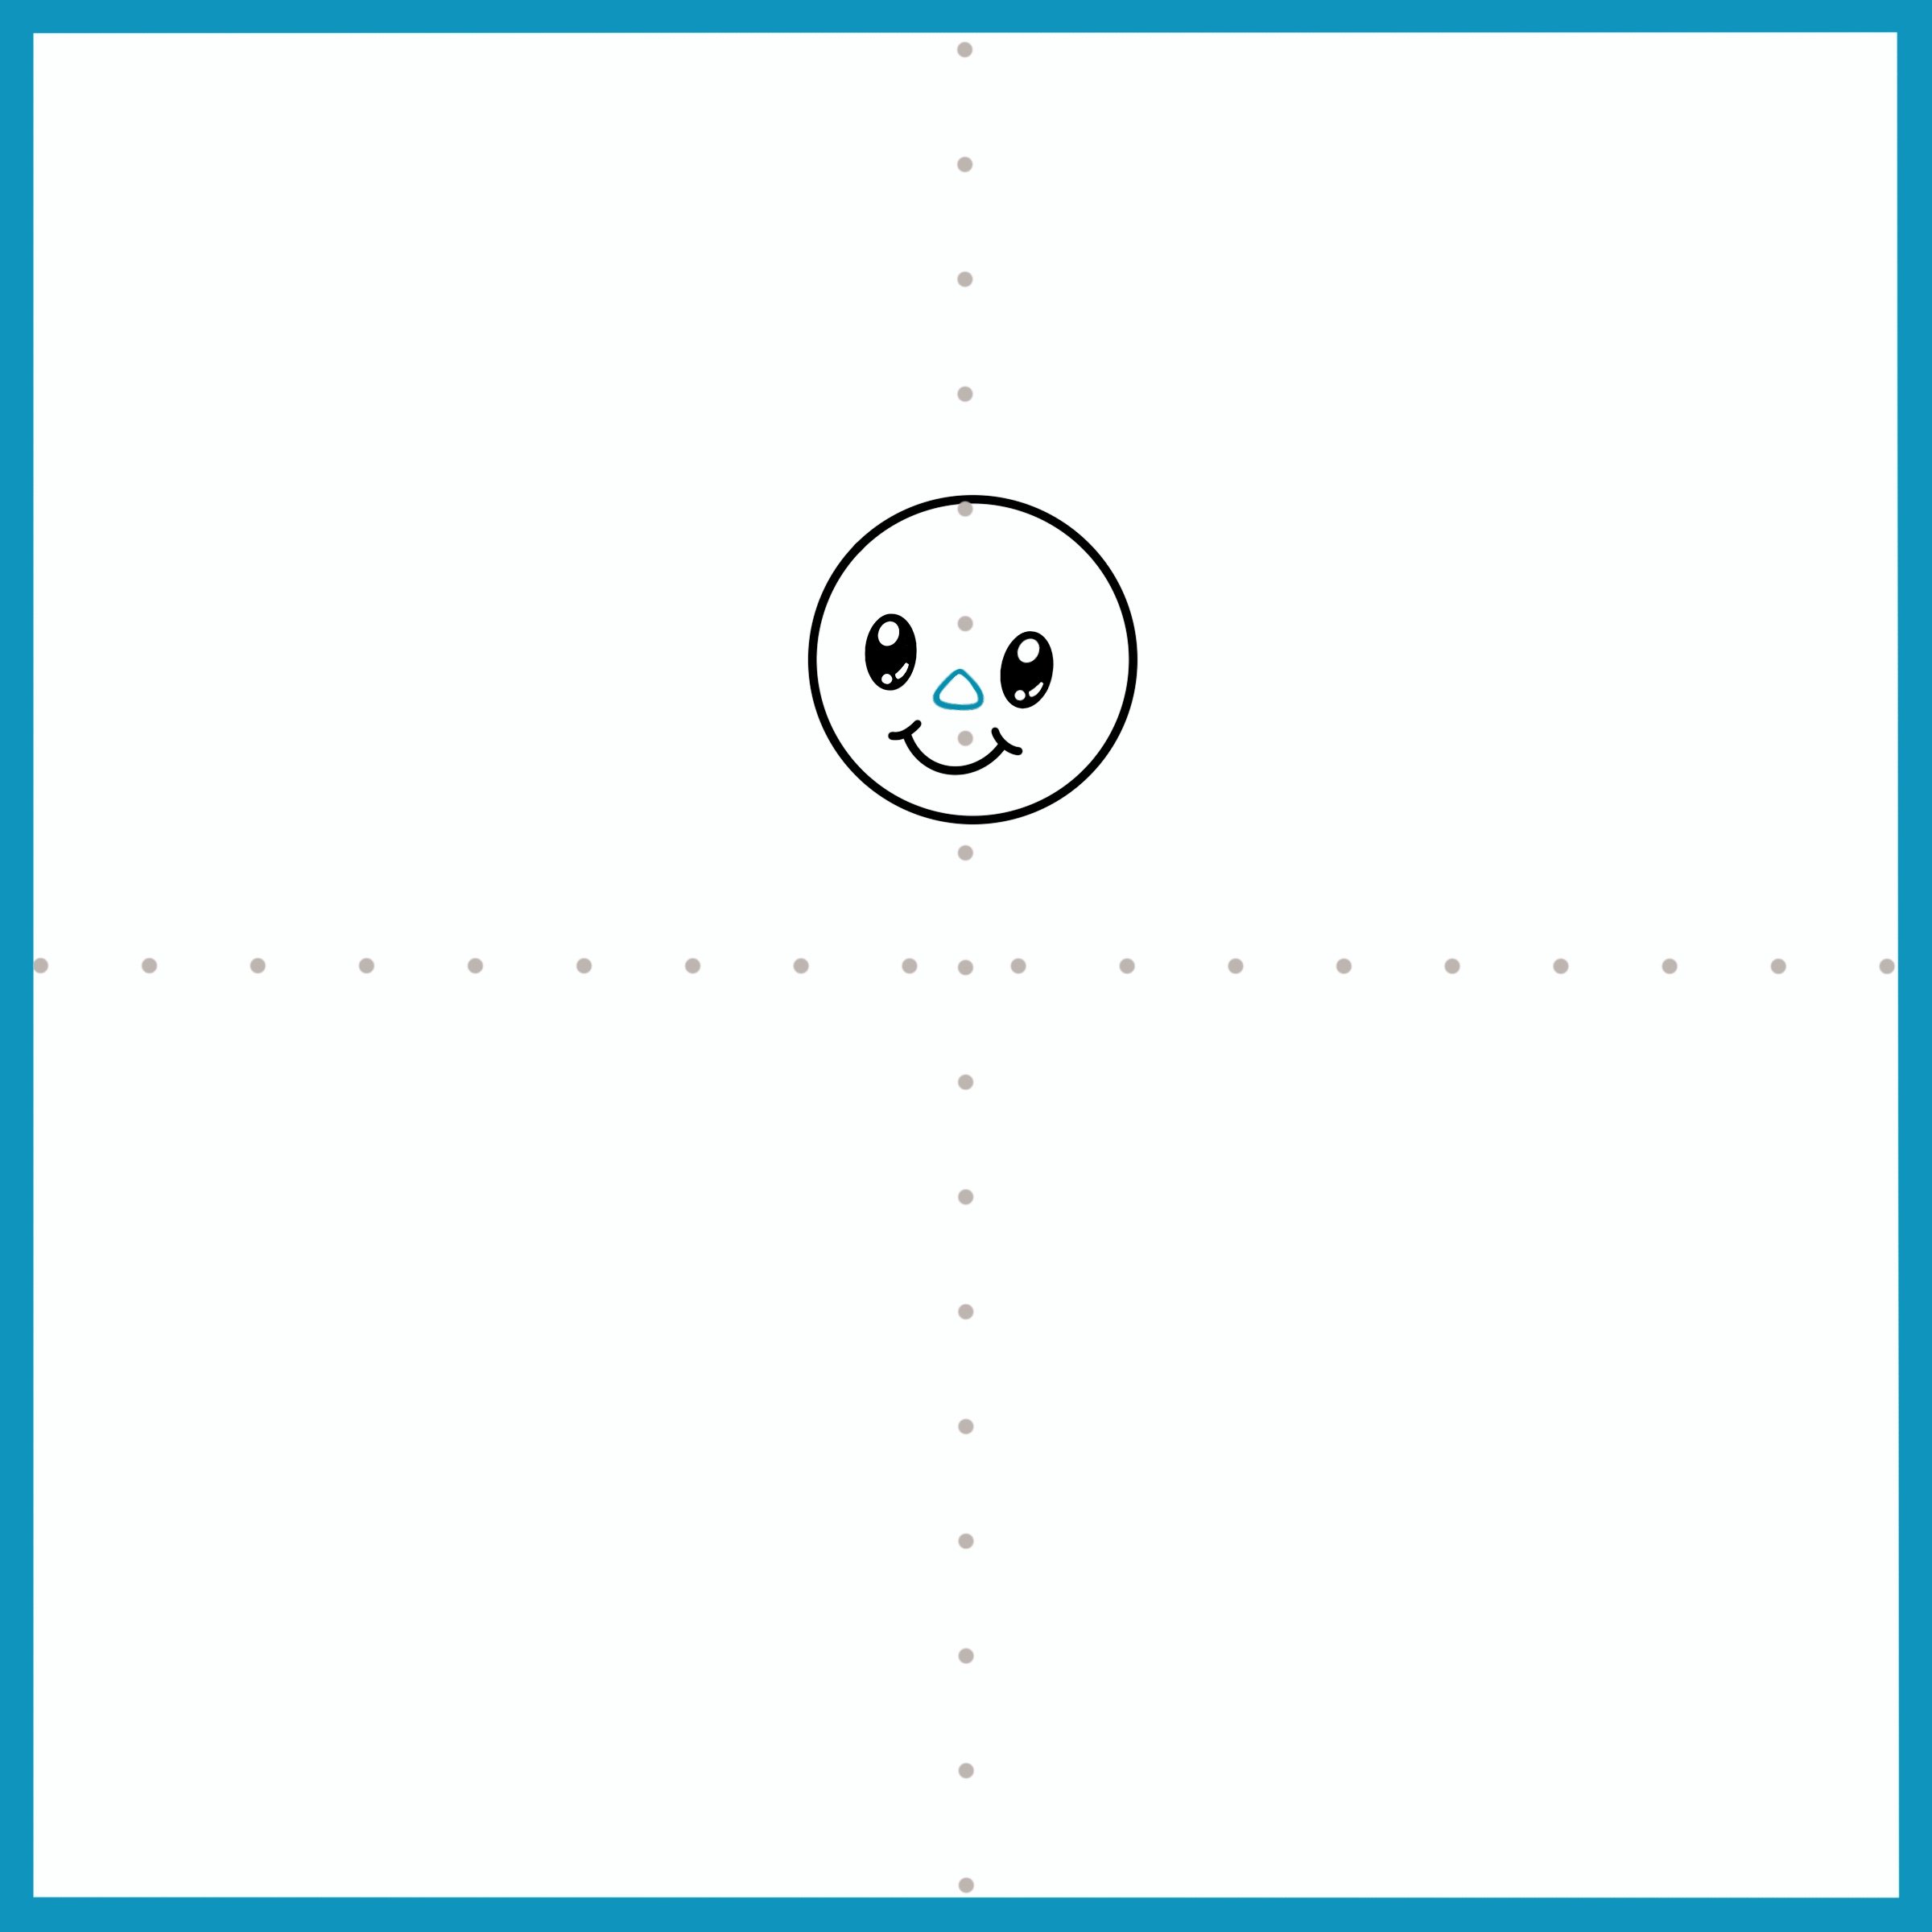
Draw a triangle for the nose. Creative idea: a button nose would look really cute too!
Step 6
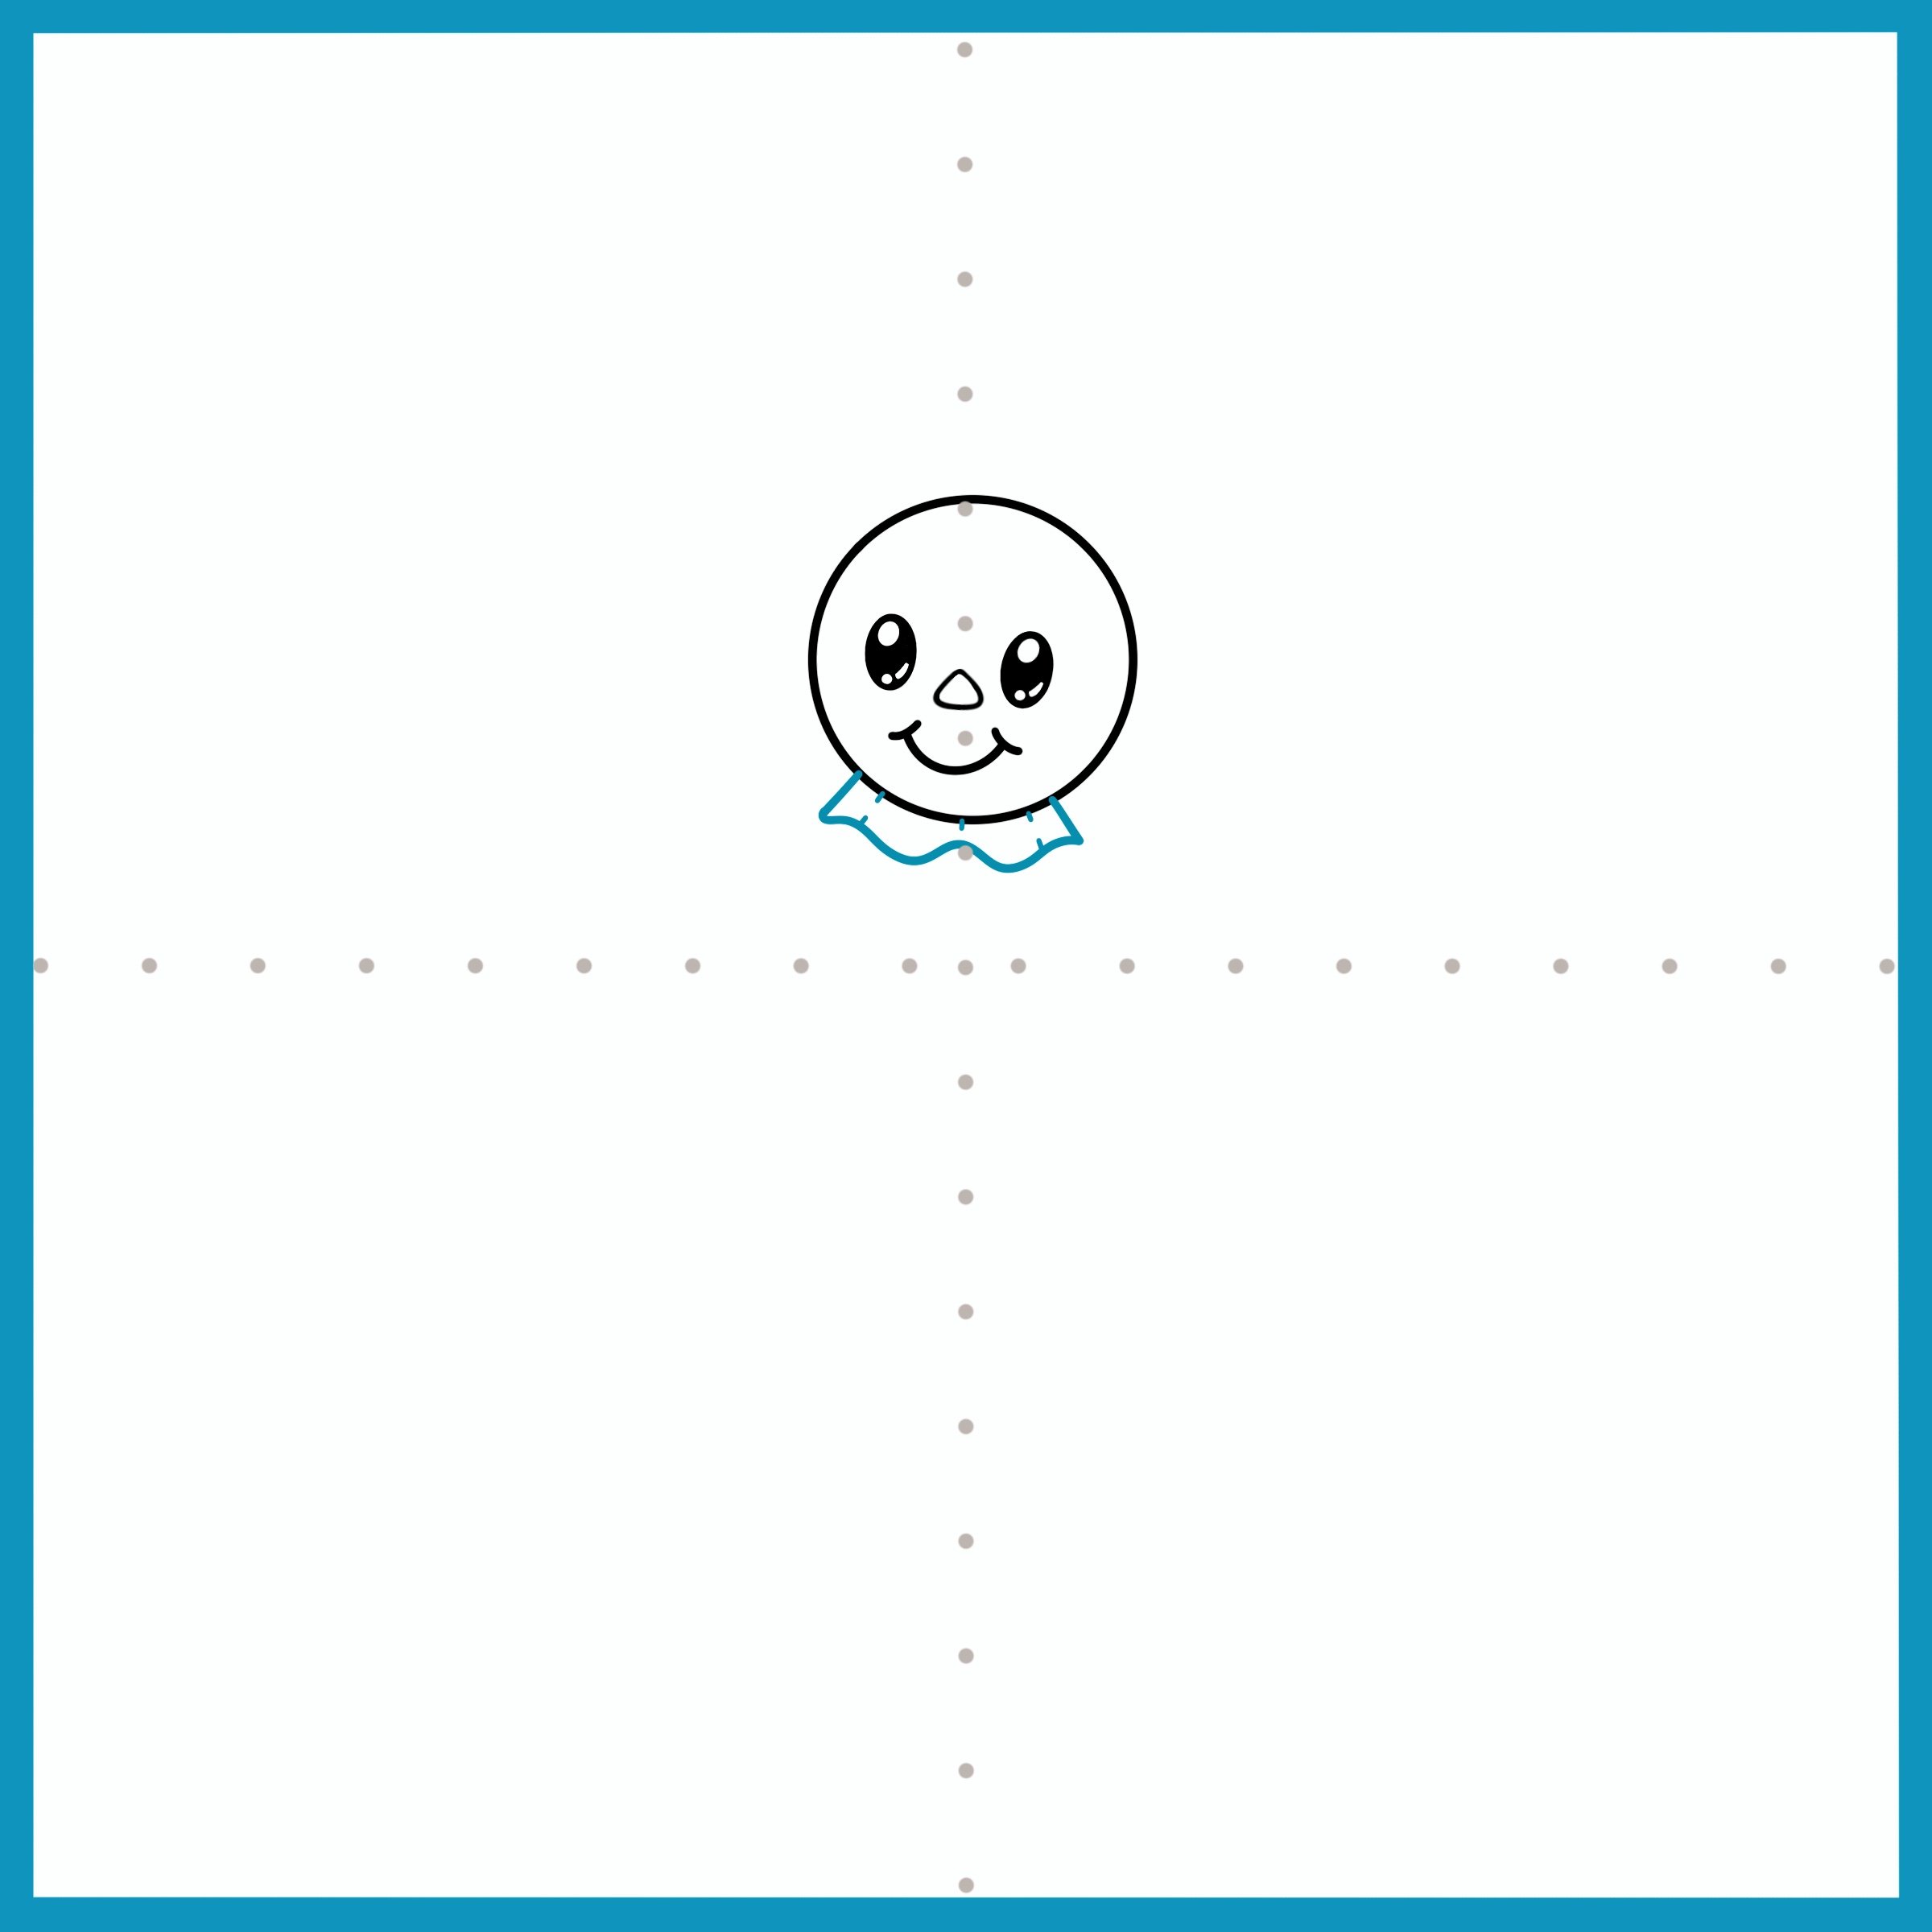
Scarecrows are usually made out of loose and used material. Let’s show some loose material for the neck of the scarecrow. Add some lines for wrinkles and folds.
Step 7
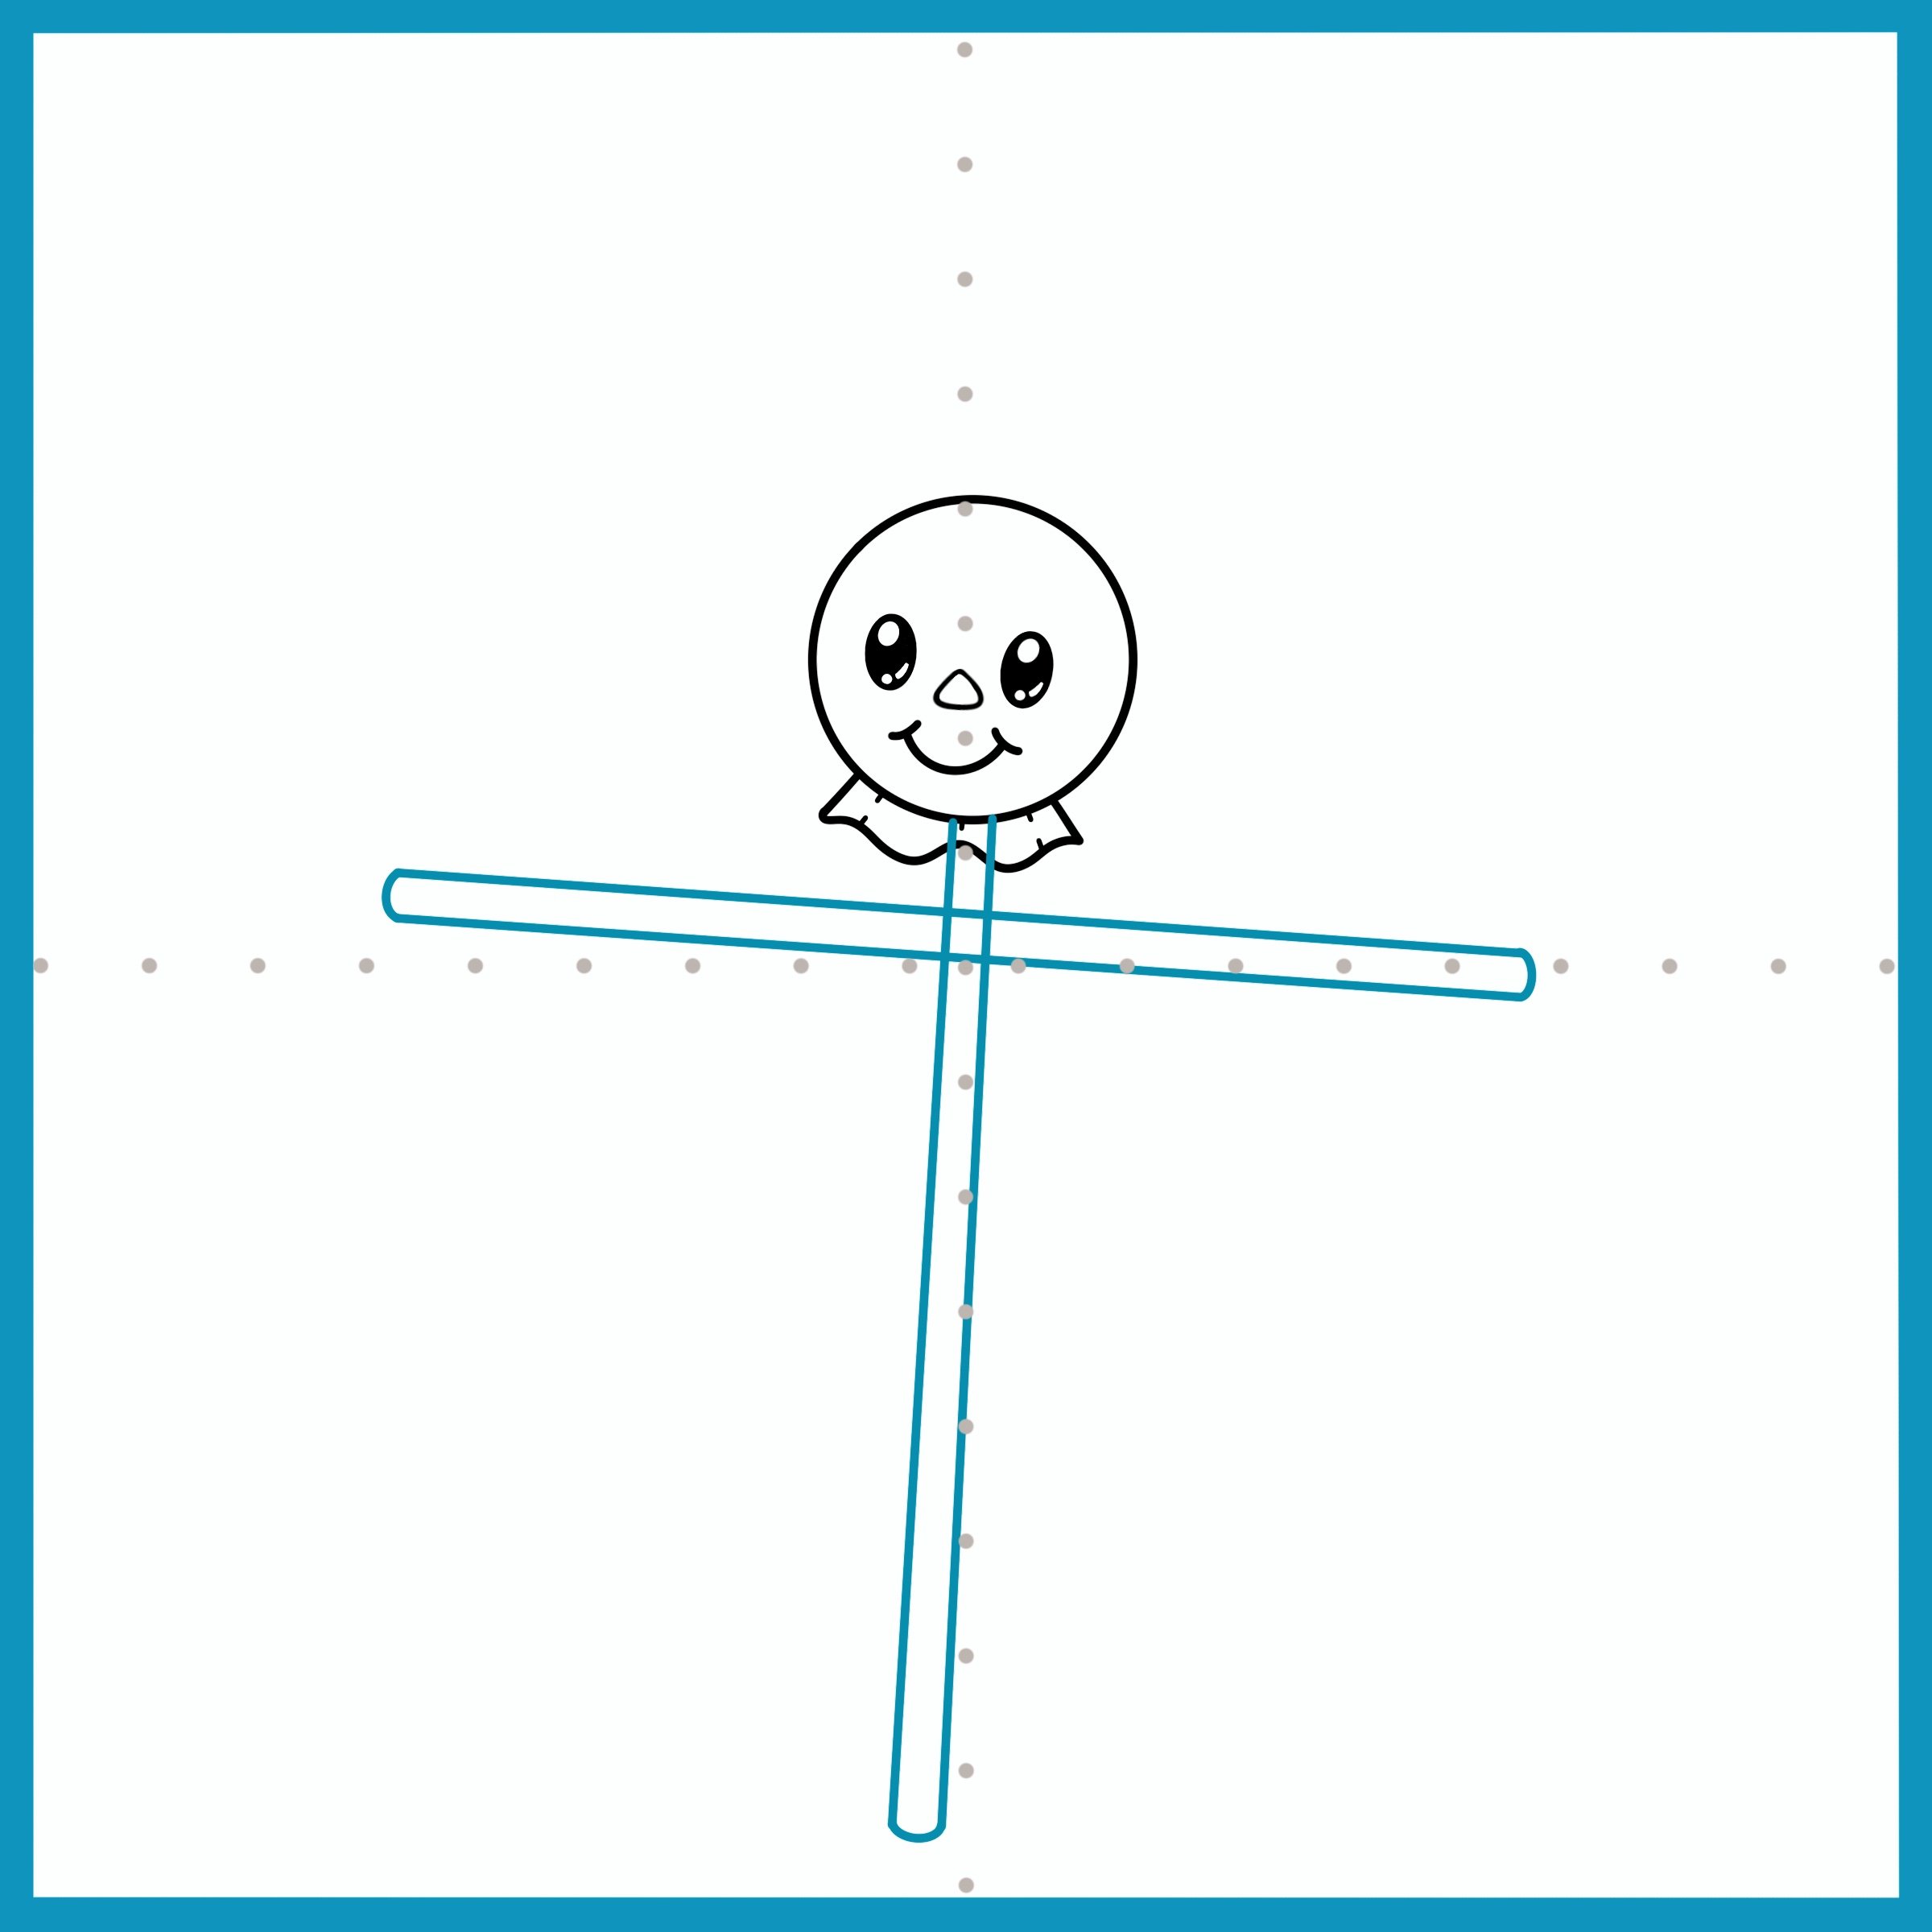
Time to start adding the frame that will hold our scarecrow up. Draw one stick from the head to the ground (this will determine how tall your scarecrow will be.) Draw another stick horizontally (the horizontal stick will hold your scarecrows arms in place.)
Step 8
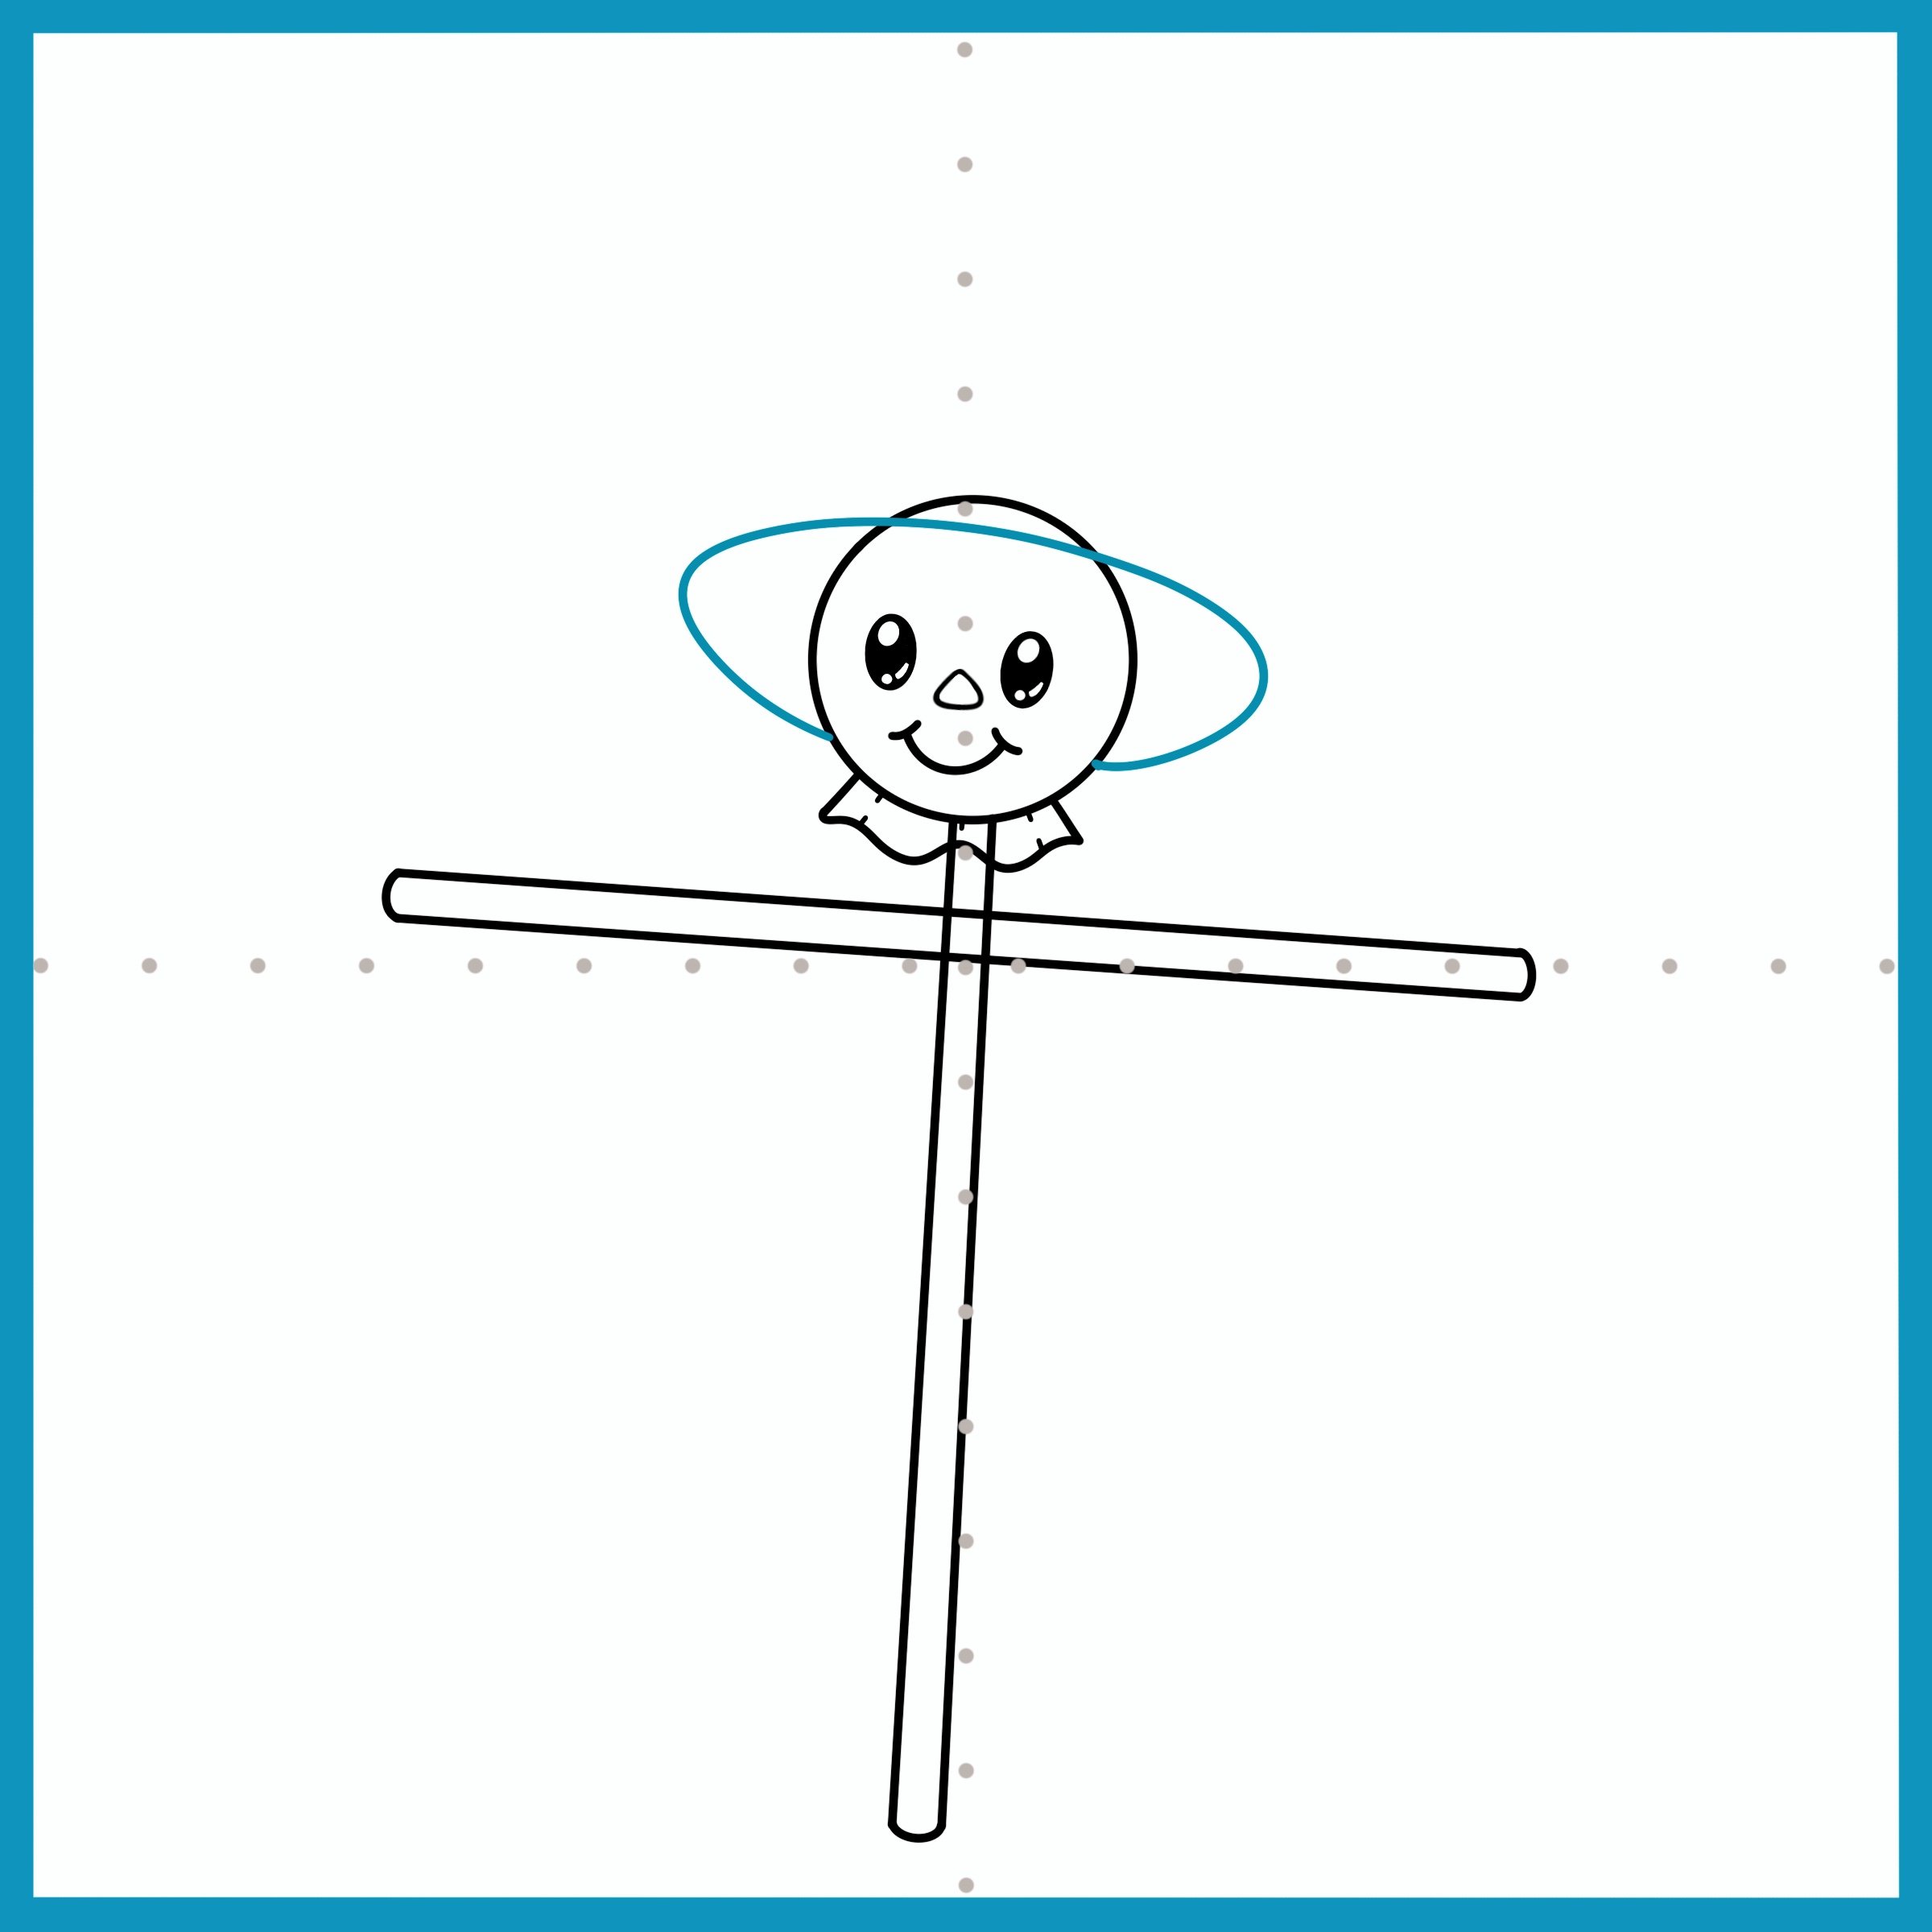
Now let’s start by drawing a hat to protect our scarecrow from the hot sun. Draw the brim of your hat. Creative idea: You can make your hat big and floppy? Perhaps a top hat? Make it your own!
Step 9
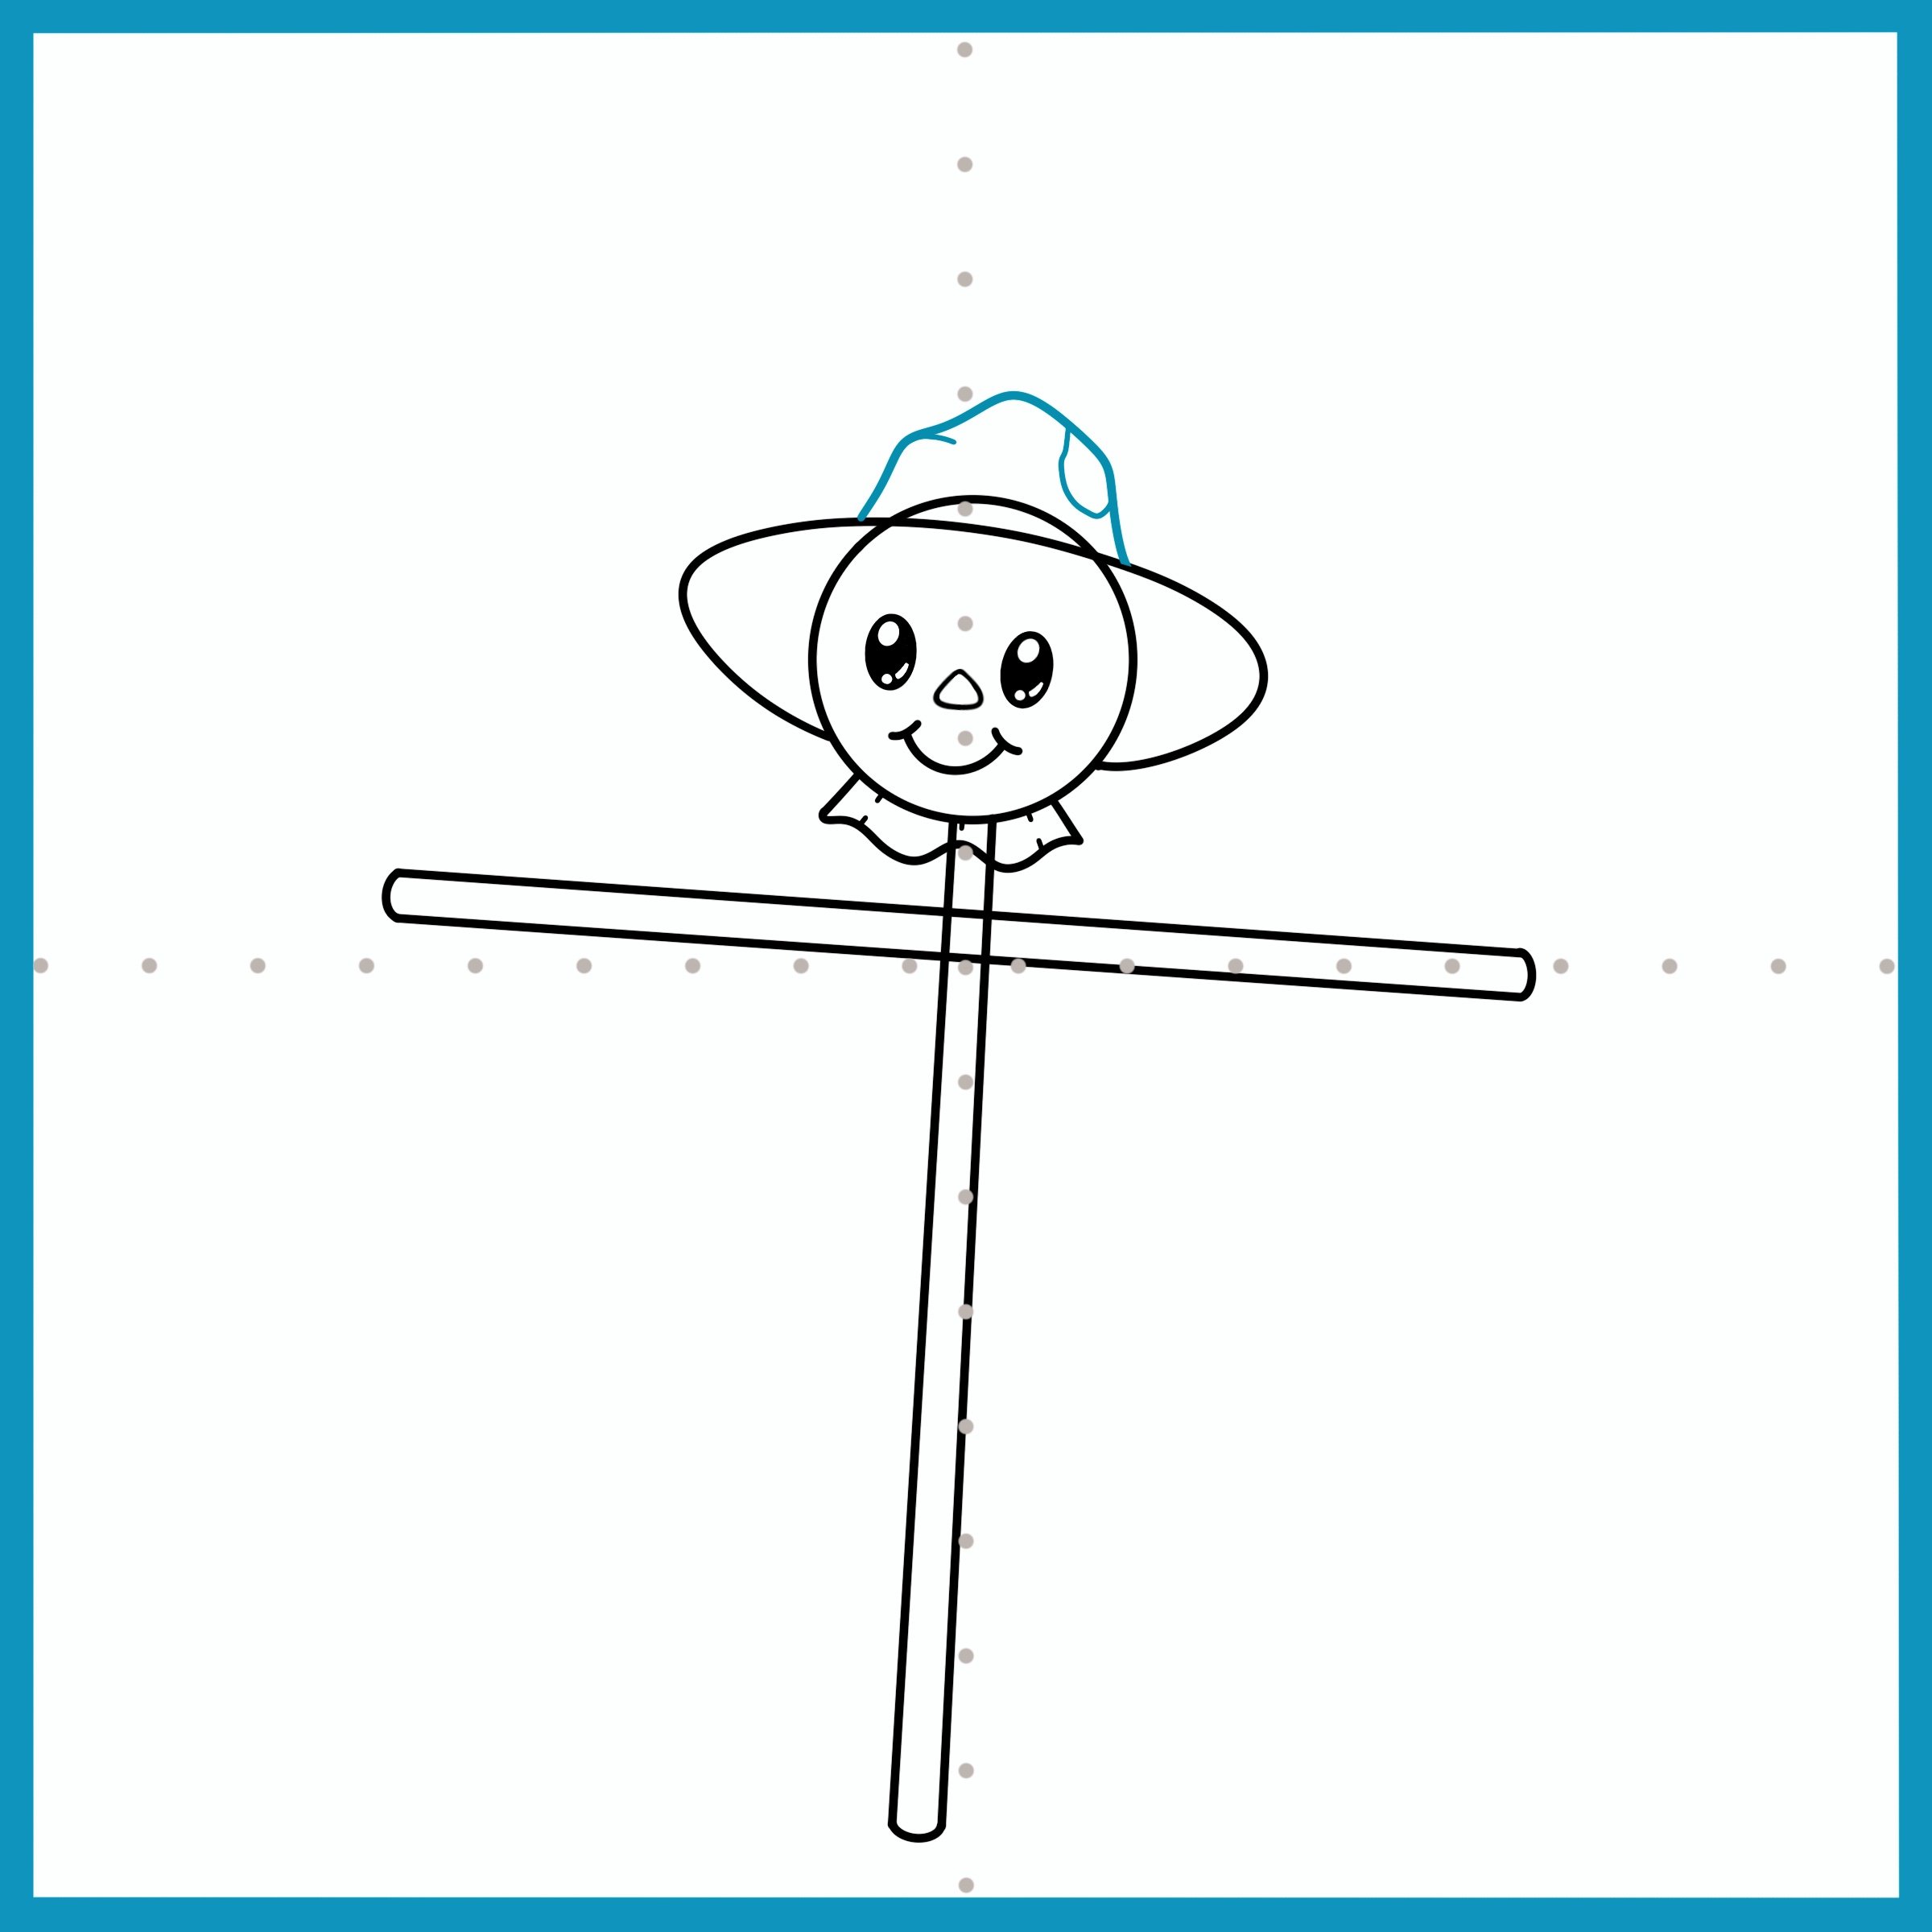
Draw the top of your hat. Add some wrinkles and folds to make your hat look worn.
Step 10
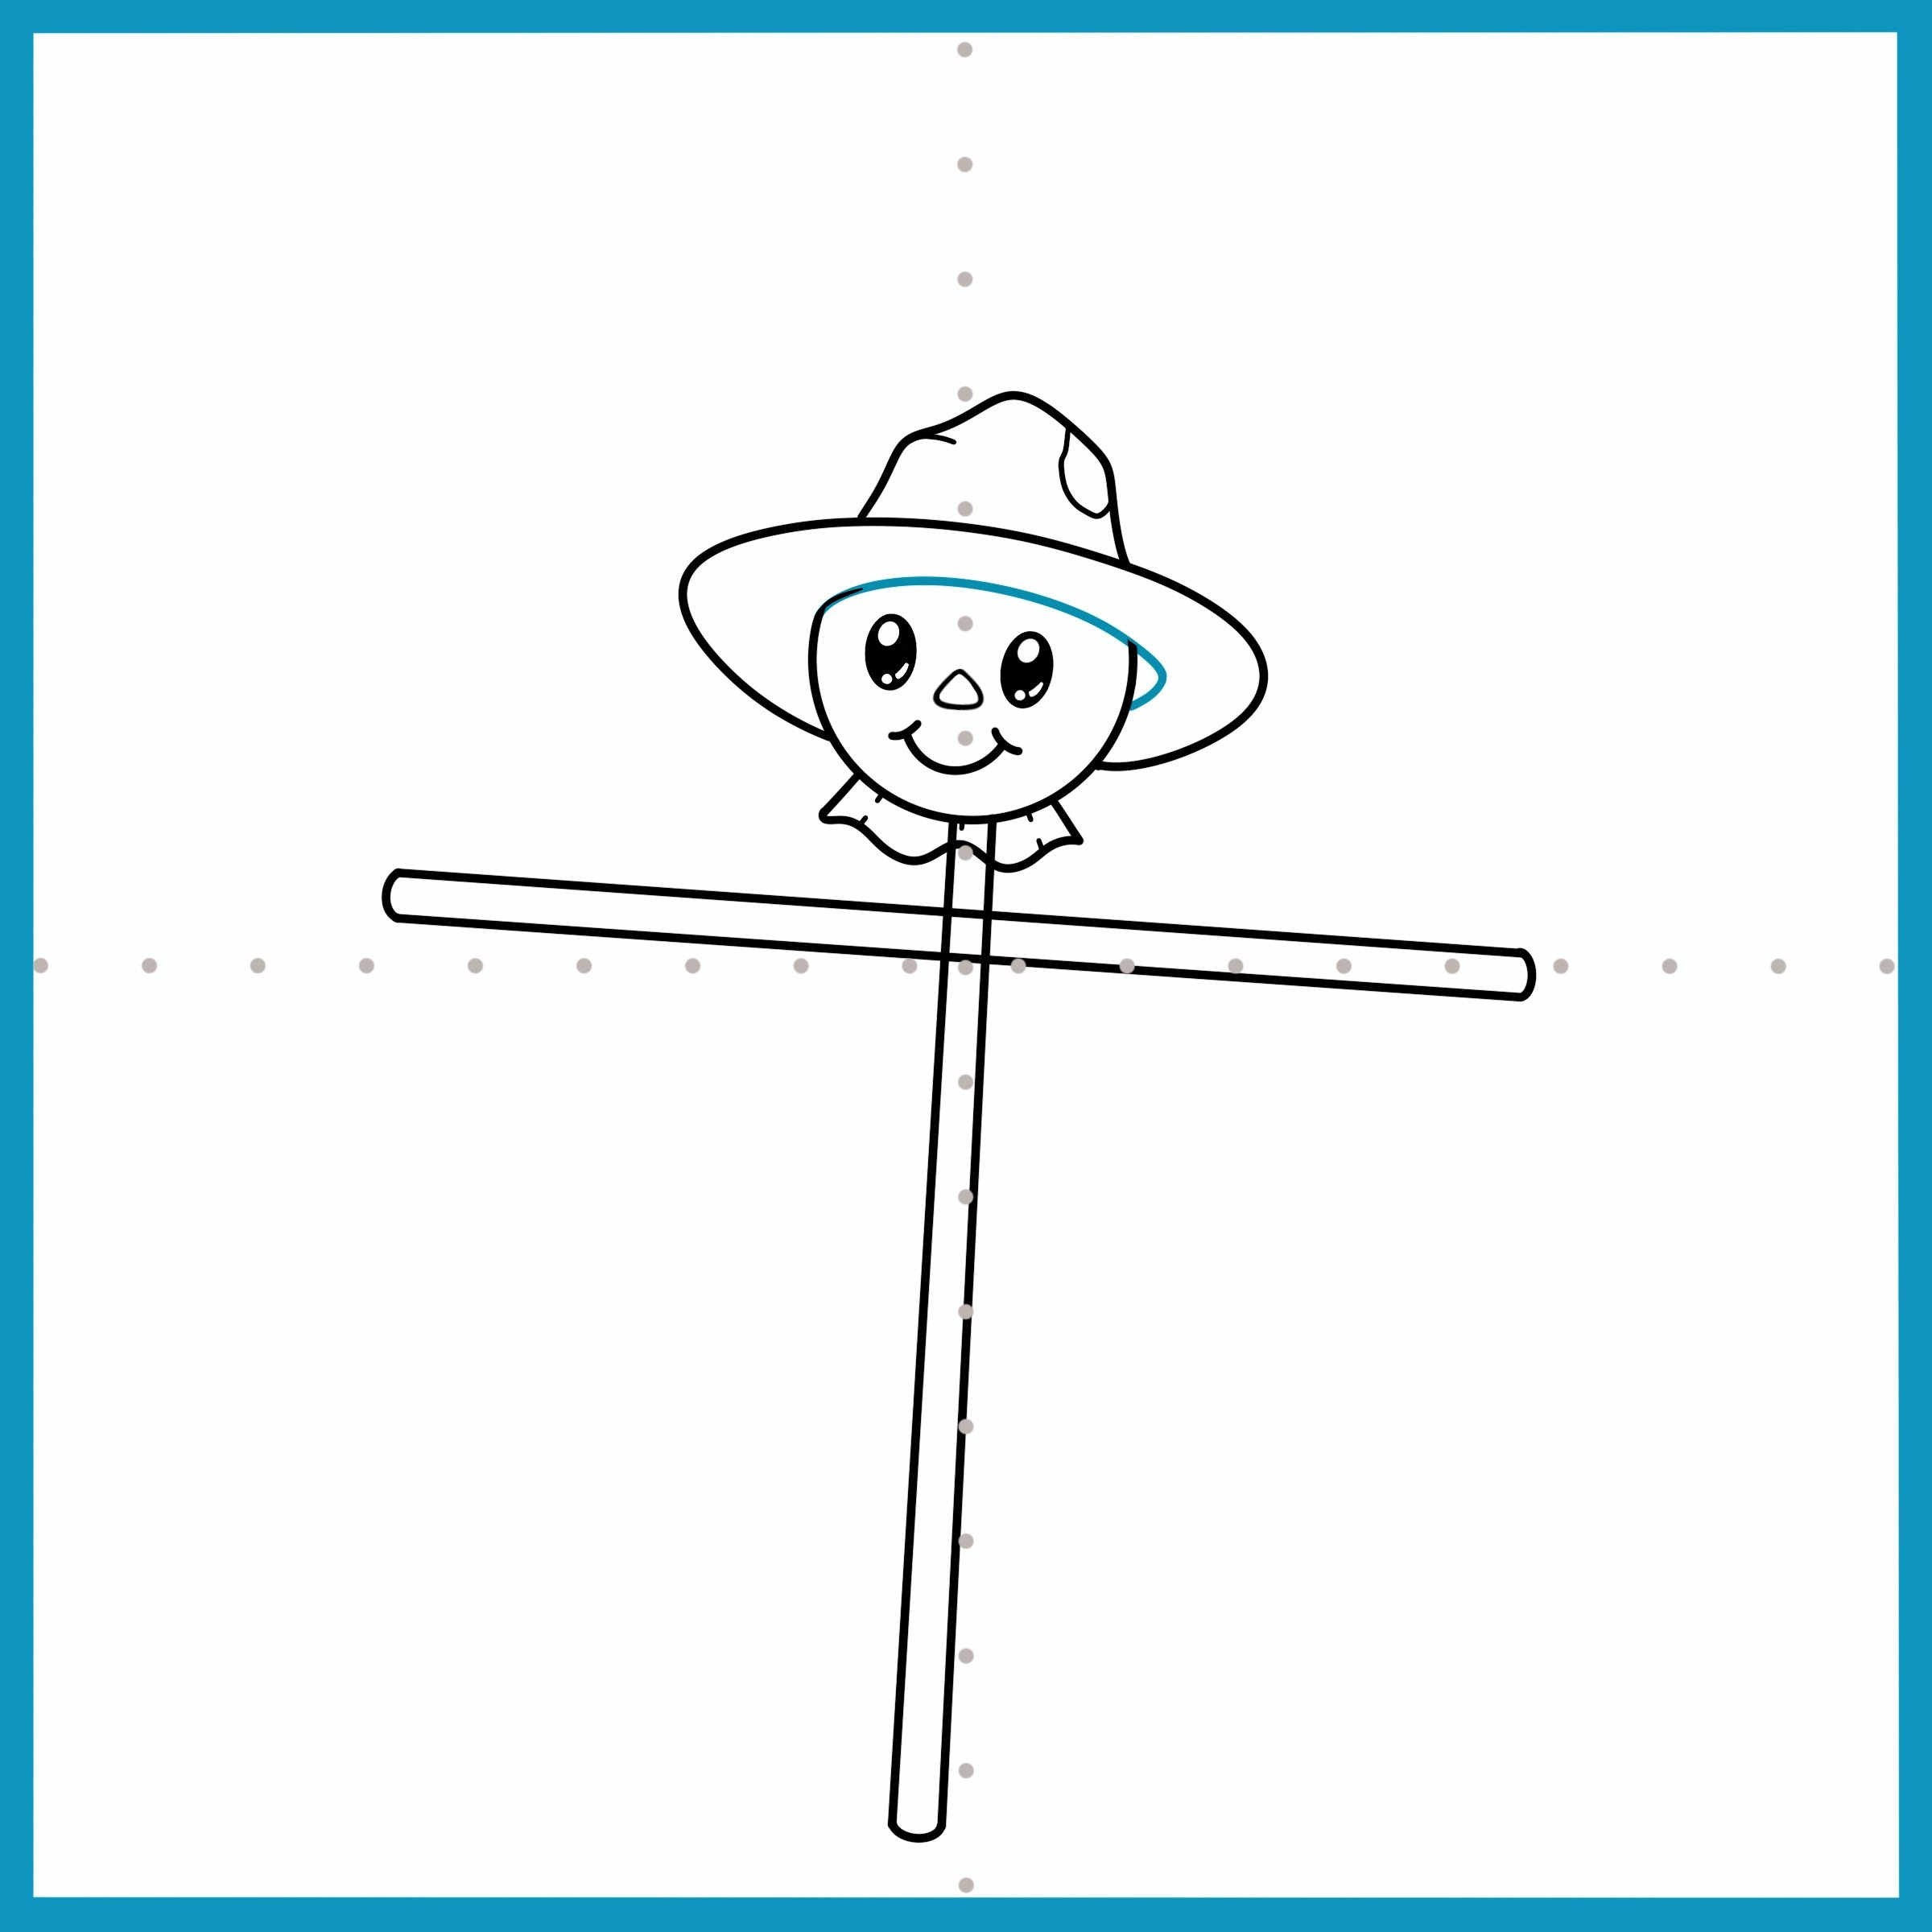
Draw the rest of the hat. Then, erase any part of the head that will be hiding in the hat.
Step 11
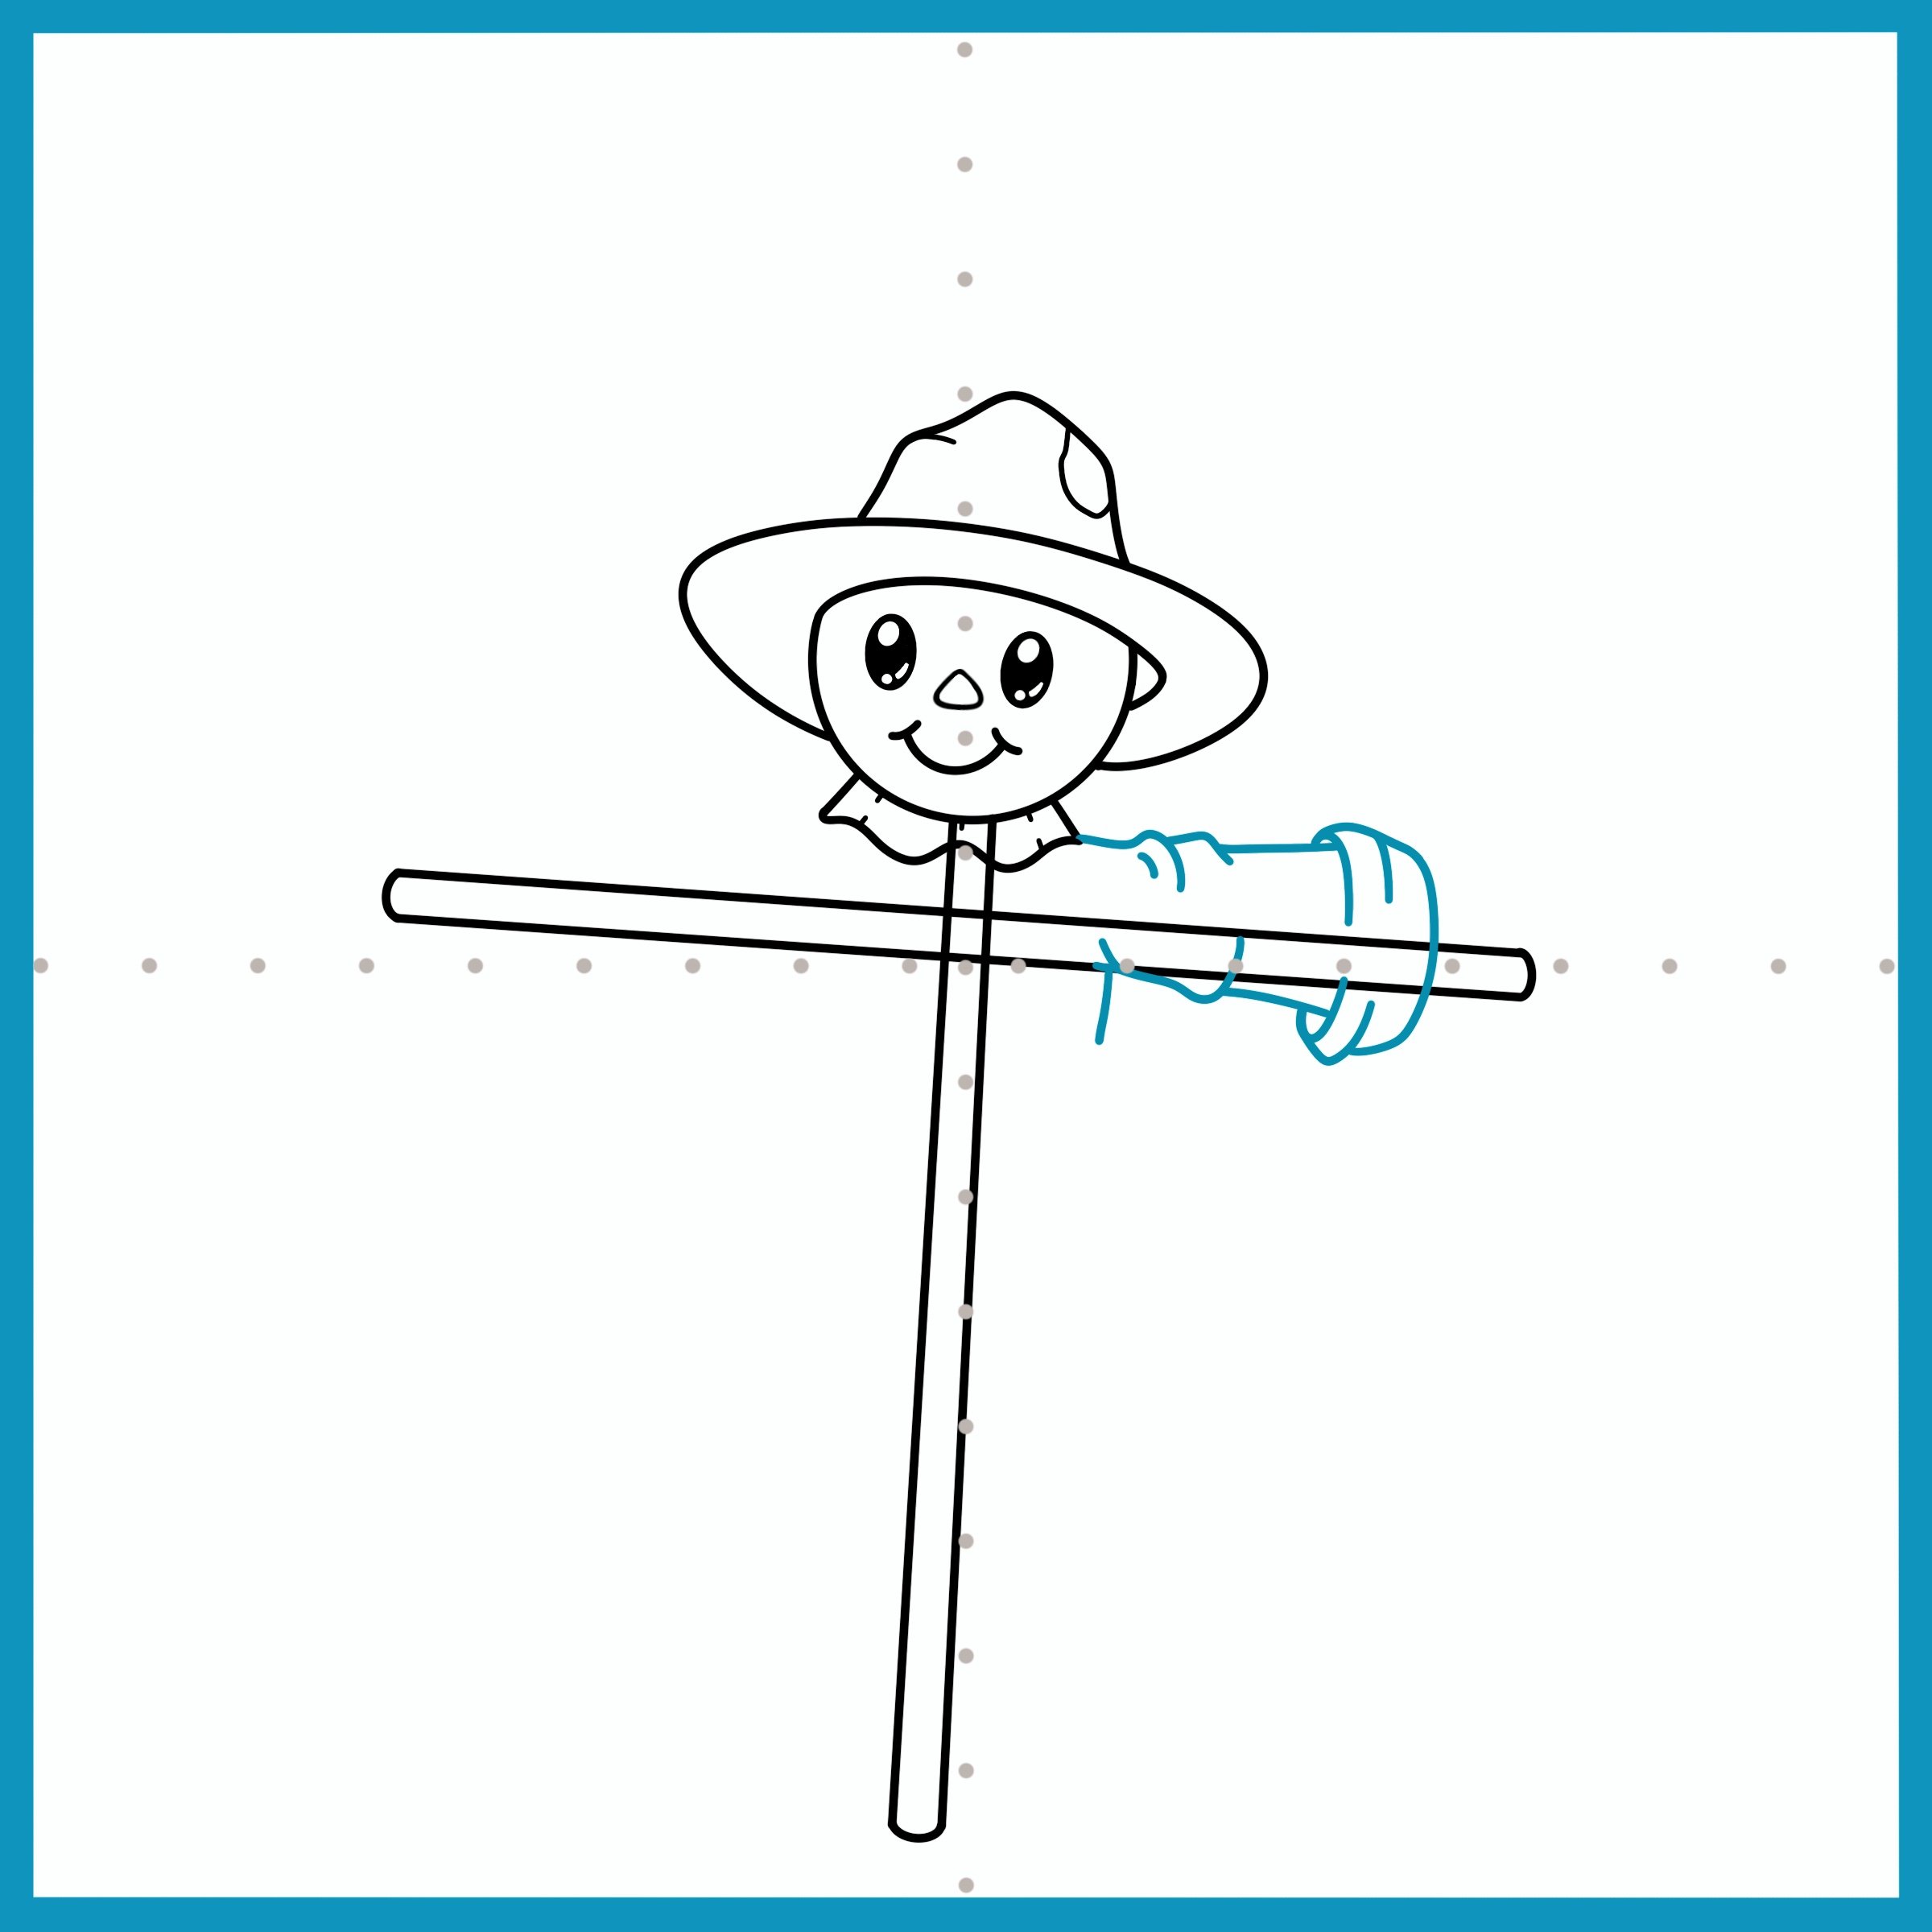
Draw the right sleeve. Make it floppy and loose as though it is too big for our little scarecrow. Then, draw in details of folds and wrinkles of the sleeve.
Step 12
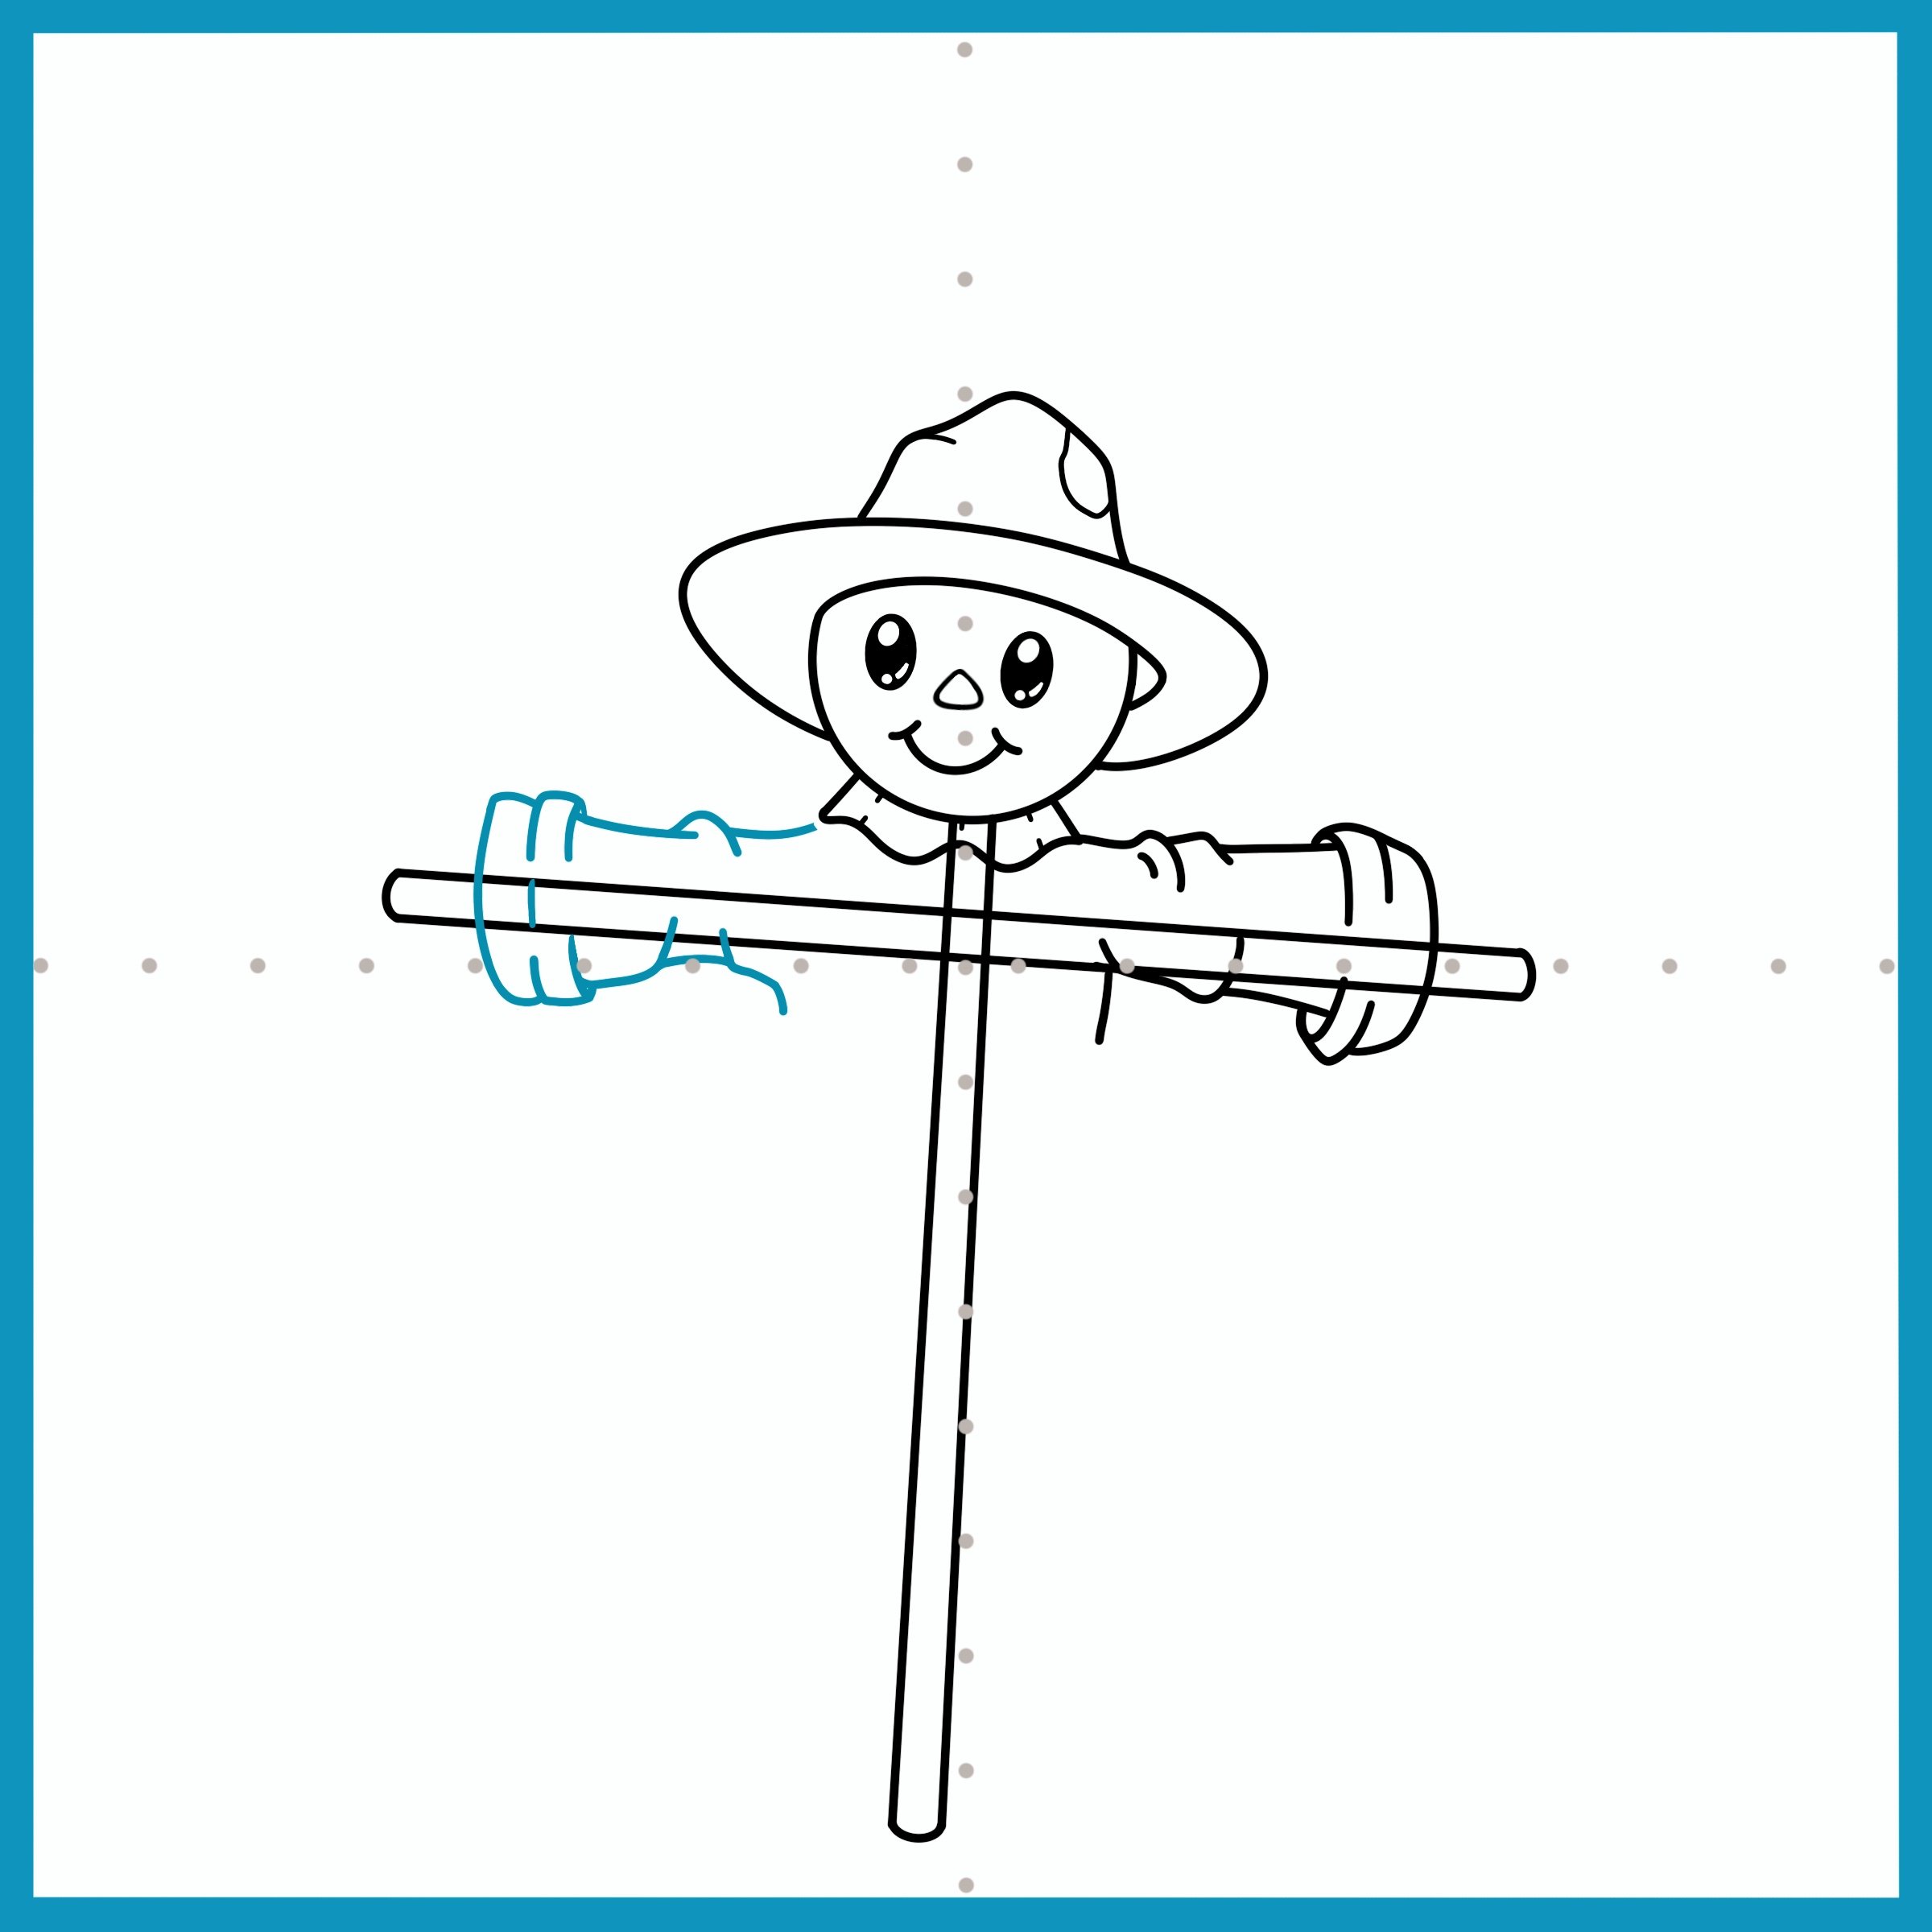
Follow the same steps for the left sleeve of your scarecrow. Remember to keep it loose and floppy.
Step 13
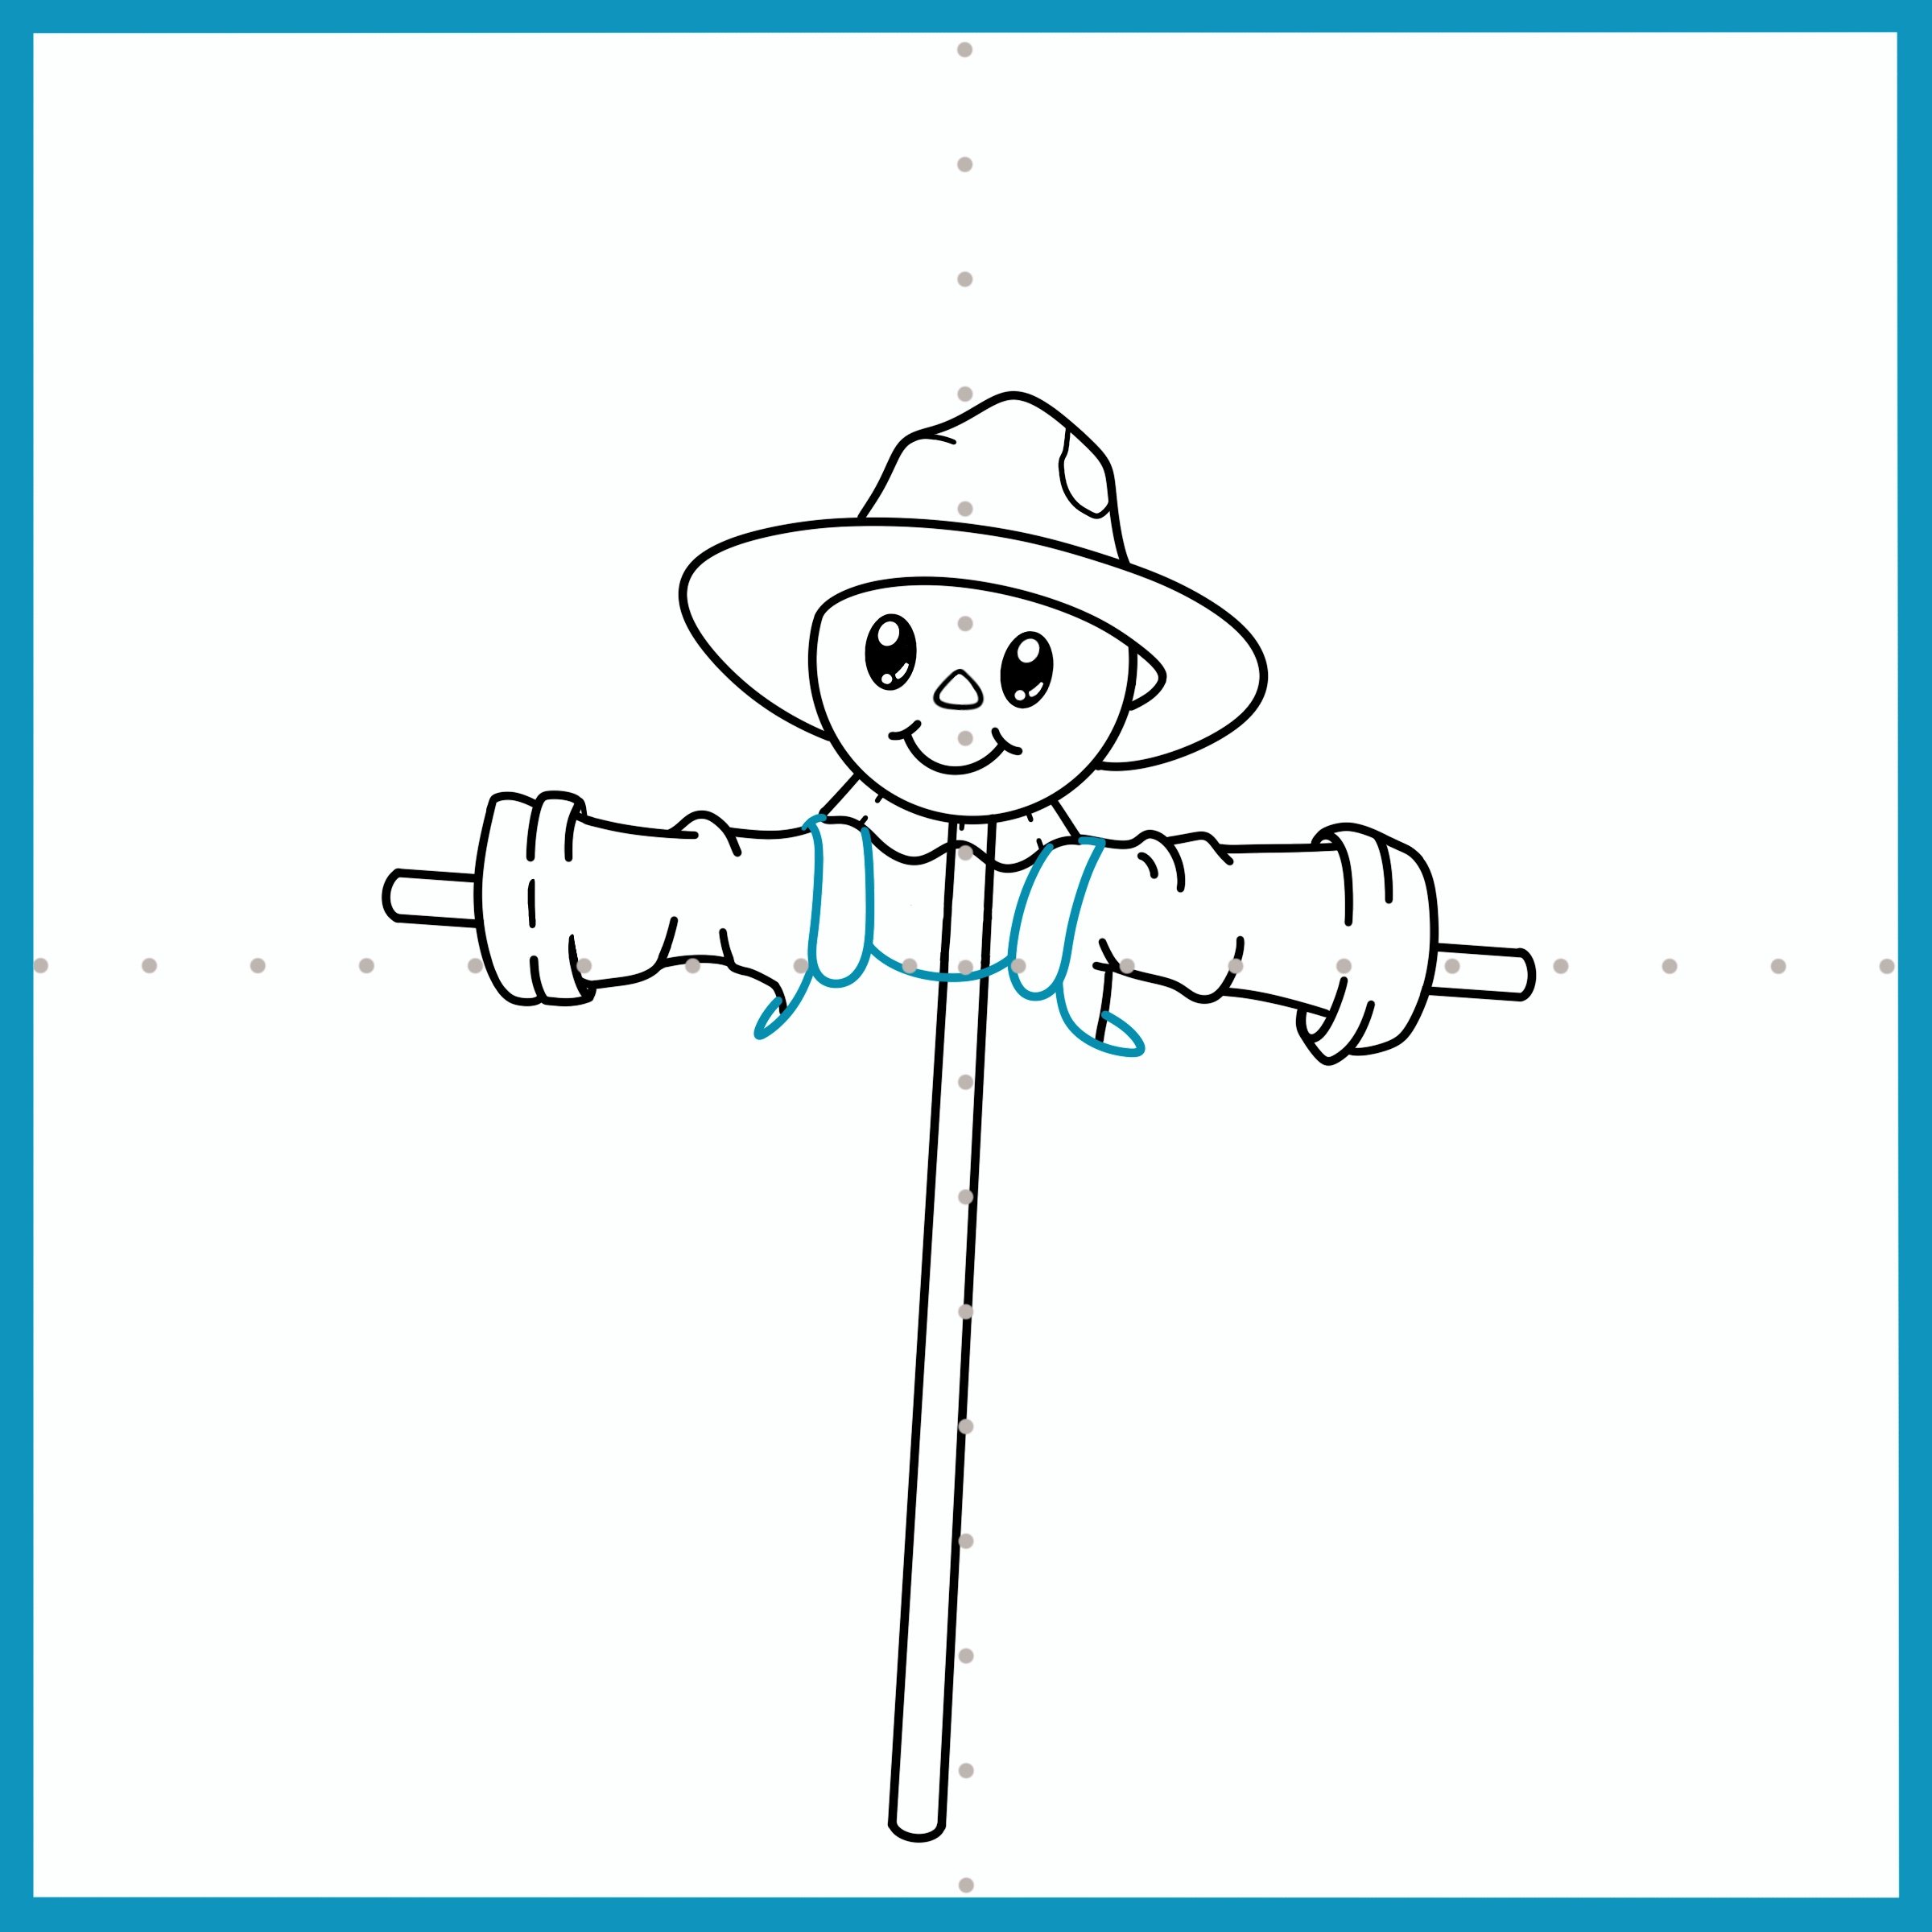
Now let’s draw the rest of the scarecrow’s outfit. Start by adding the buckles and top of your scarecrow’s overalls. Creative idea: What other outfits can your scarecrow wear? A sun dress? Long john’s? Maybe, something more unique like a disco outfit? It’s your creation.
Step 14
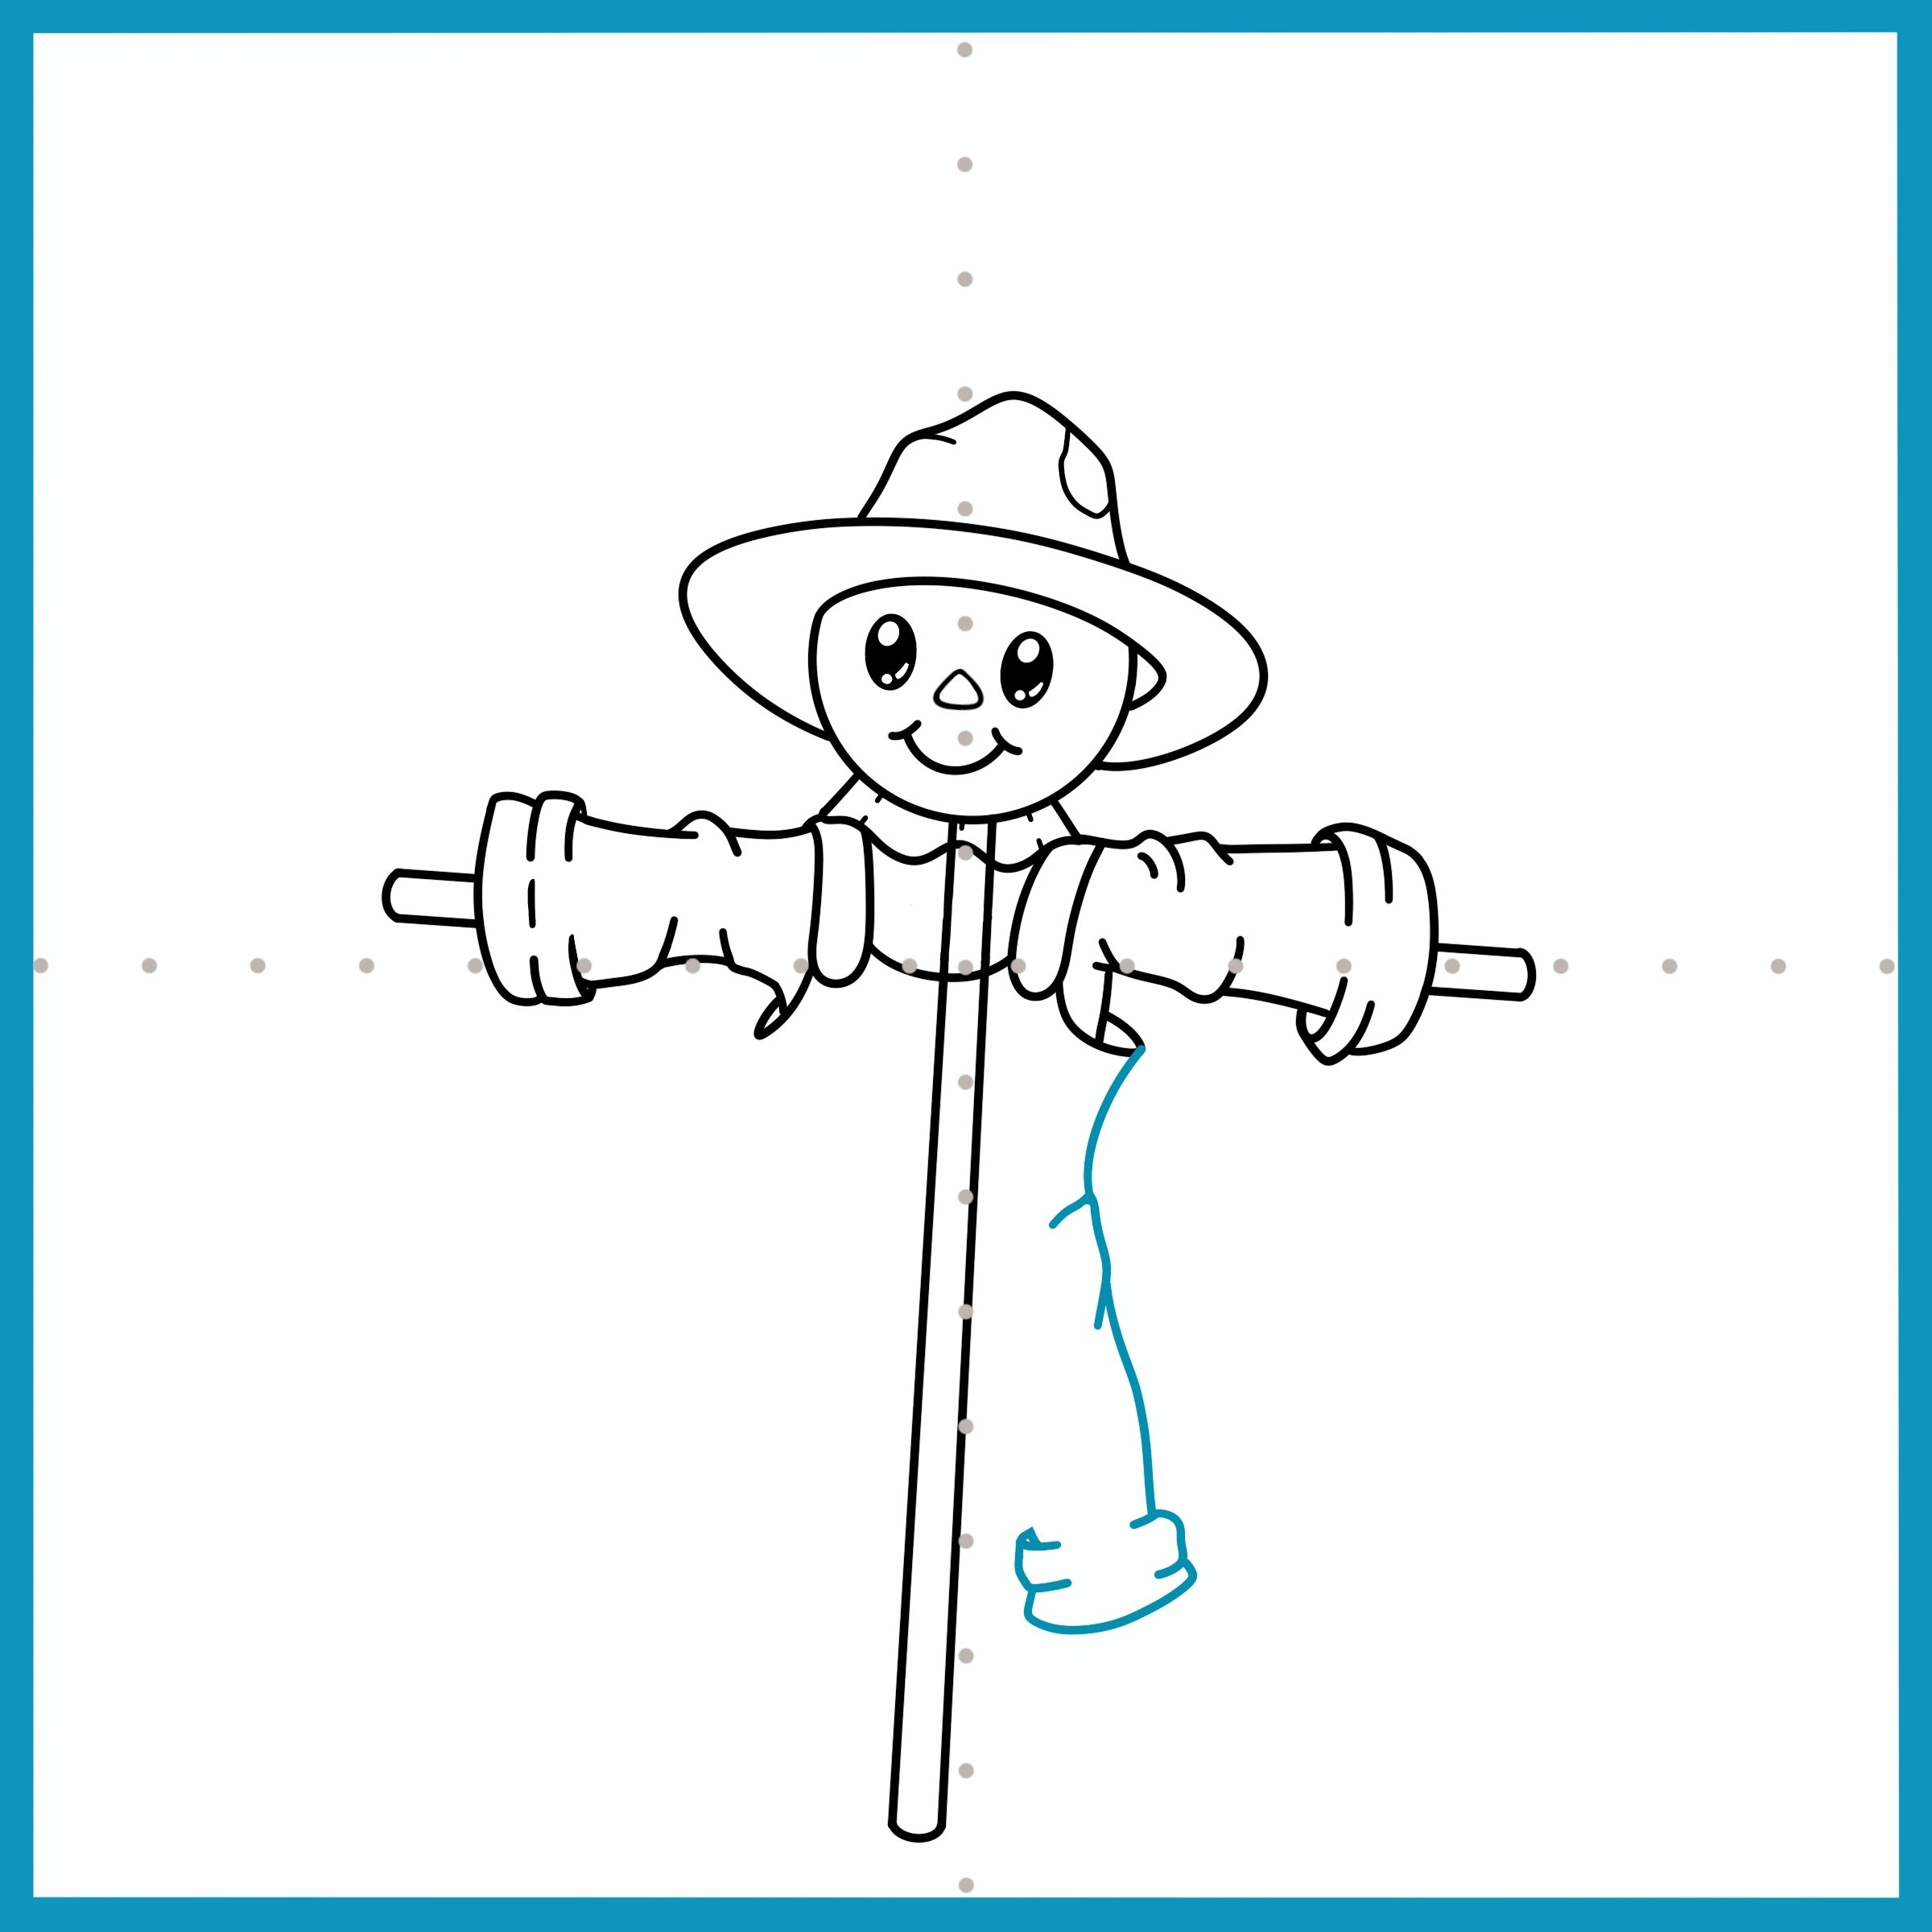
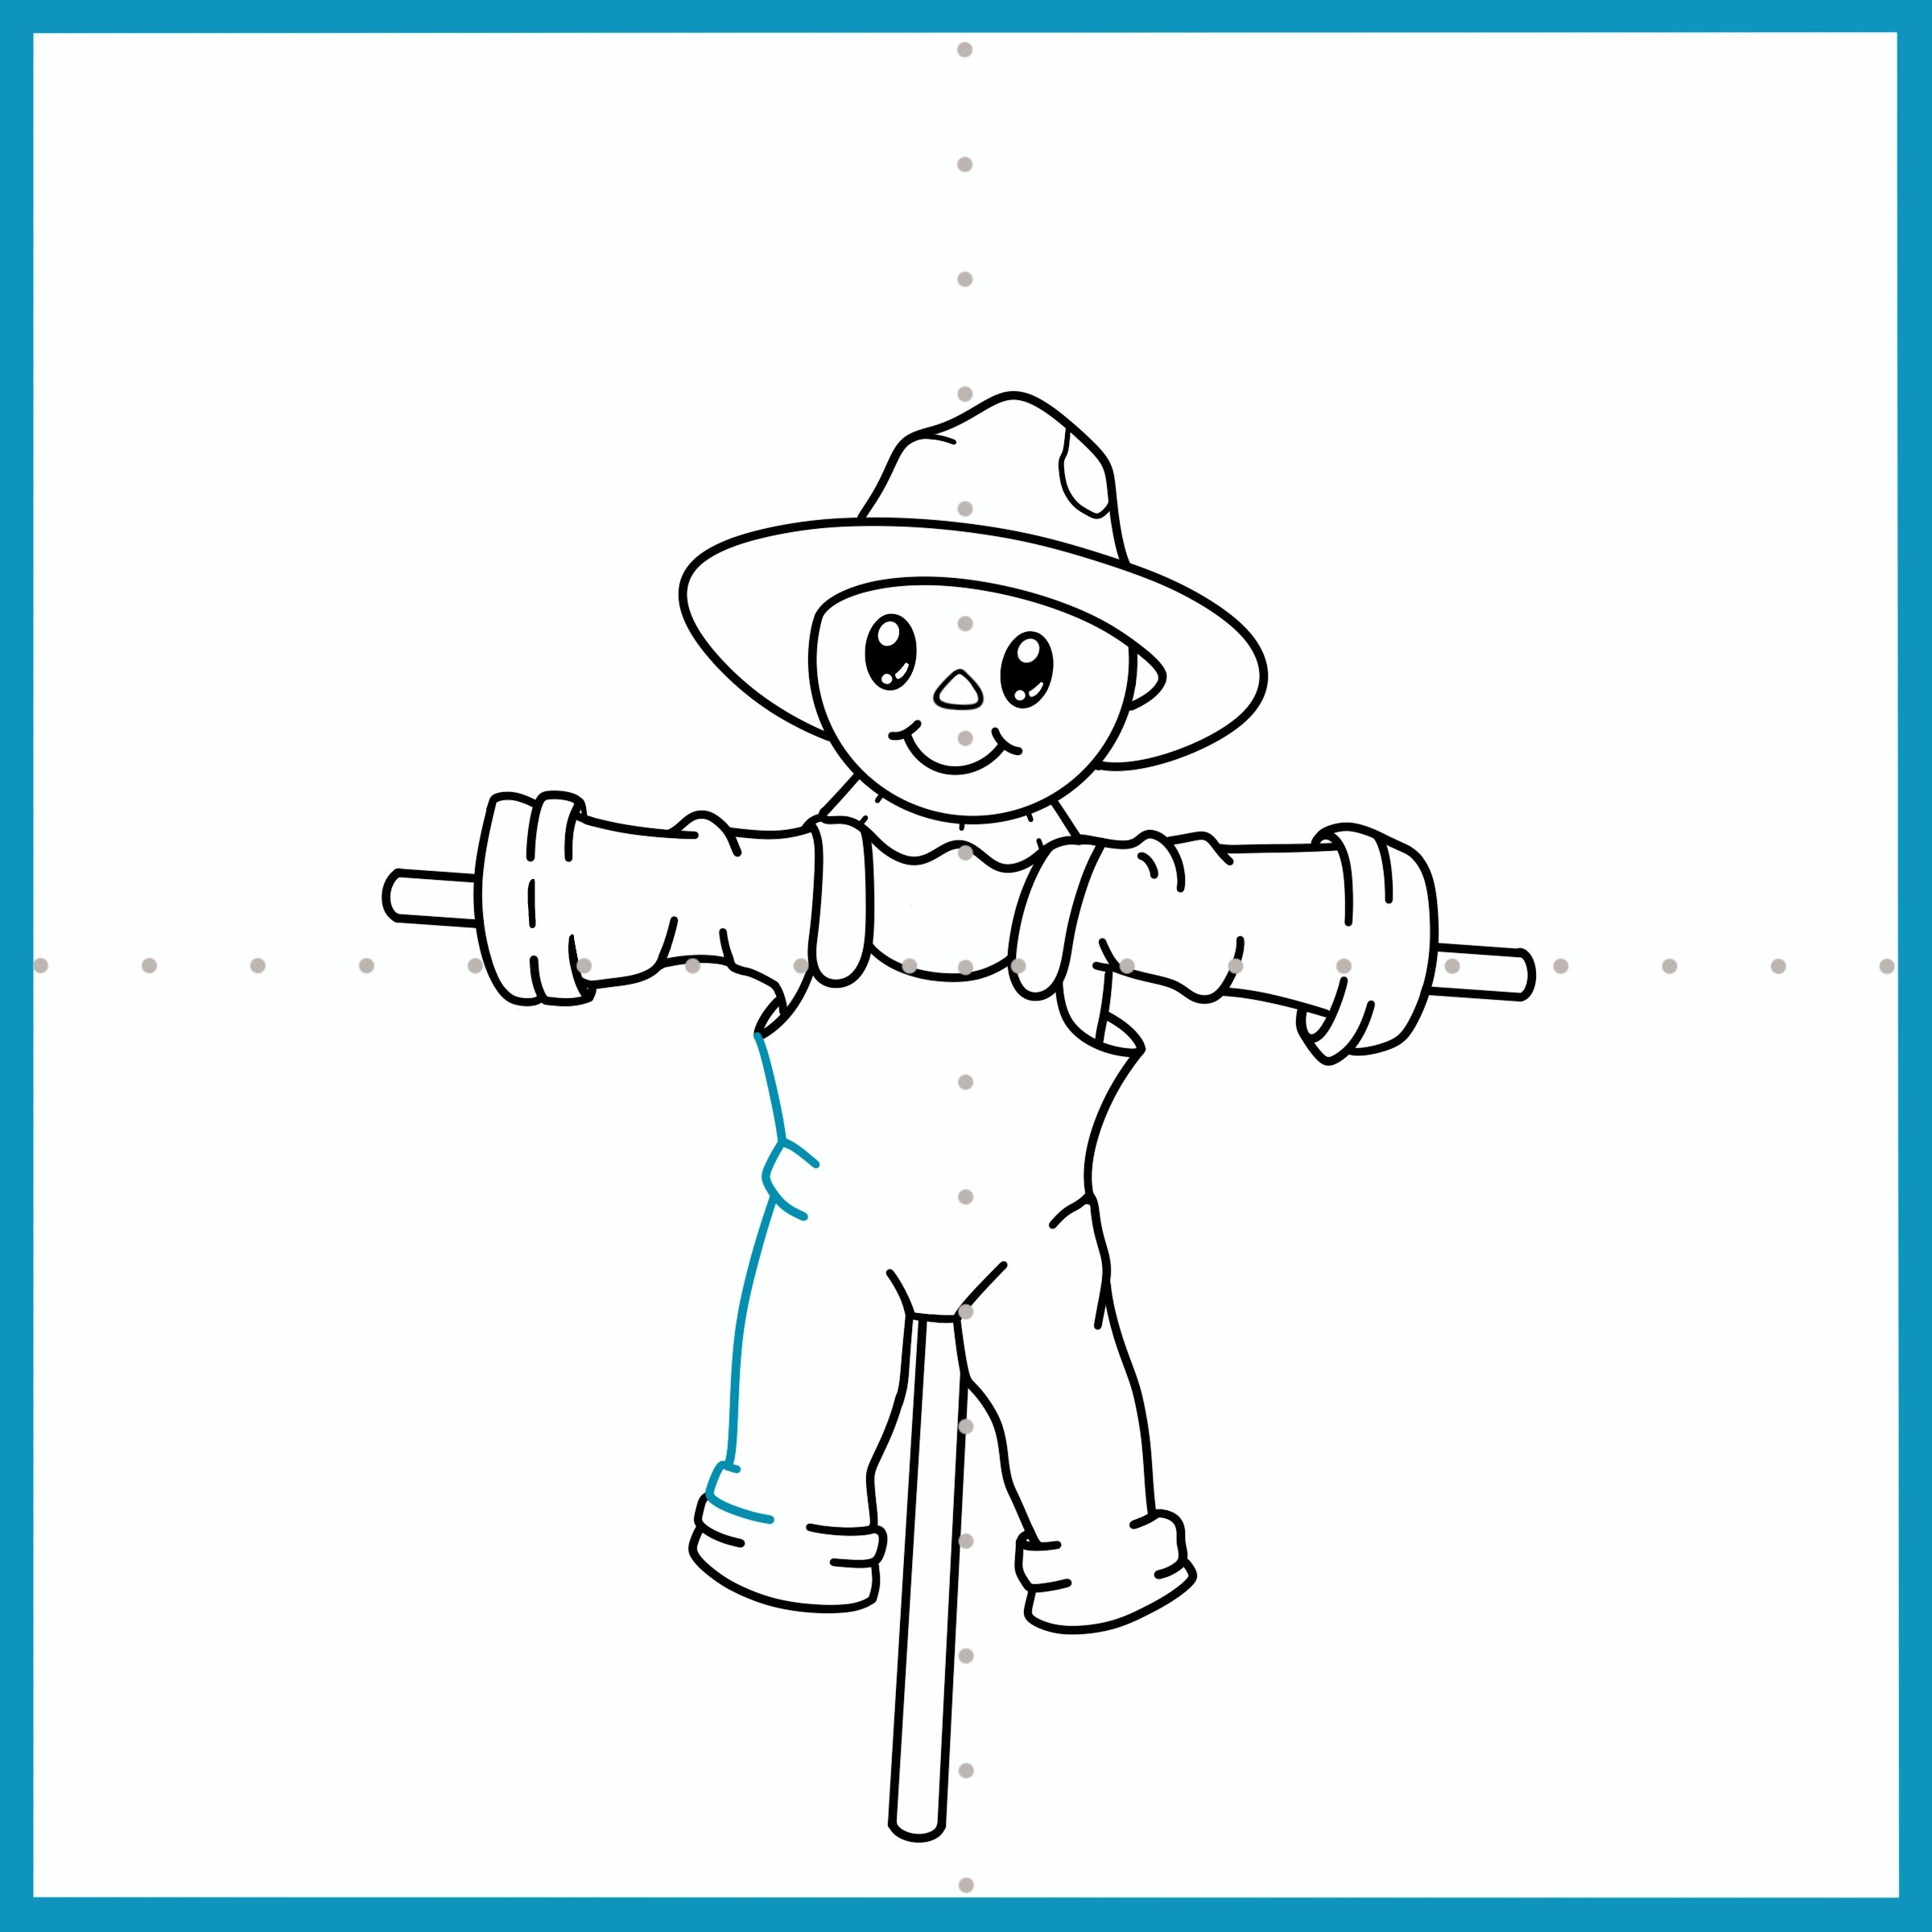
Draw the right side of the scarecrow’s overalls making them loose looking. Add details of folds and wrinkles to make the overalls look weathered.
Step 15
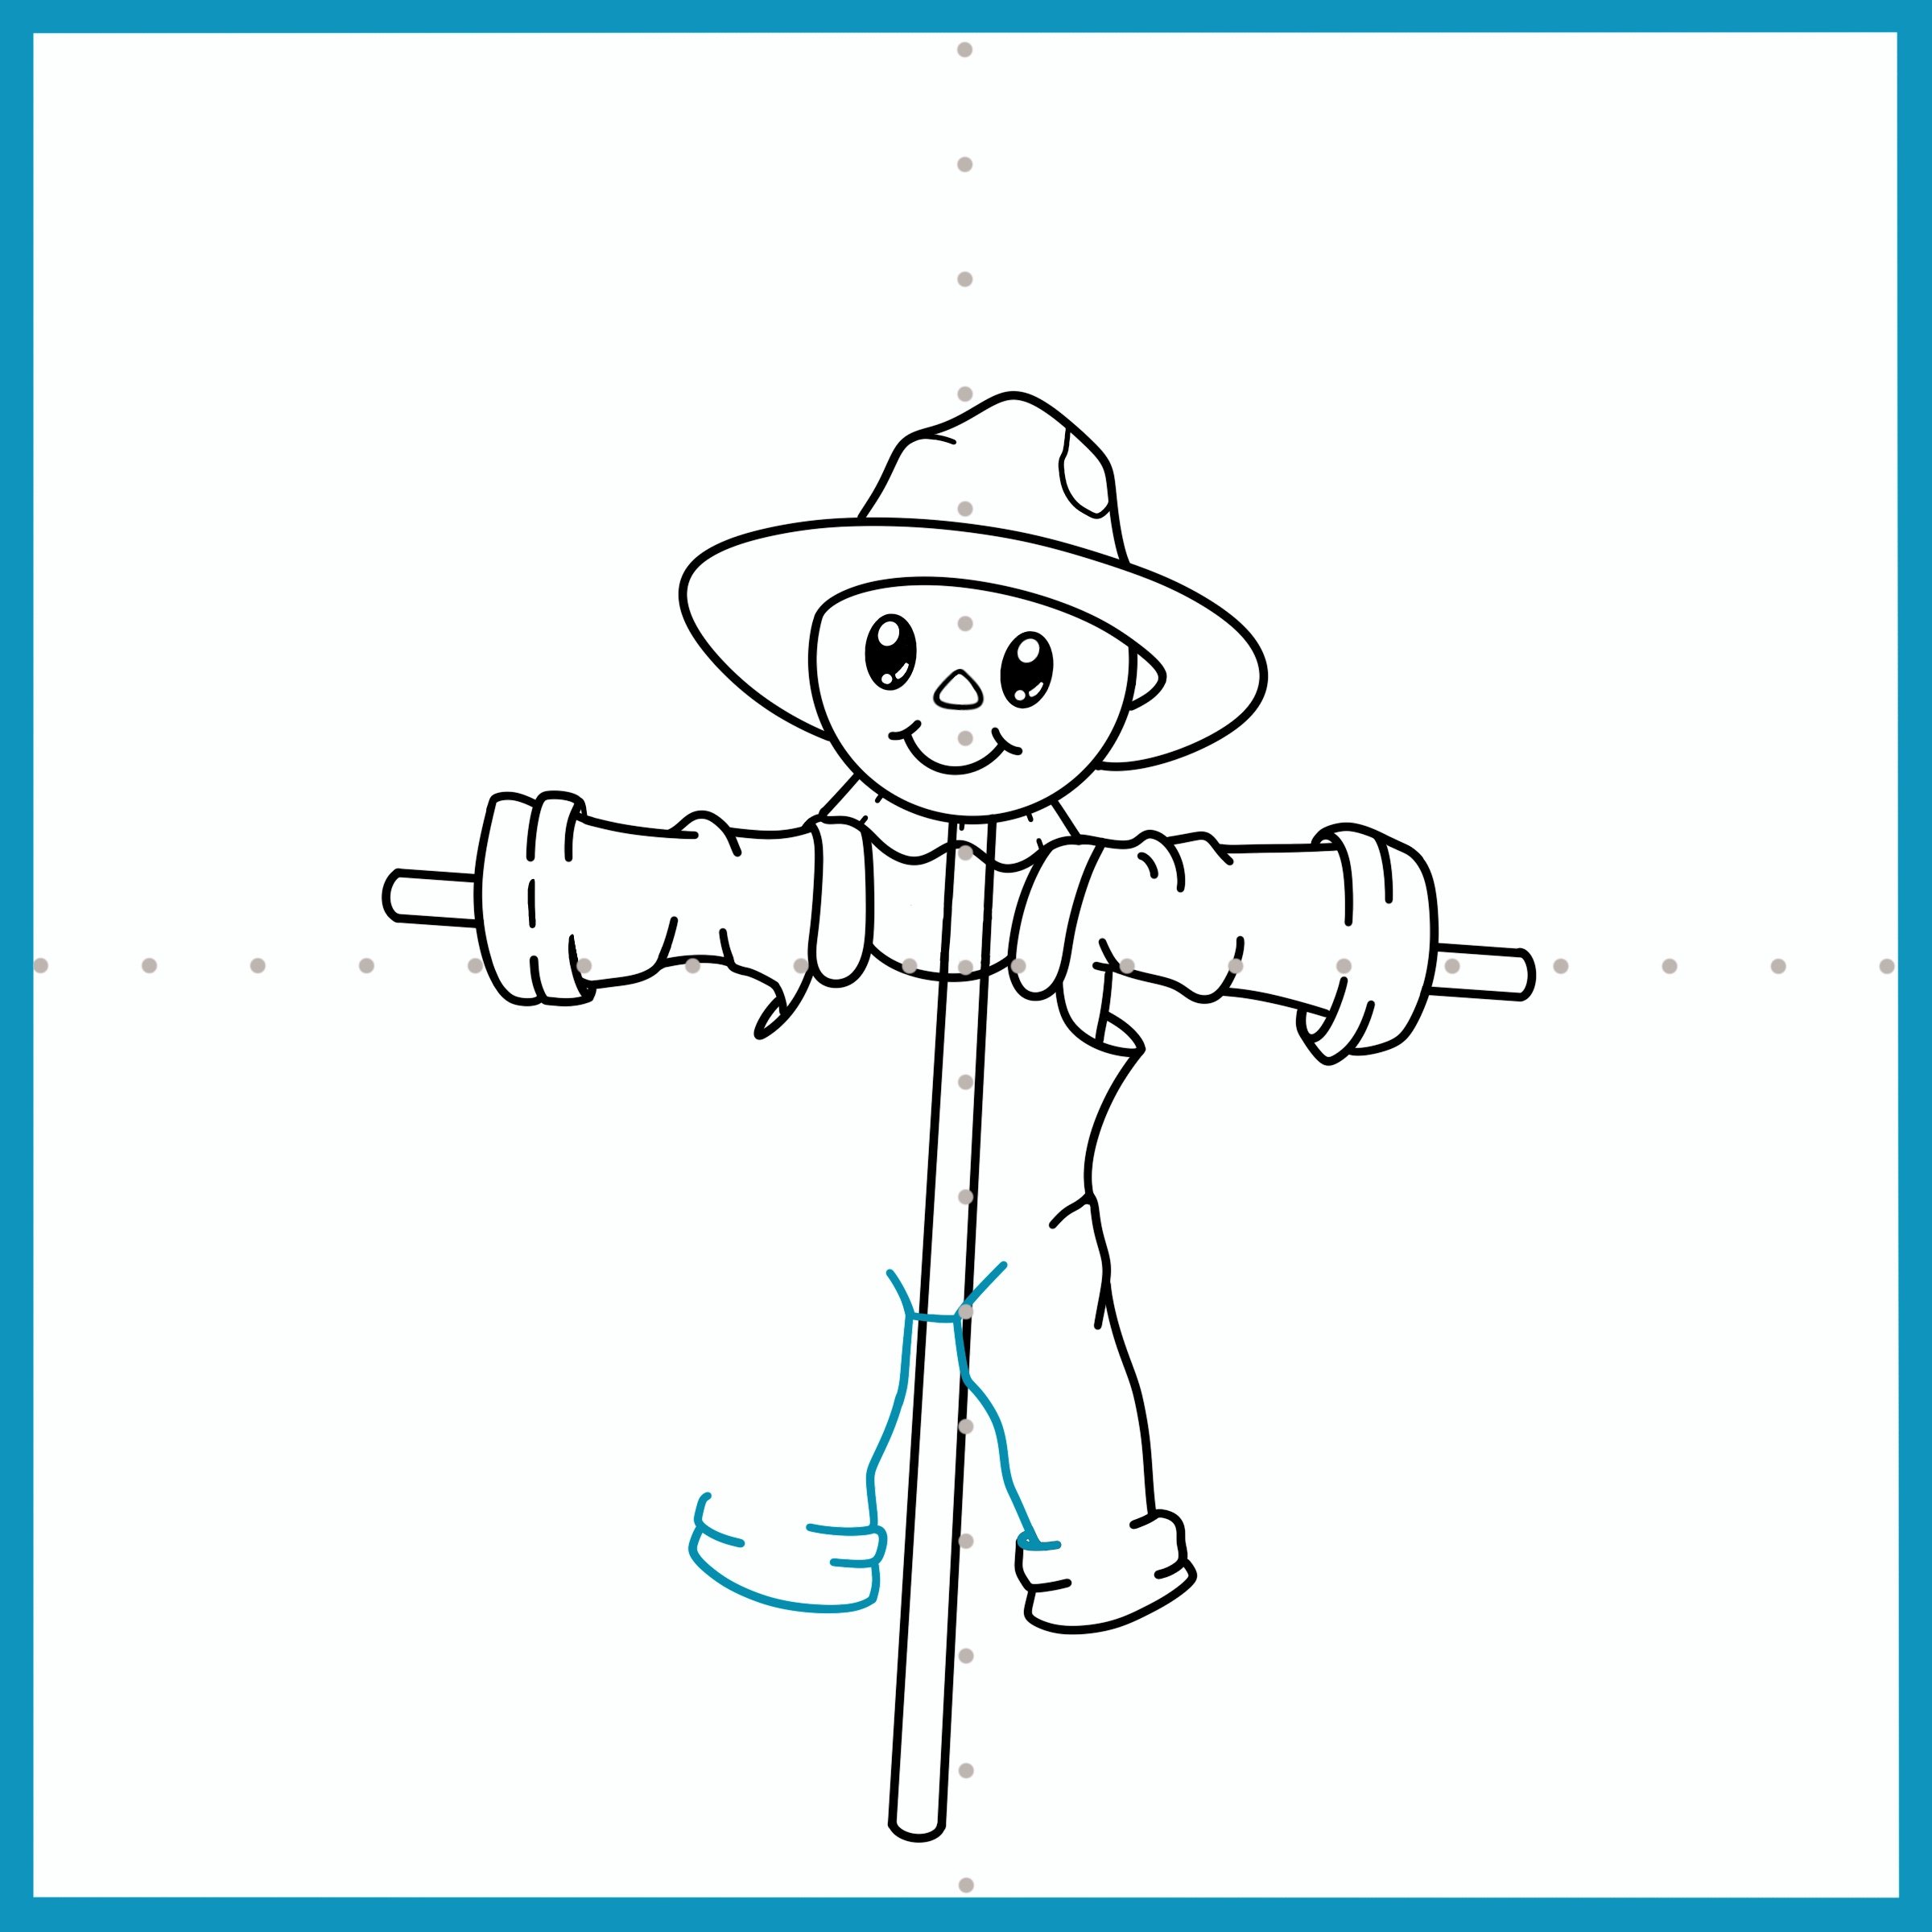
Draw the inseam of the overalls. Continue to add more details of wrinkles and folds onto the scarecrow’s costume.
Step 16
Now, draw the right side of your scarecrow’s overalls. Next, erase parts of the stick that would be hiding under the overalls you drew. You’re doing great!
Step 17
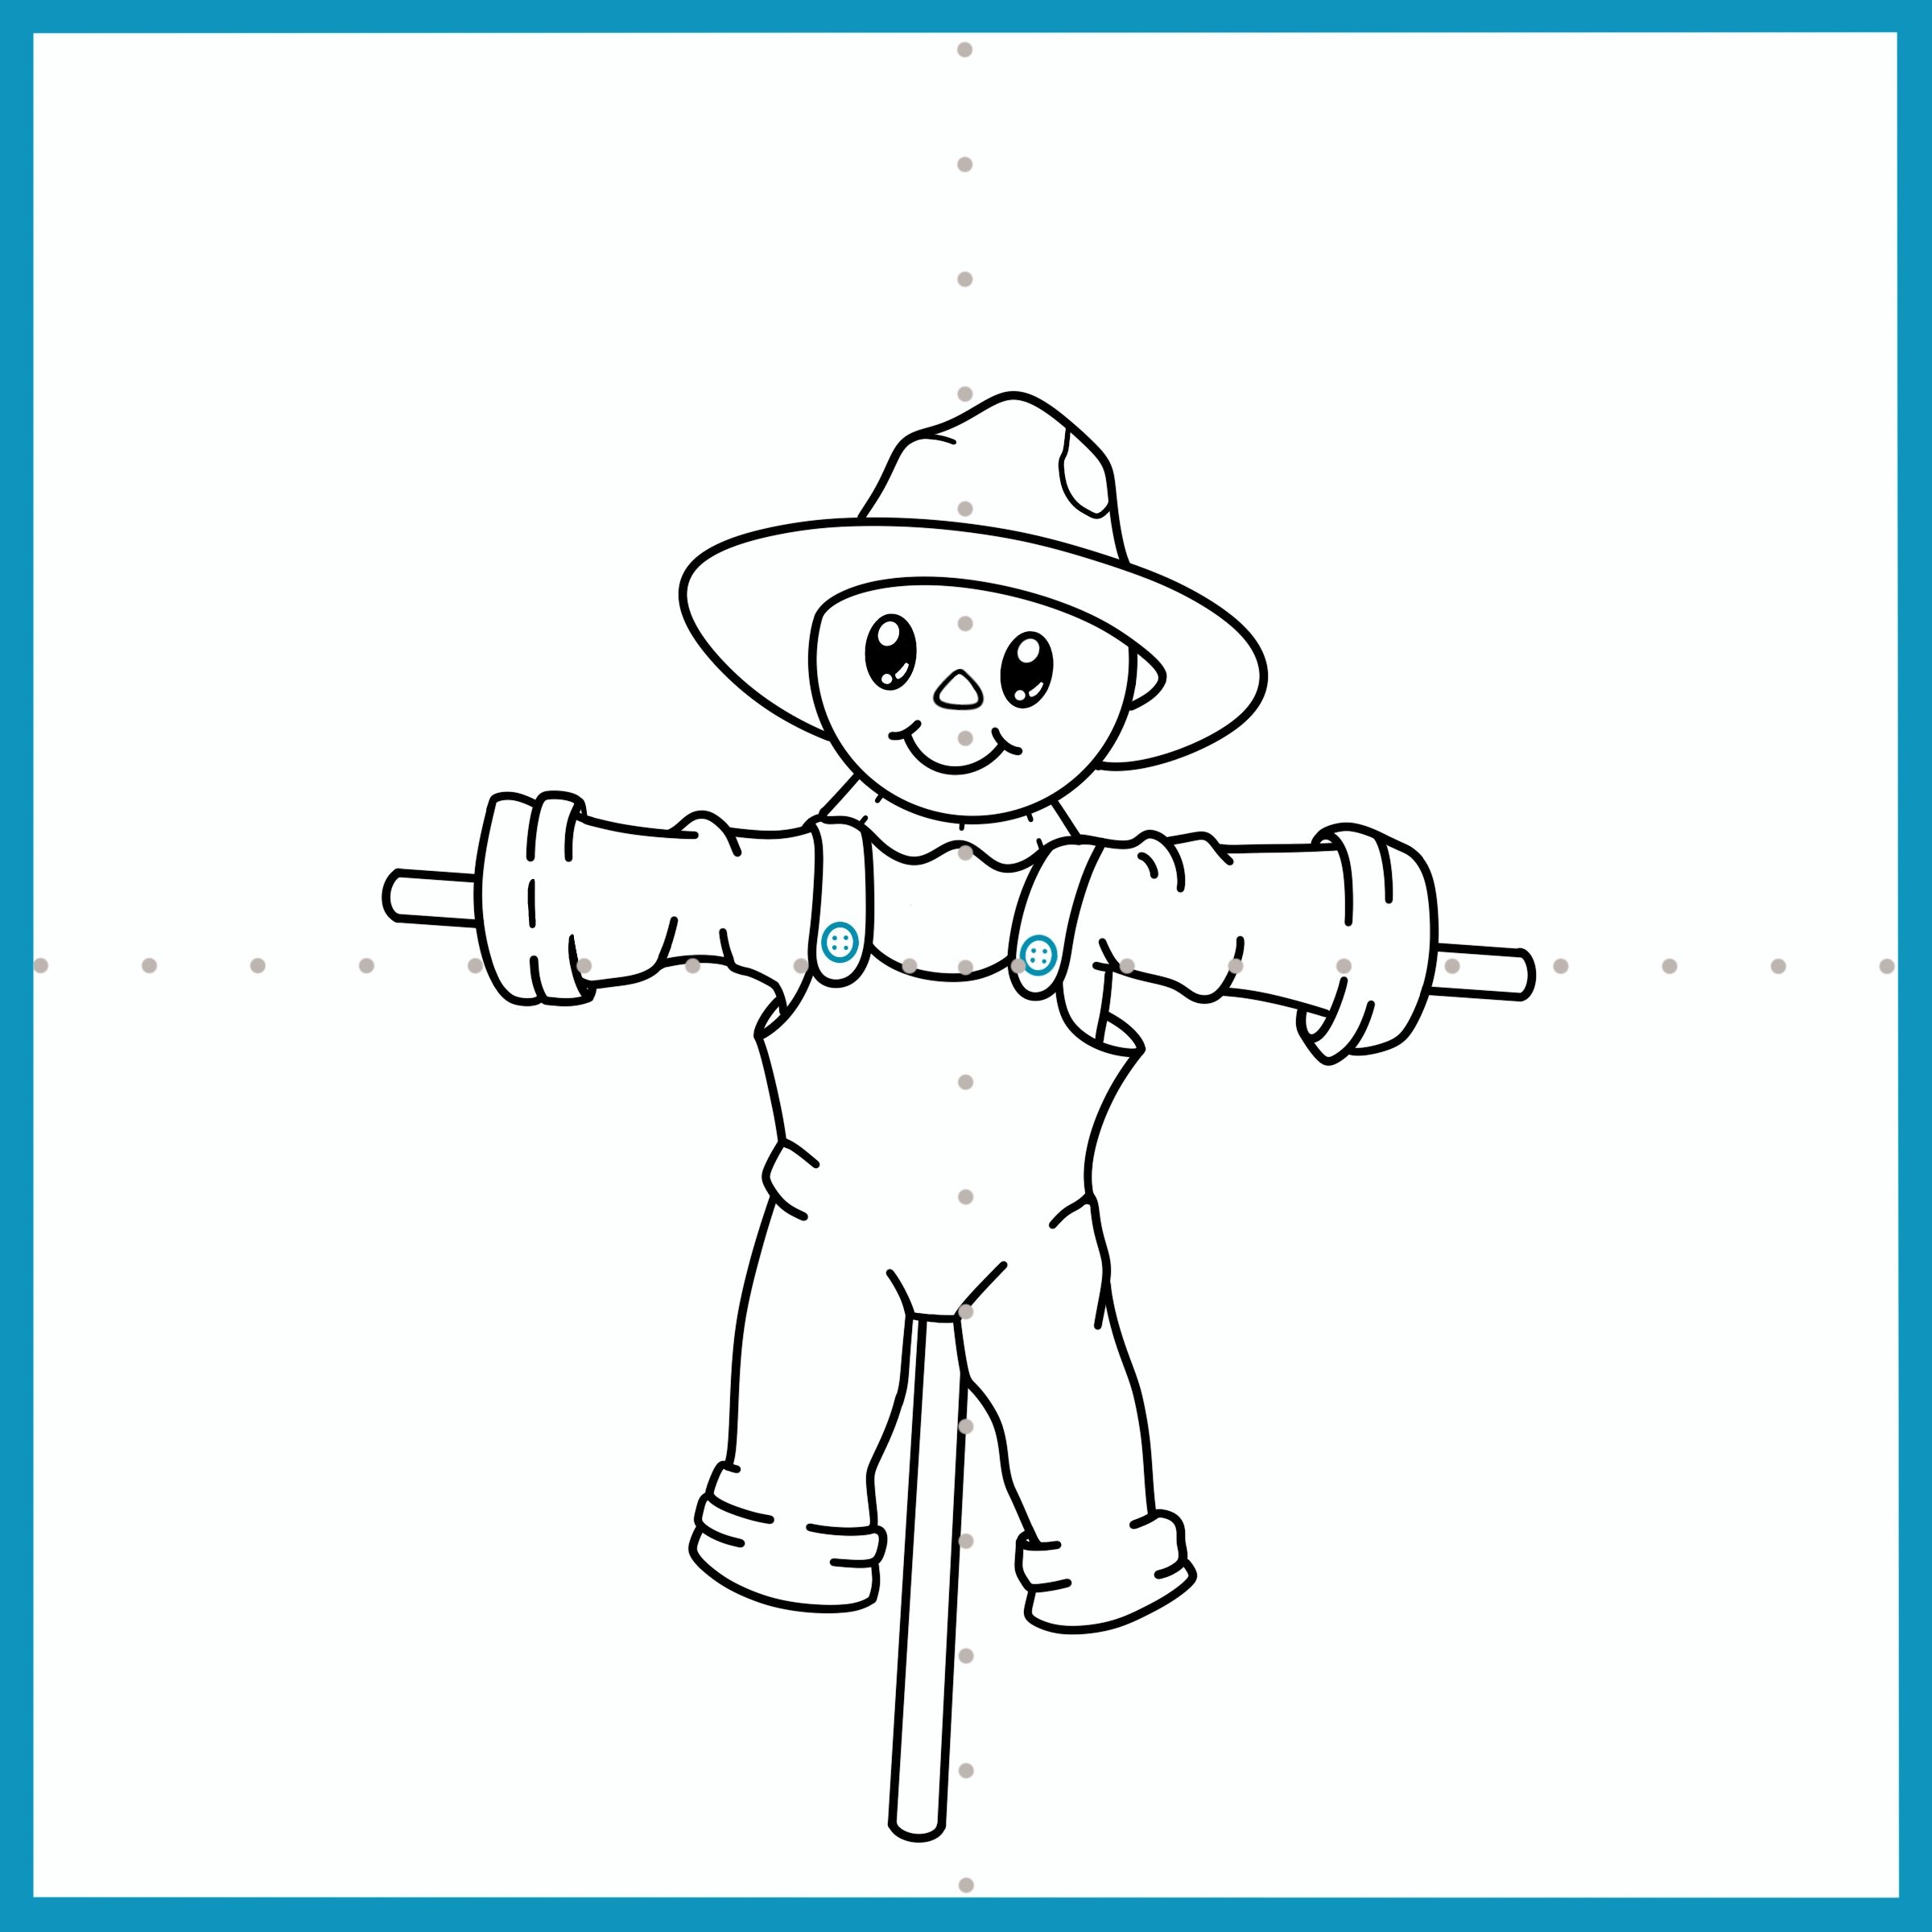
Time to add some details to our scarecrow. Draw two cute buttons onto the straps of the overalls. Erase part of the wooden stick that will be hidden under the overalls.
Step 18
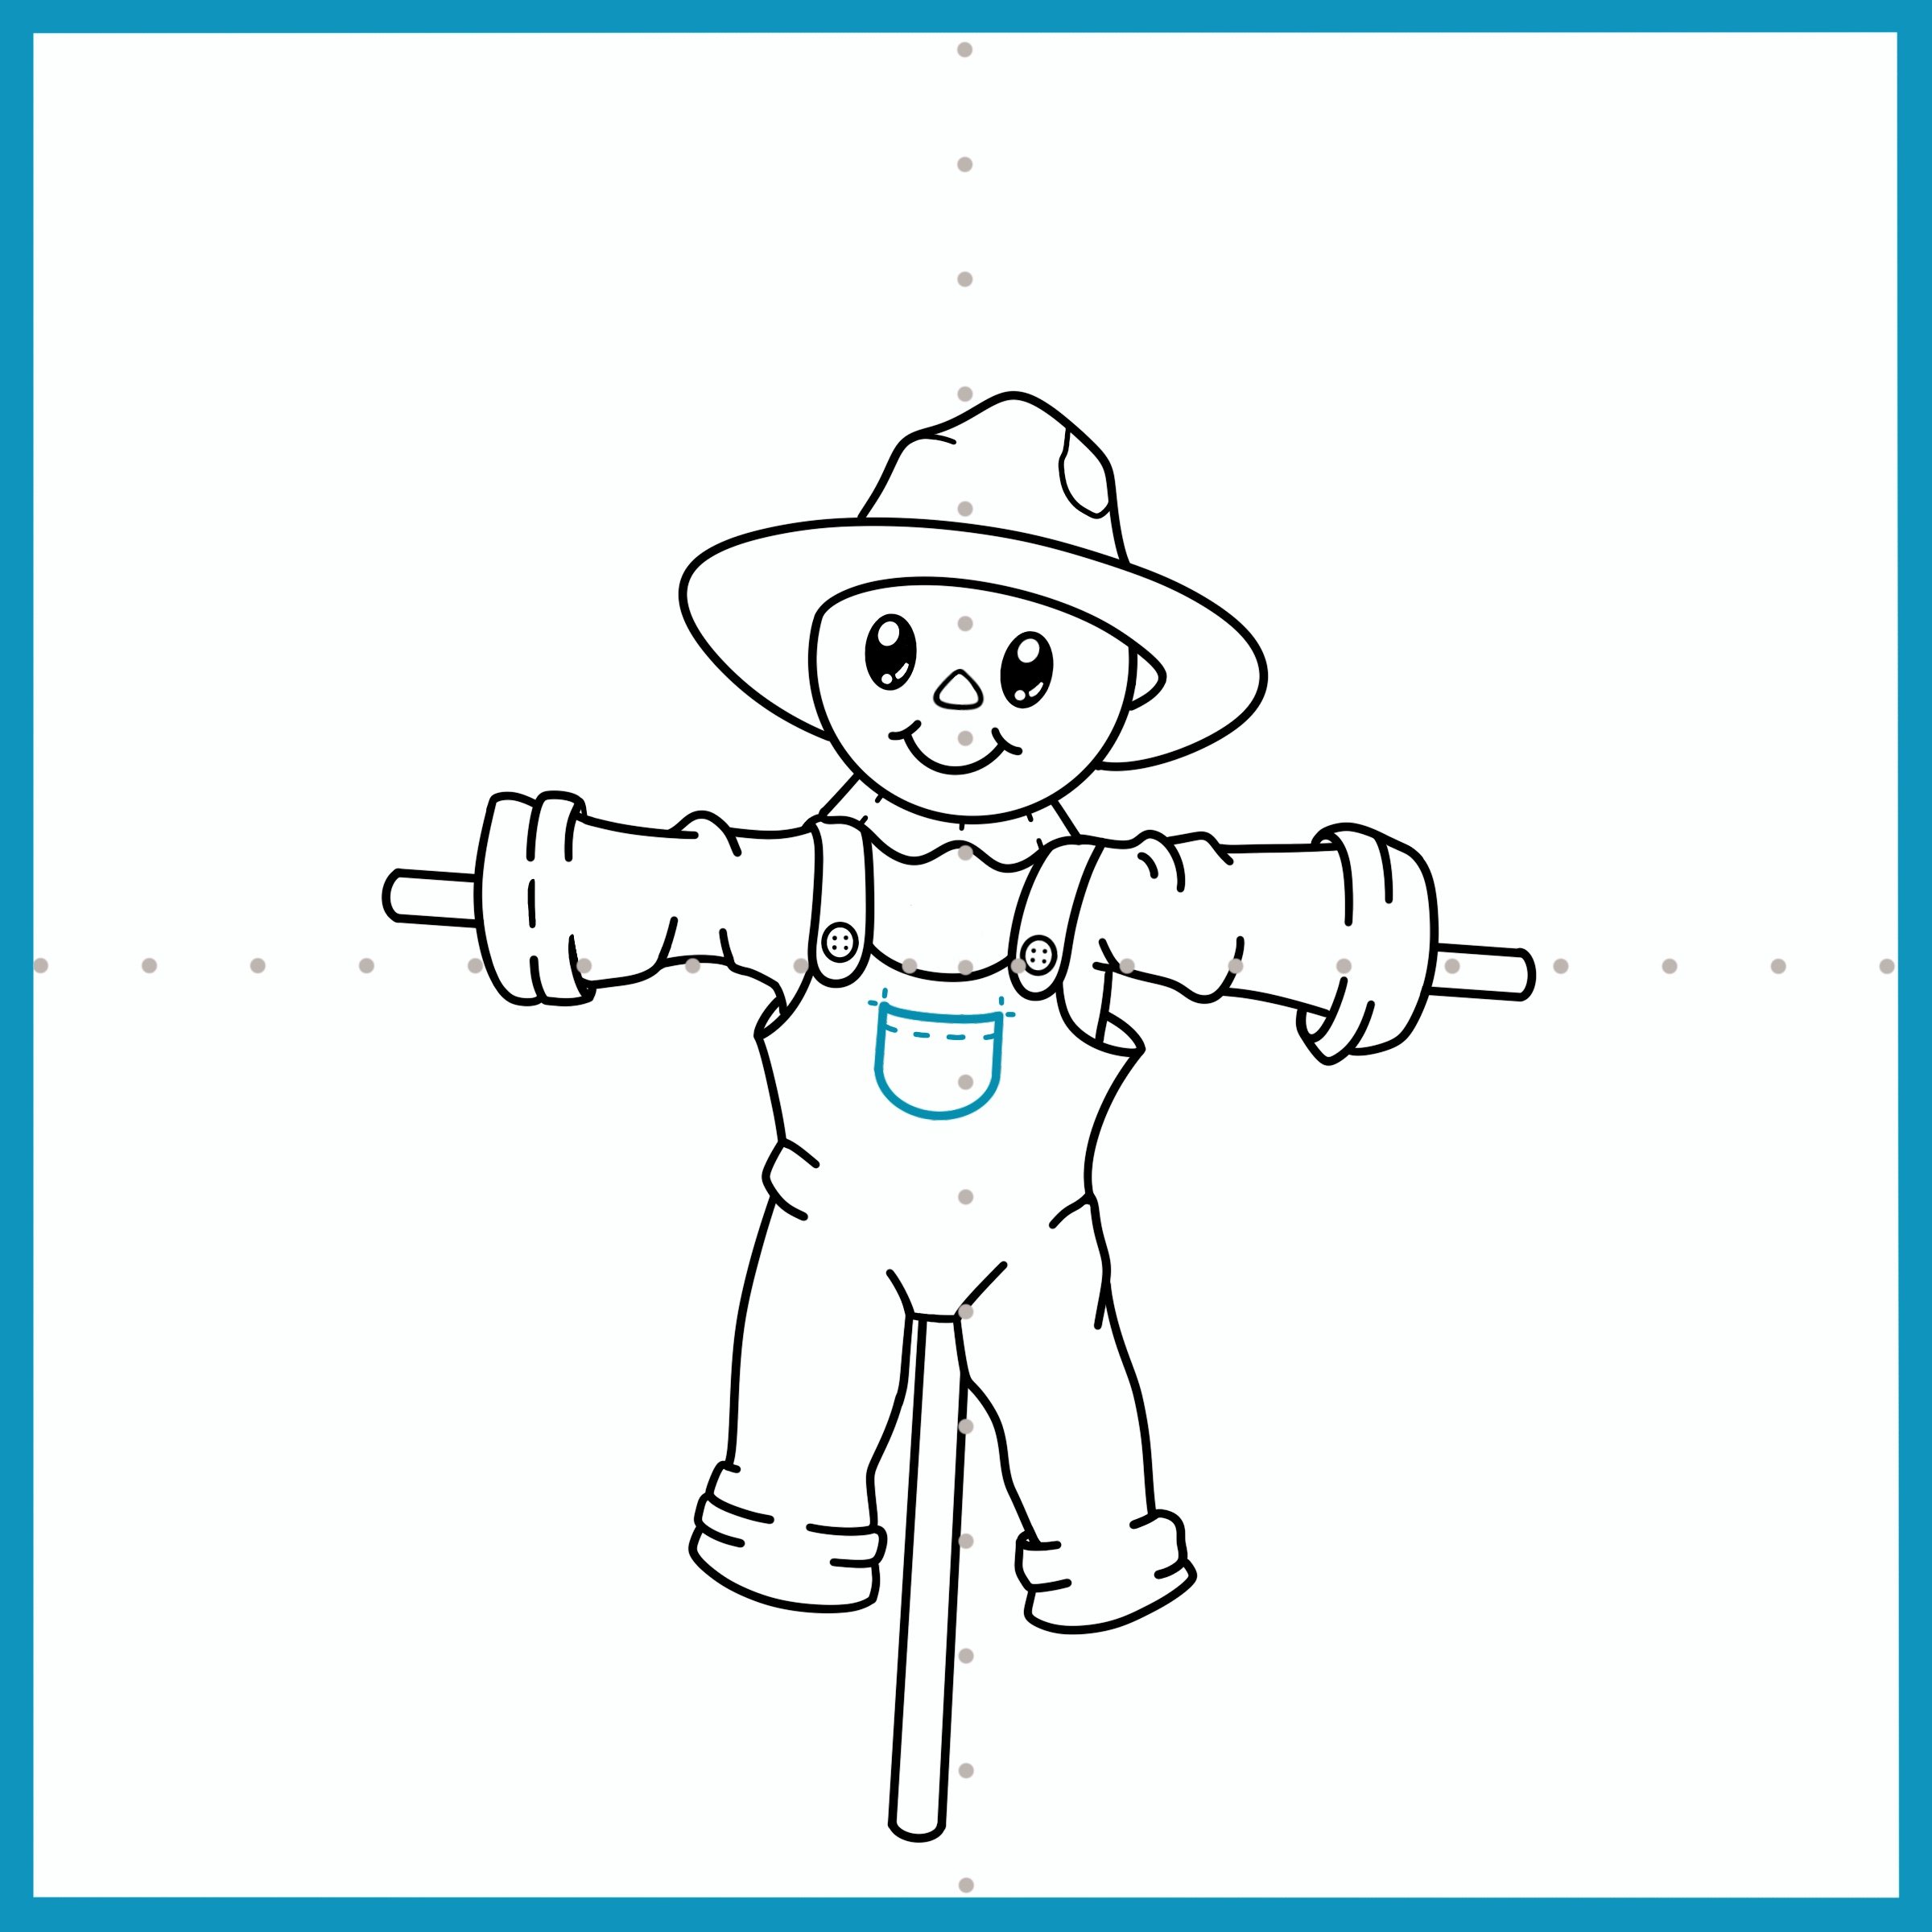
Almost there! Draw a cute pocket onto the overalls. Add details like stitches to the pocket to make it look more homemade.
Step 19
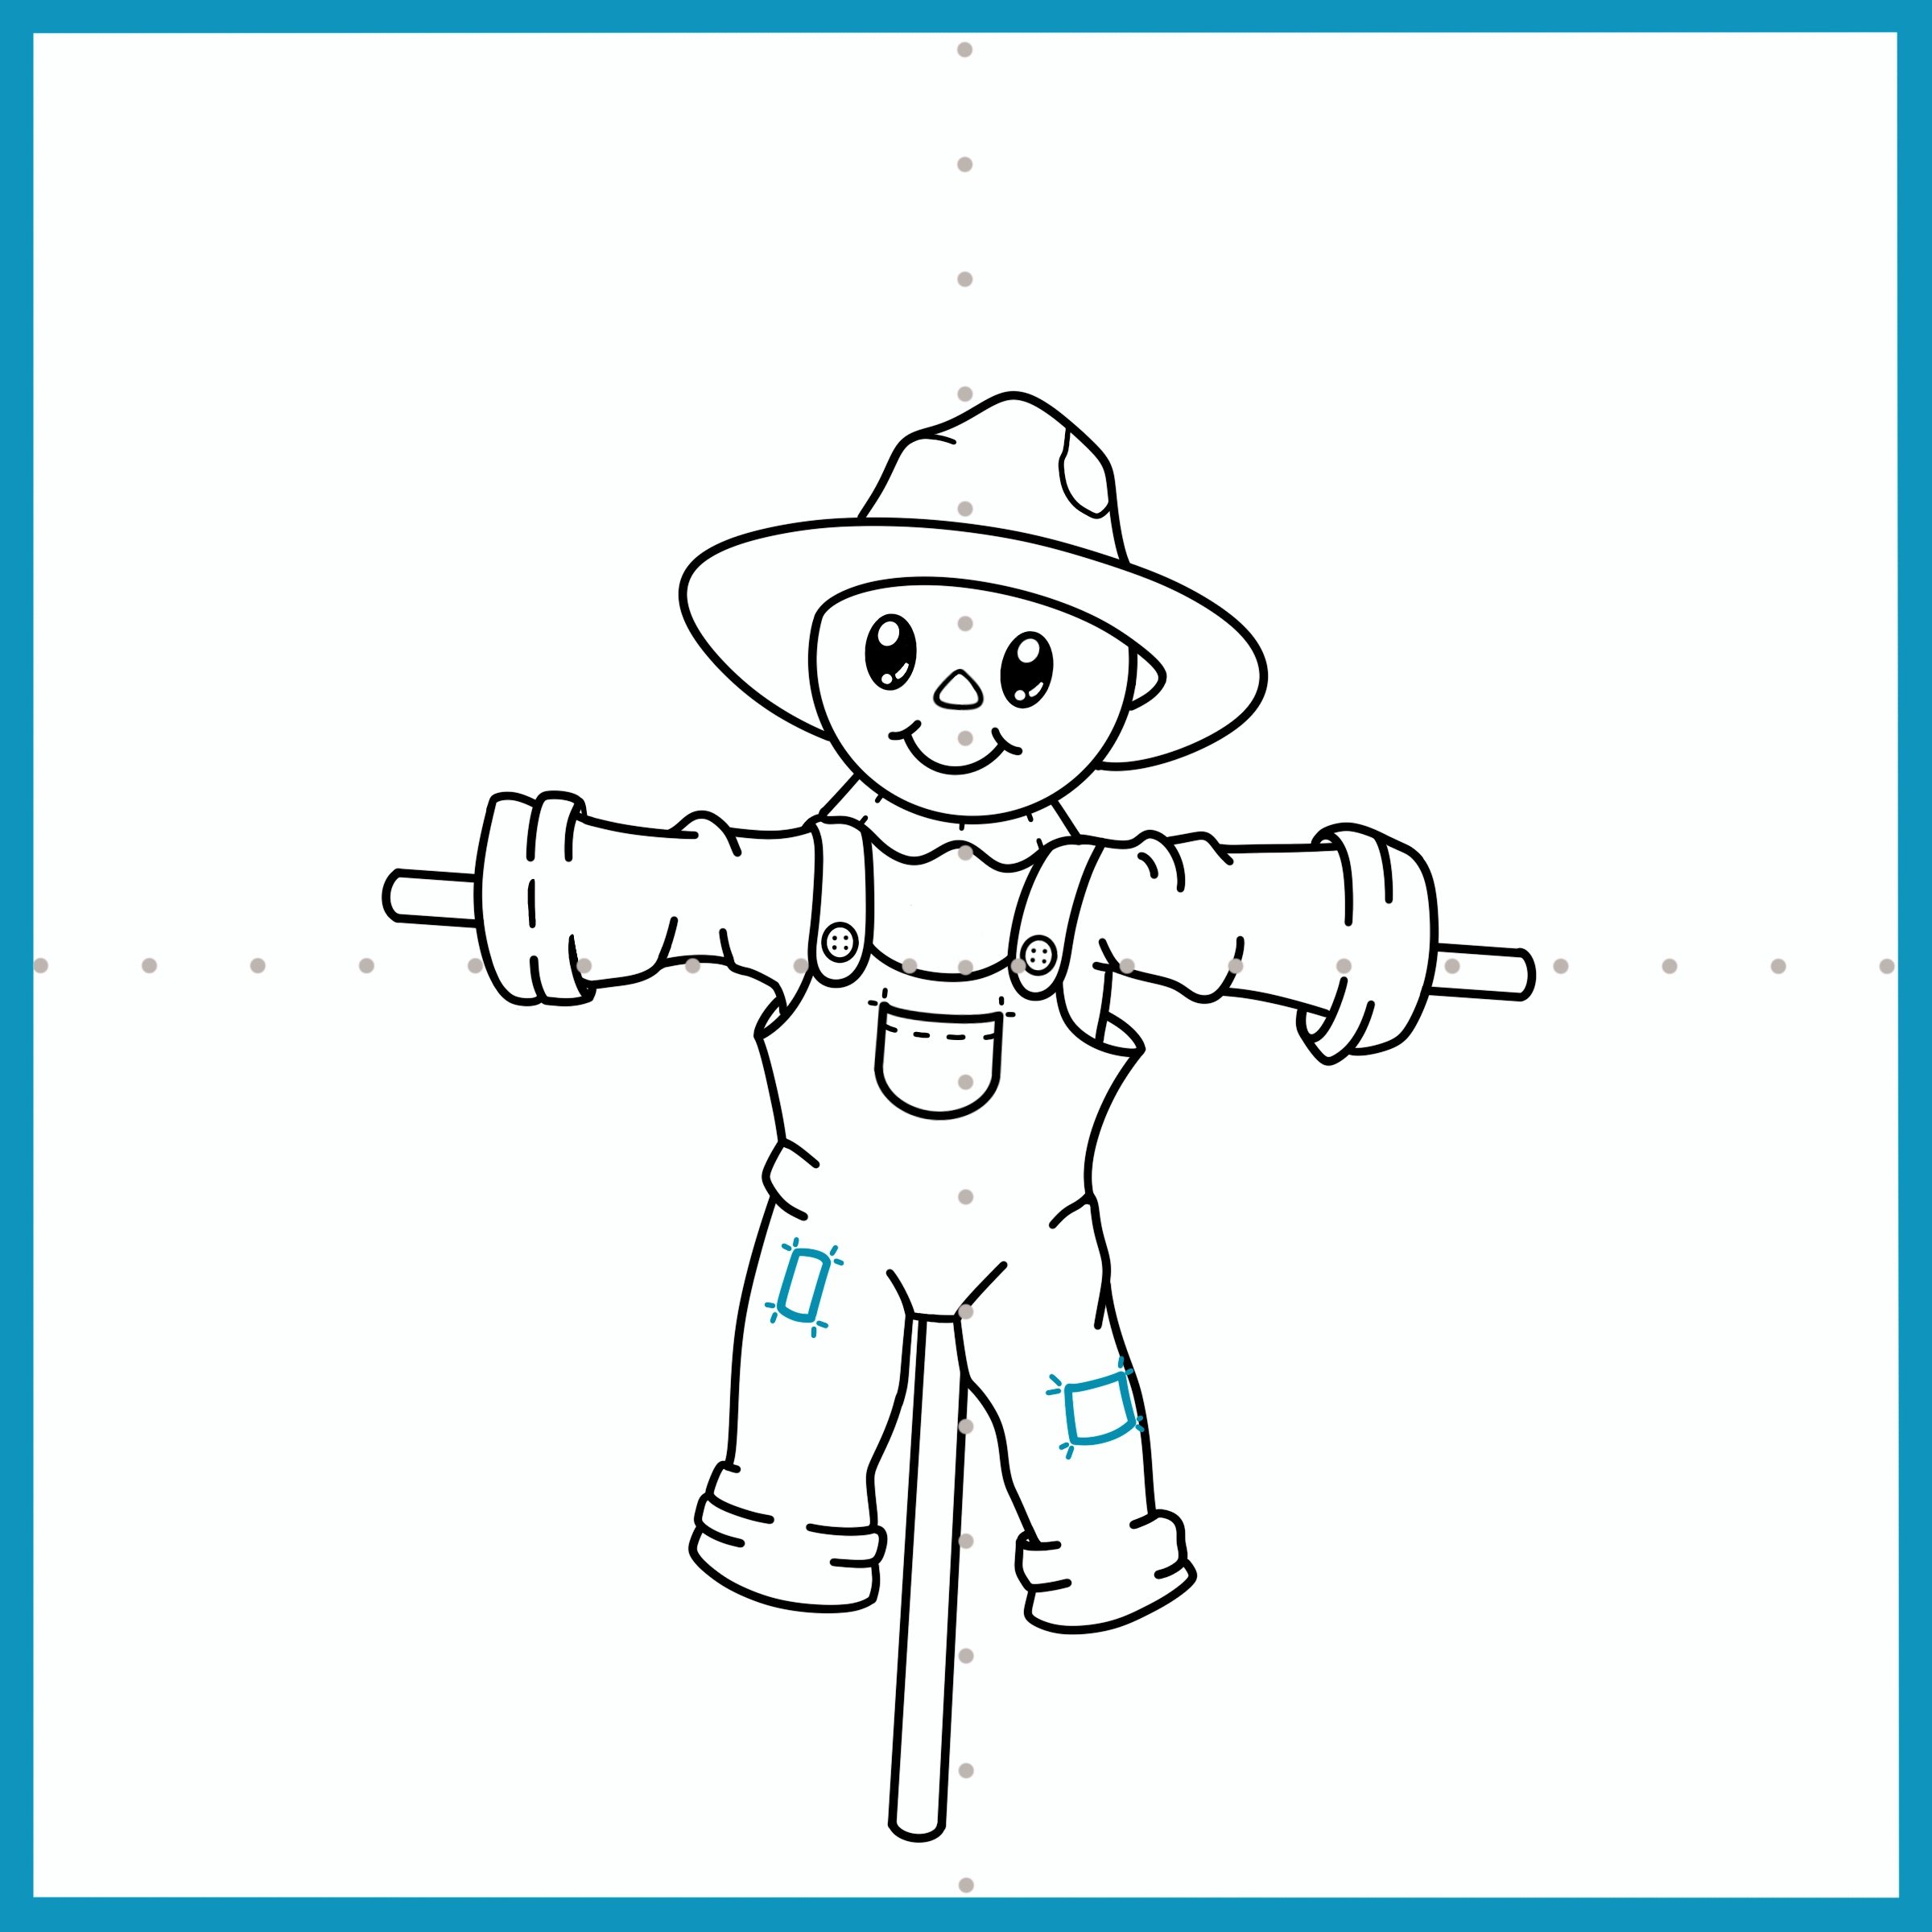
Add a couple of patches to the overalls. Draw in some fun homemade stitches.
Step 20
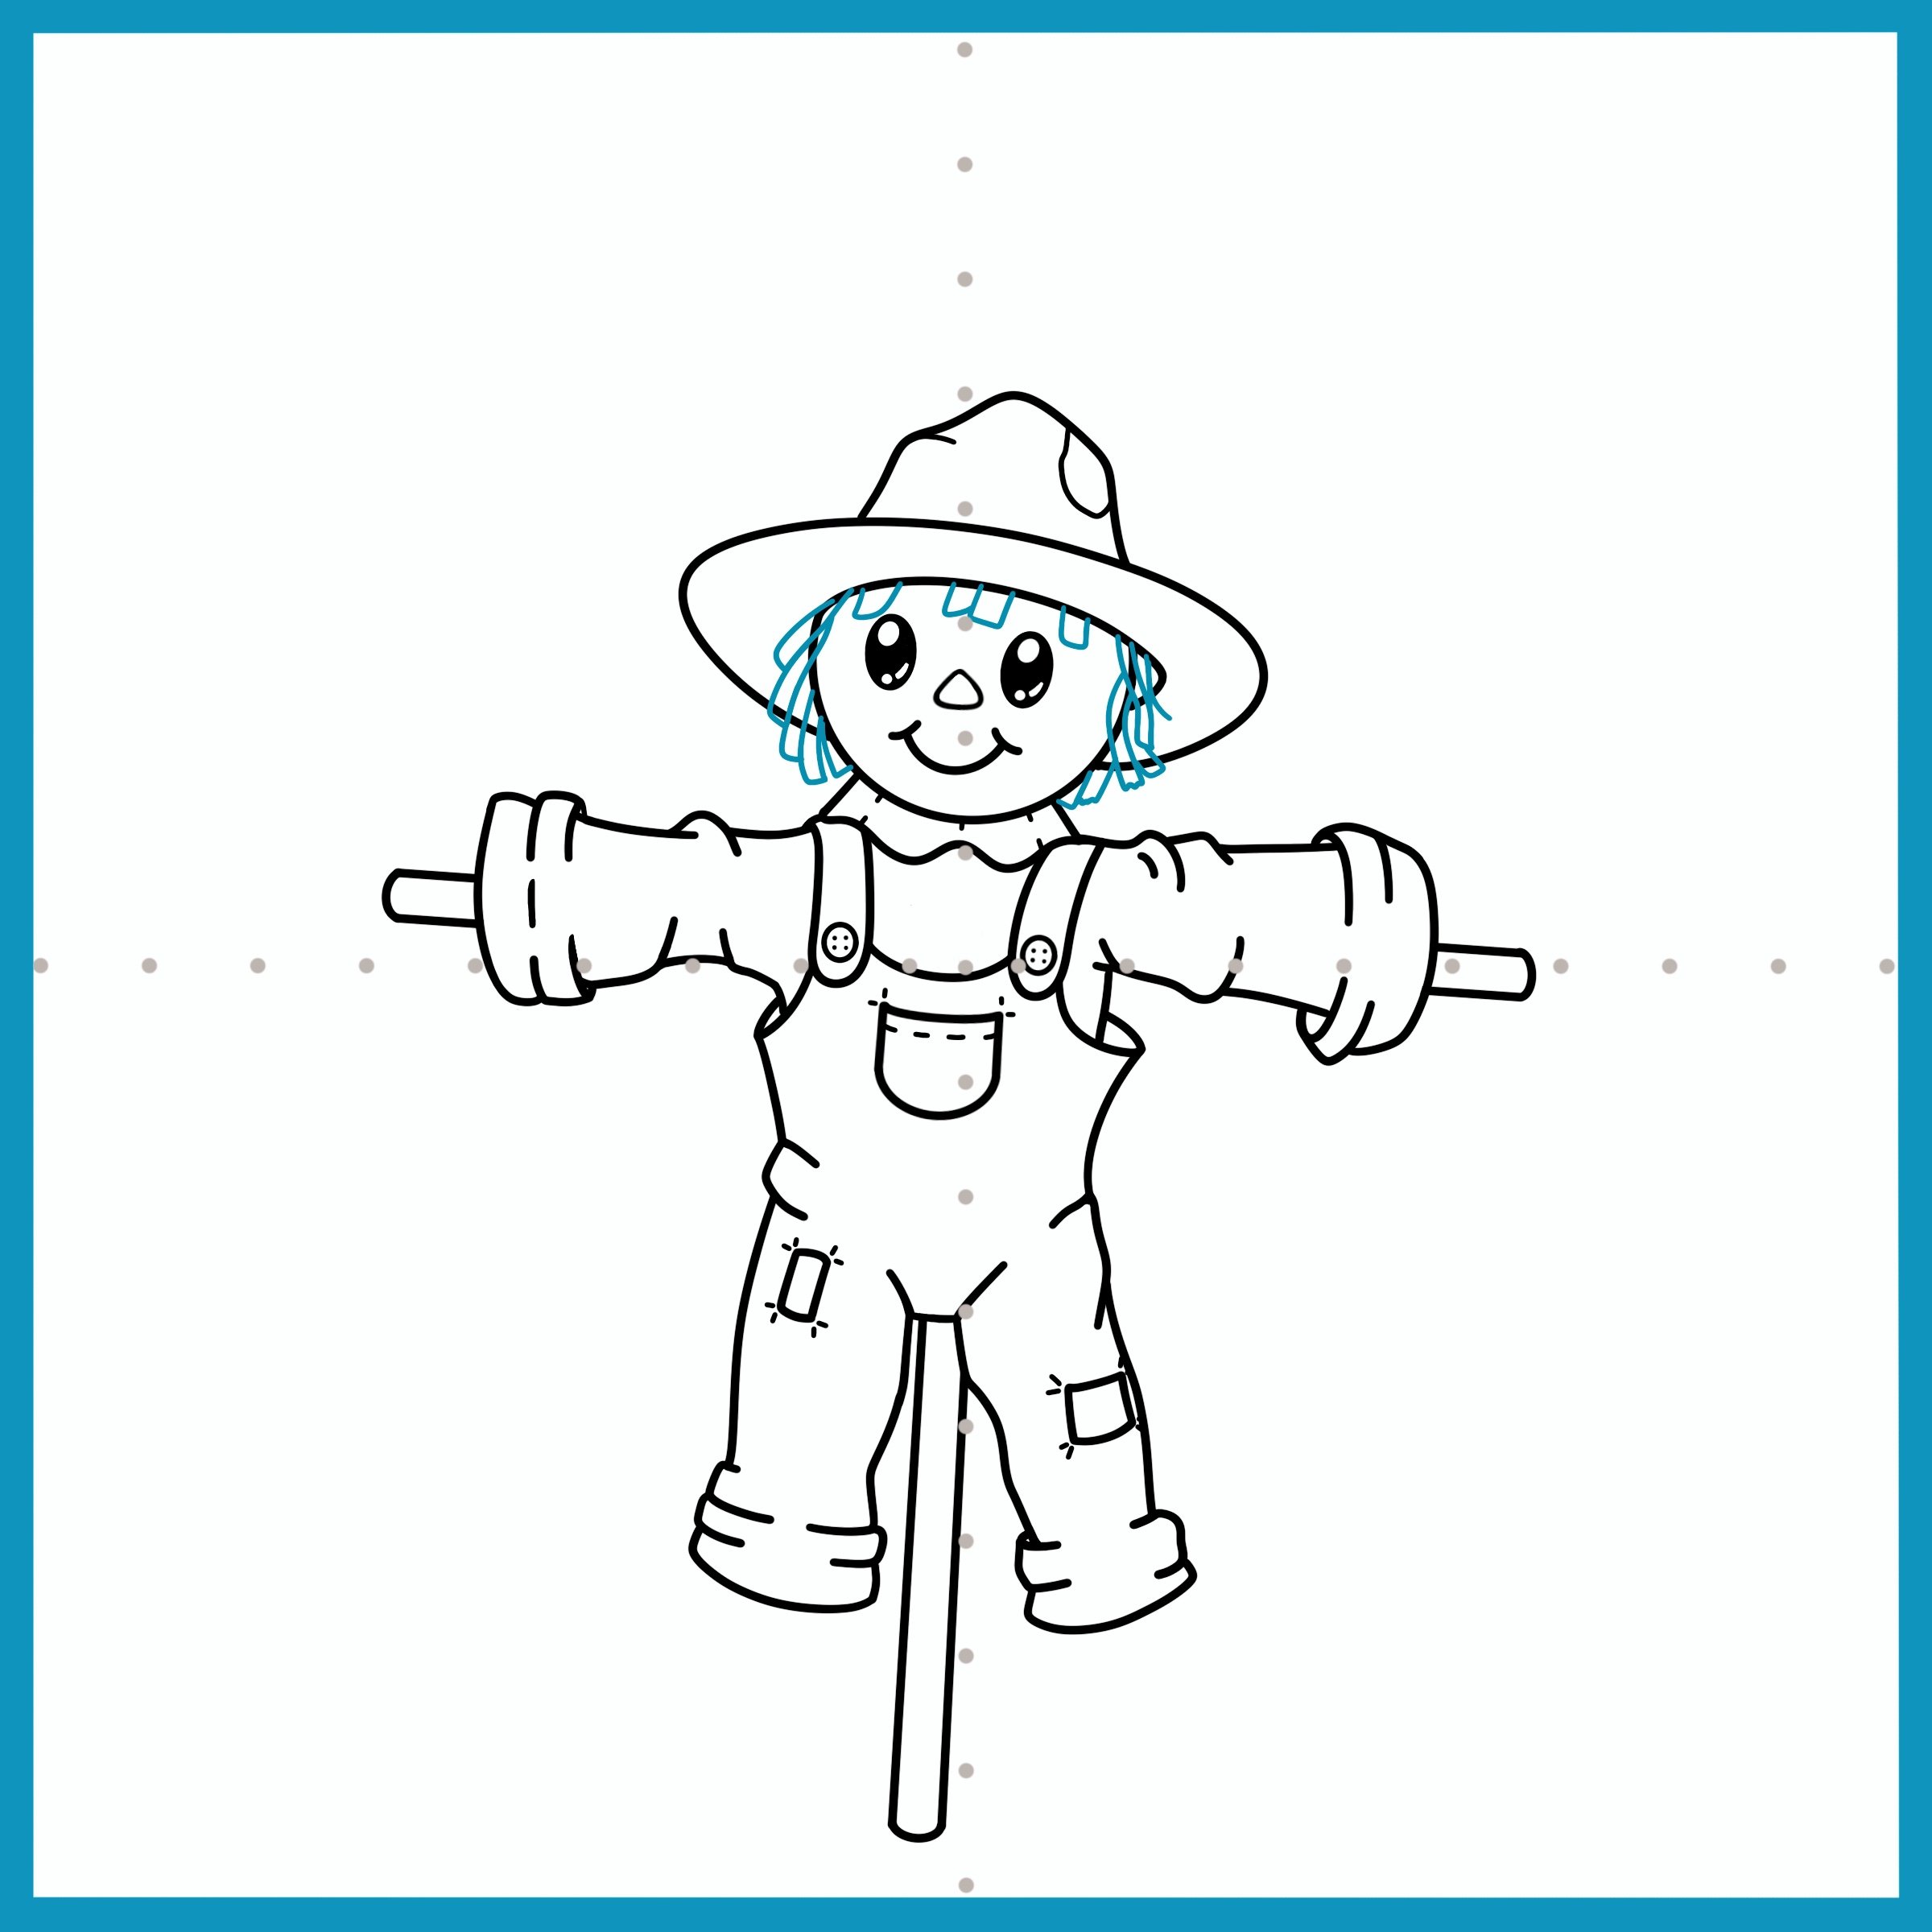
Let’s give this scarecrow some filling! Draw straw hair, make it as scraggly as you would like. Creative idea: Can you think of any other hairstyles or fillers you can you for your scarecrow? What about cute cotton hair? Perhaps sticks, or a long straw braid? You decide!
Step 21
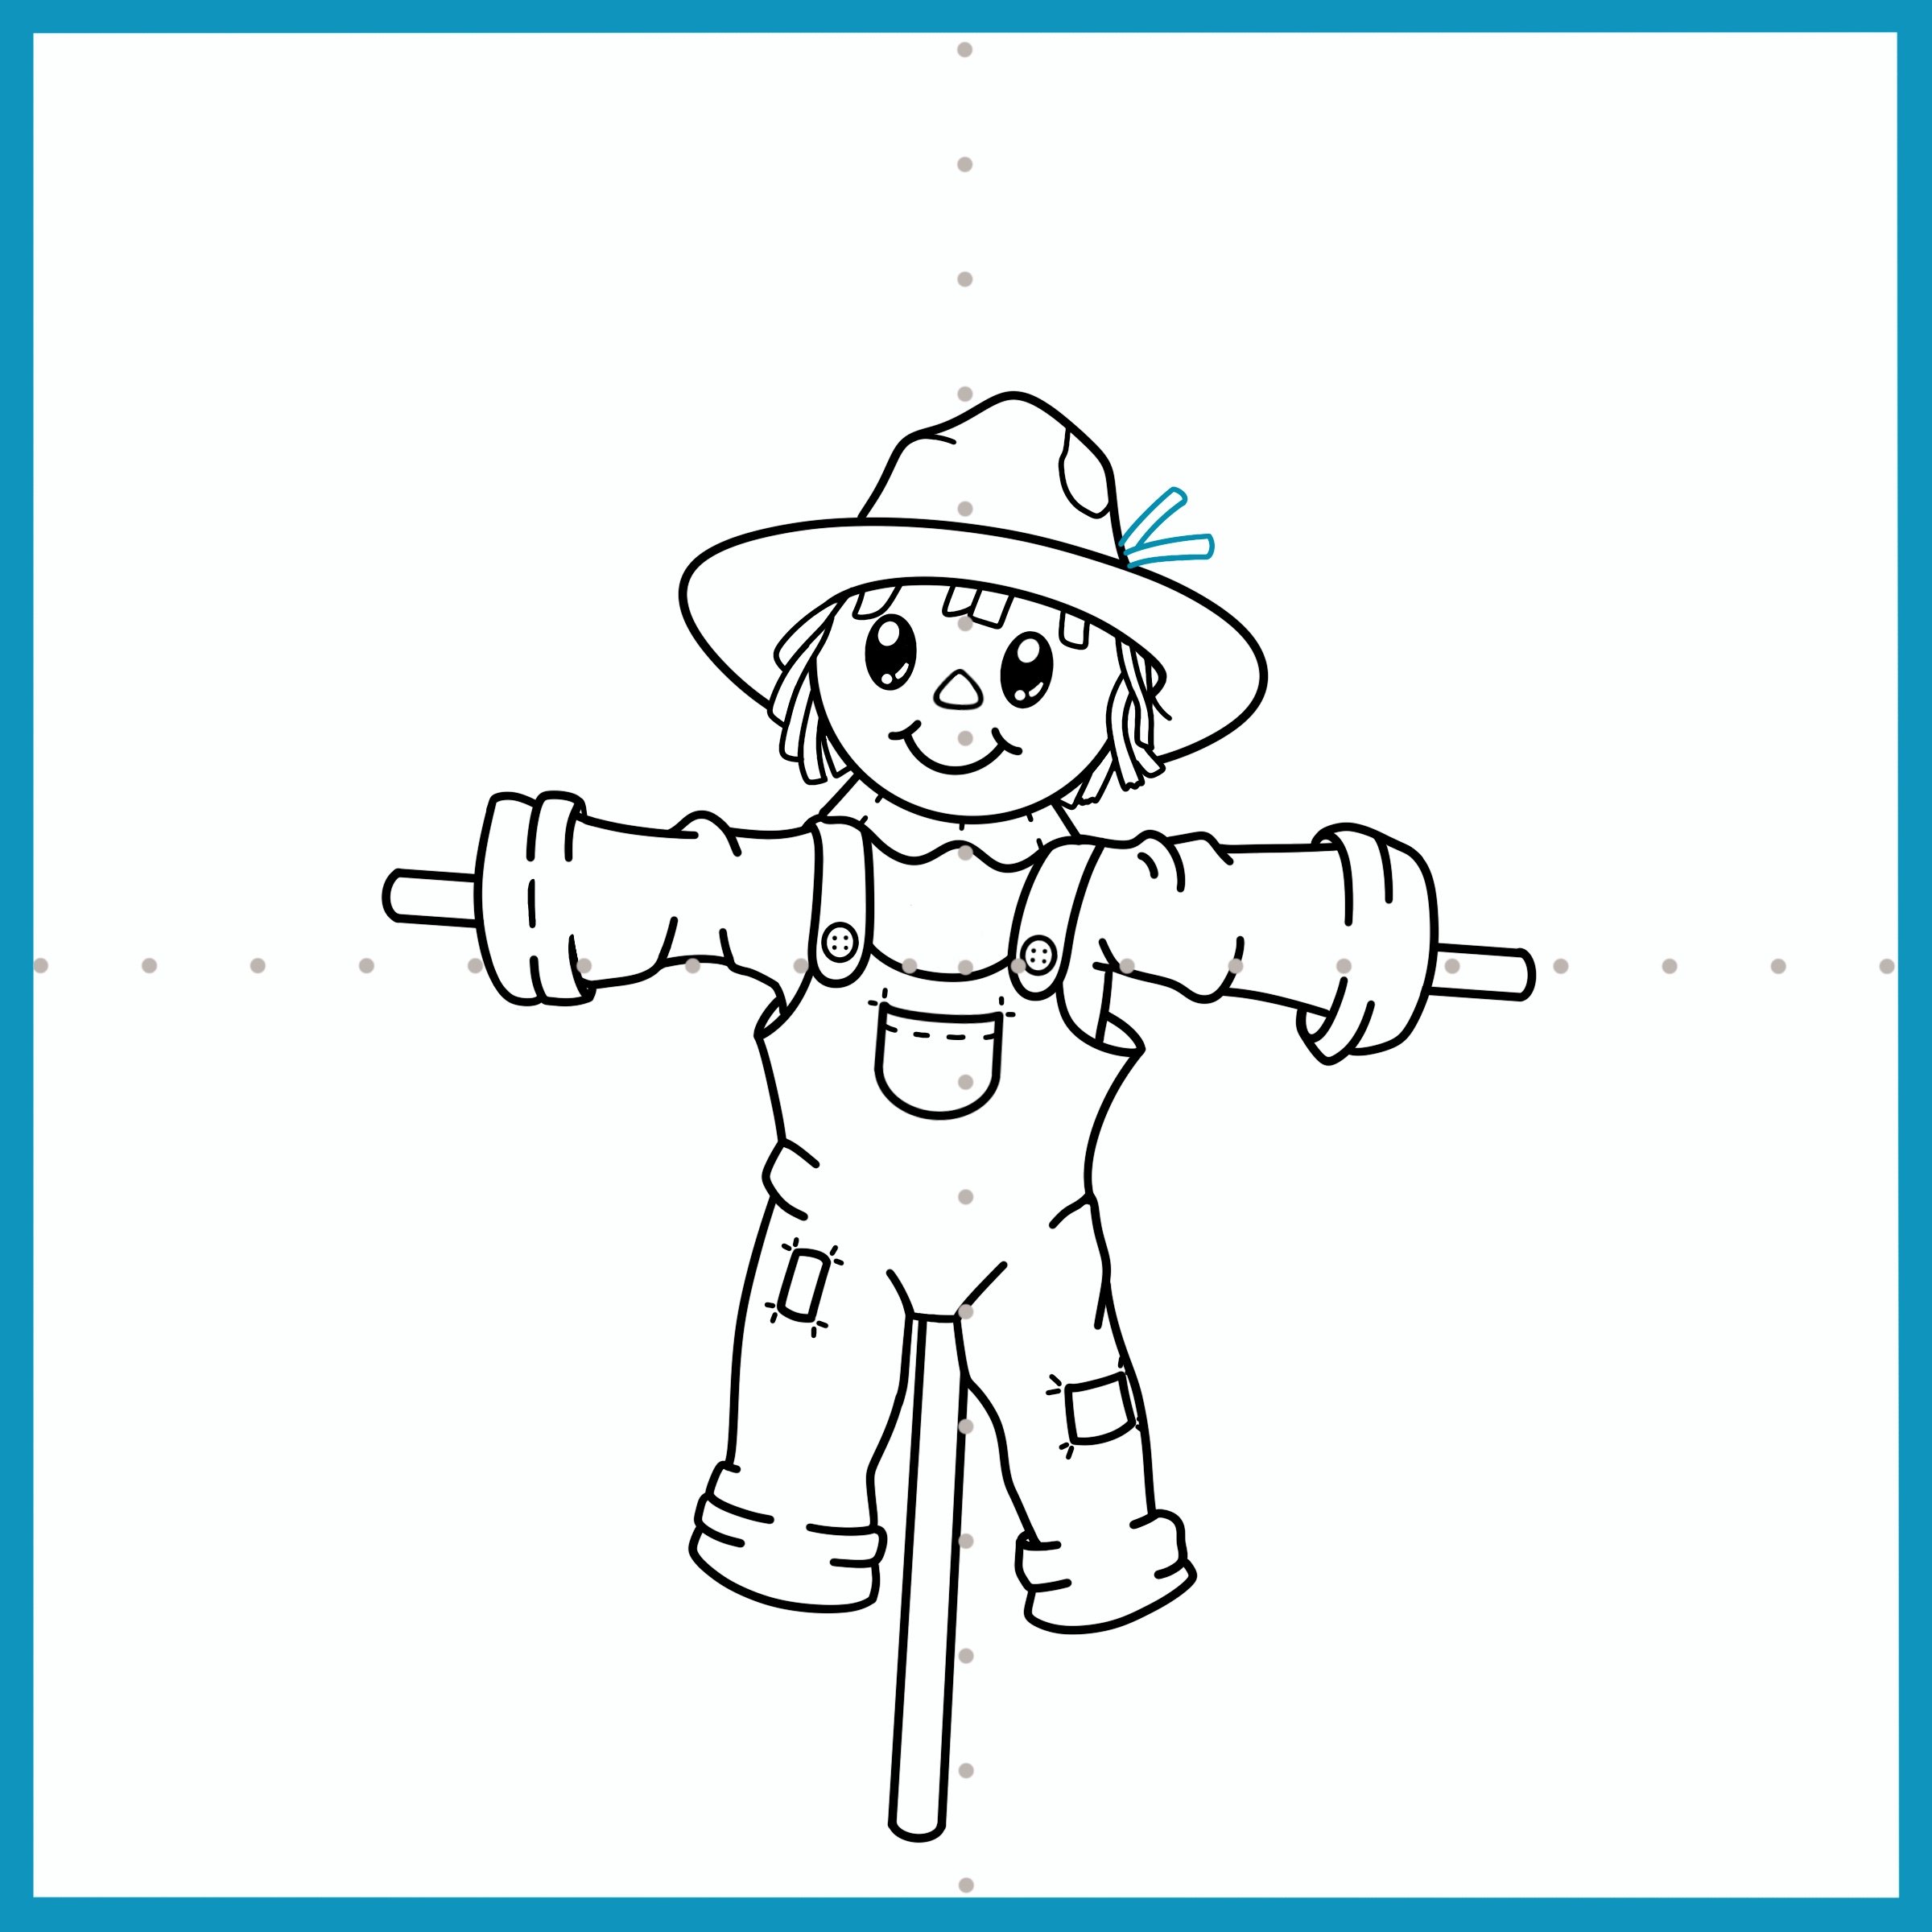
Now, let’s add some details to your scarecrow’s hat. Draw two strands of straw poking out. Creative idea: can you think of other cute accessories for your hat? Maybe some flowers? Feathers? Small pumpkins or vegetables? Be creative!
Step 22
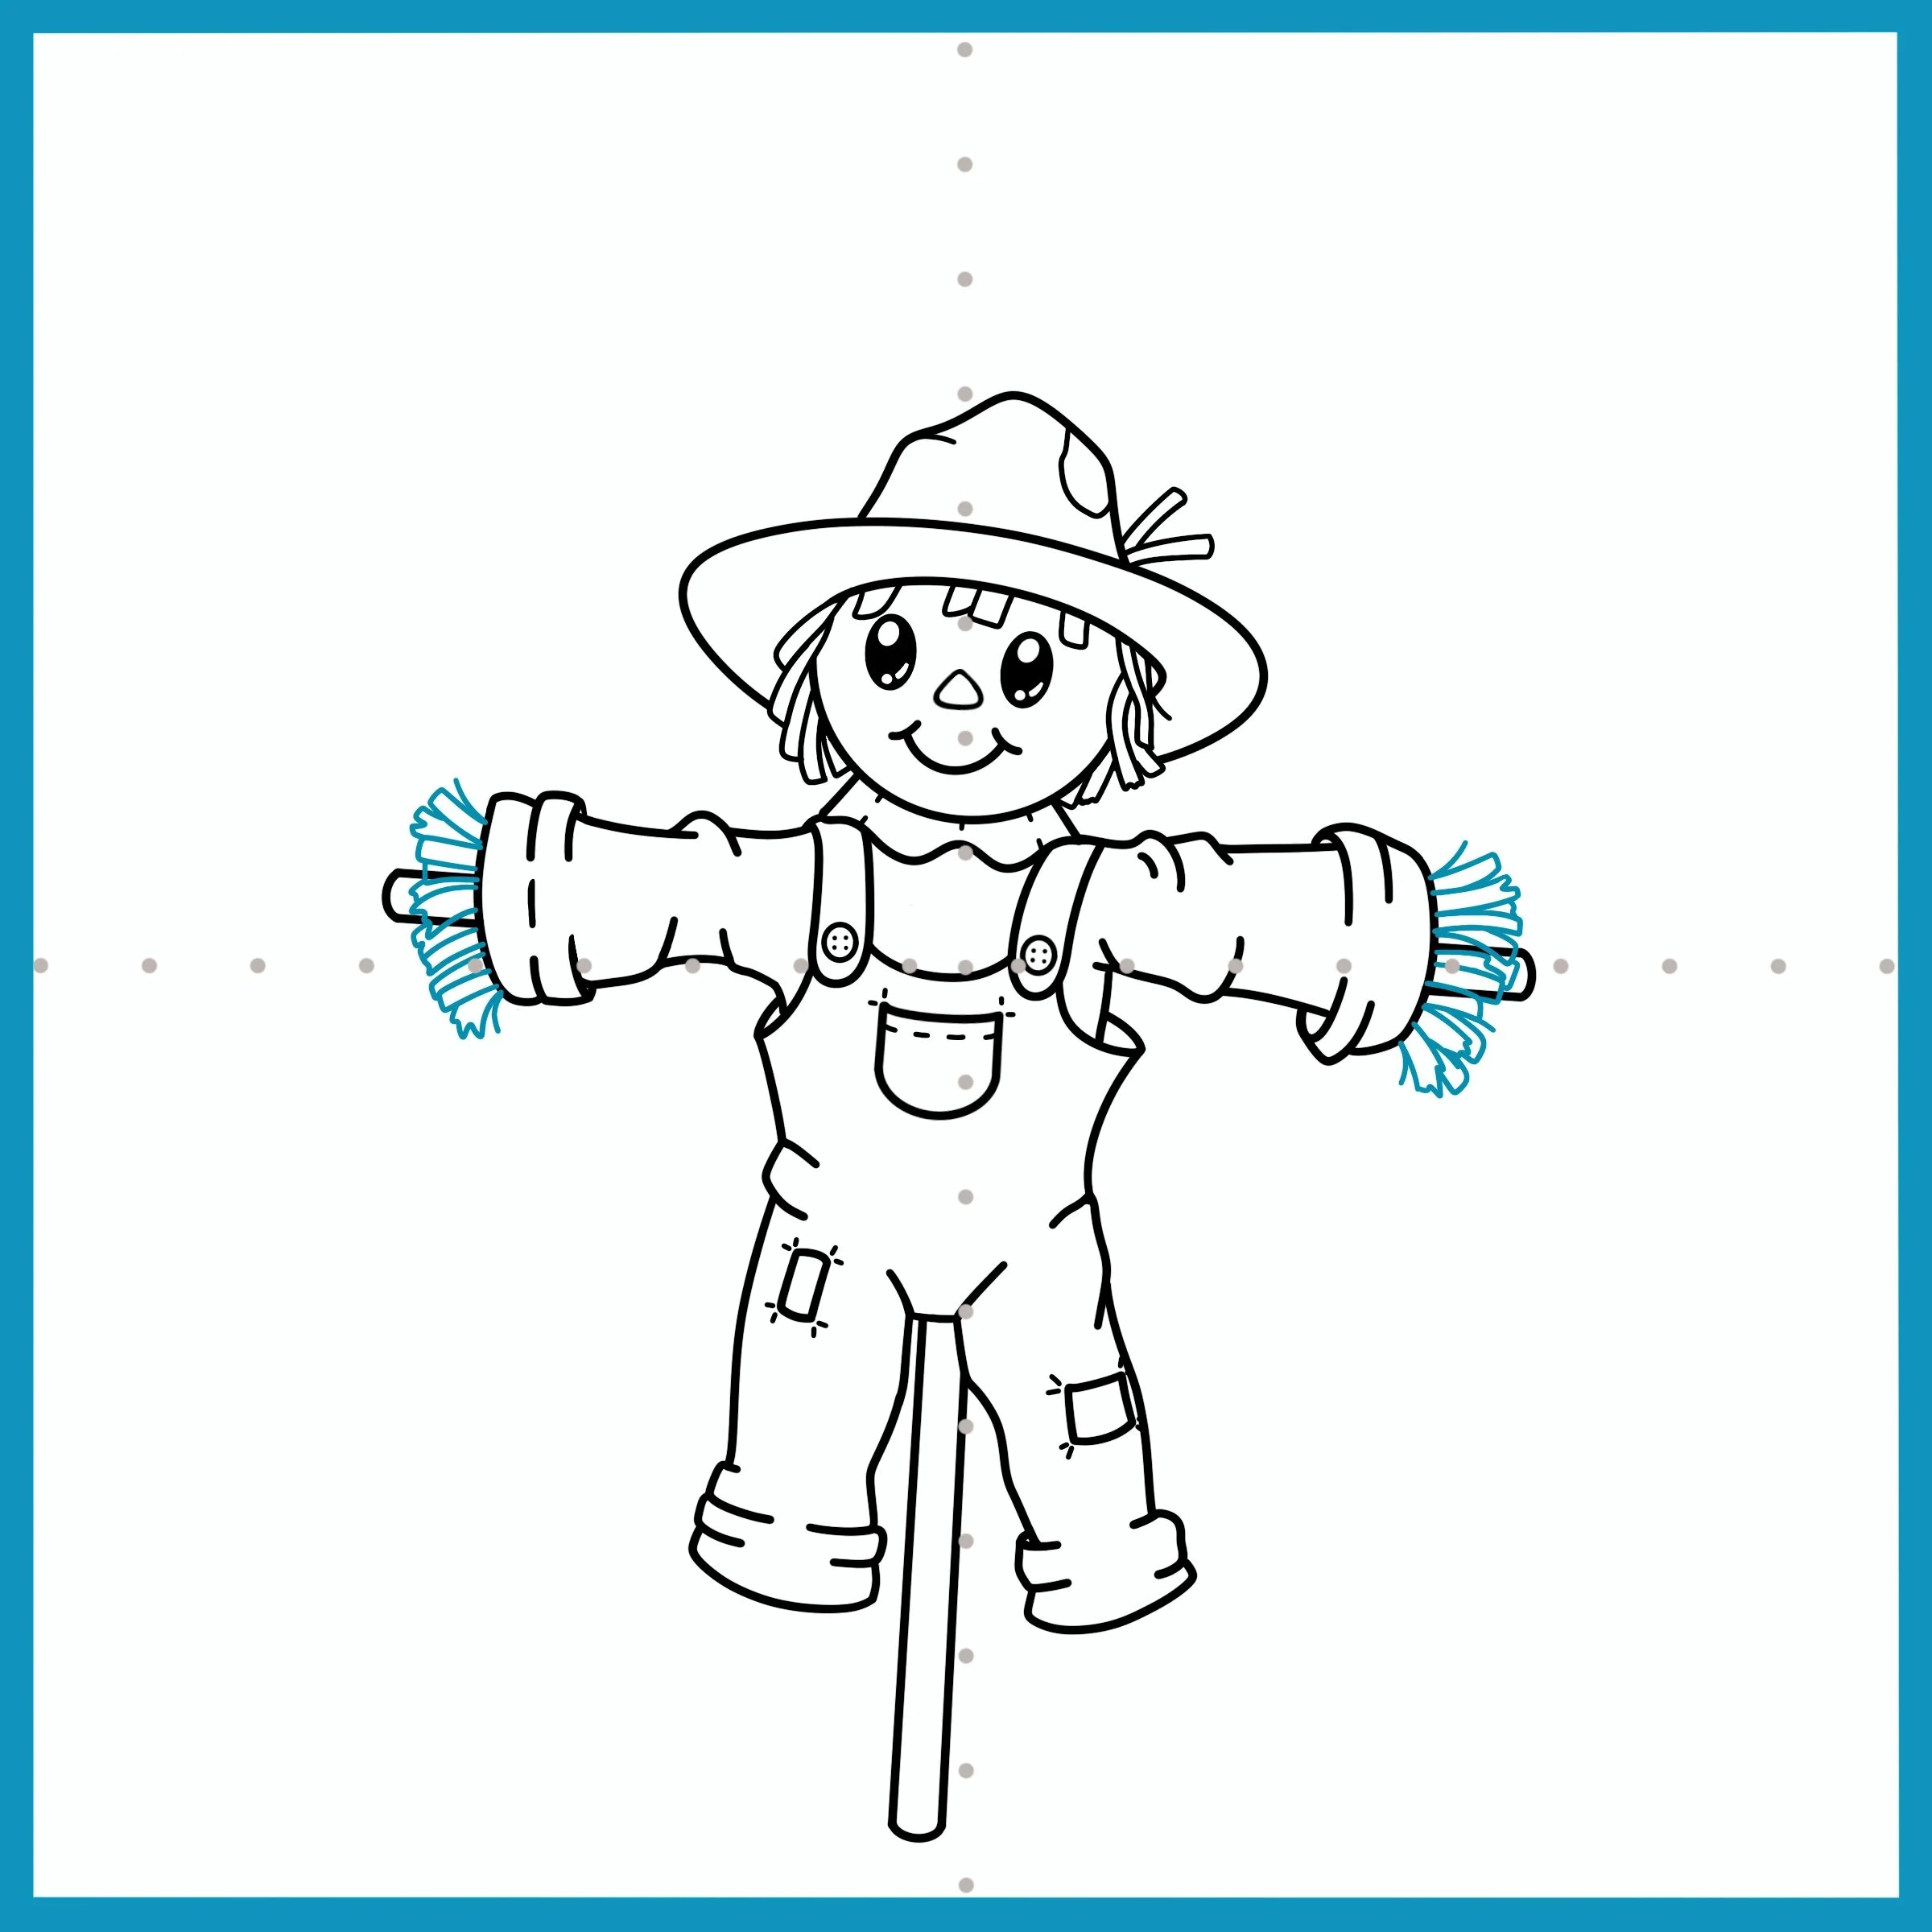
Almost done! Let’s keep adding more filling. Draw straw coming out of each side of the scarecrow’s shirt. Try to make it look scraggly and rough as though your scarecrow has been outside for a few days.
Step 23
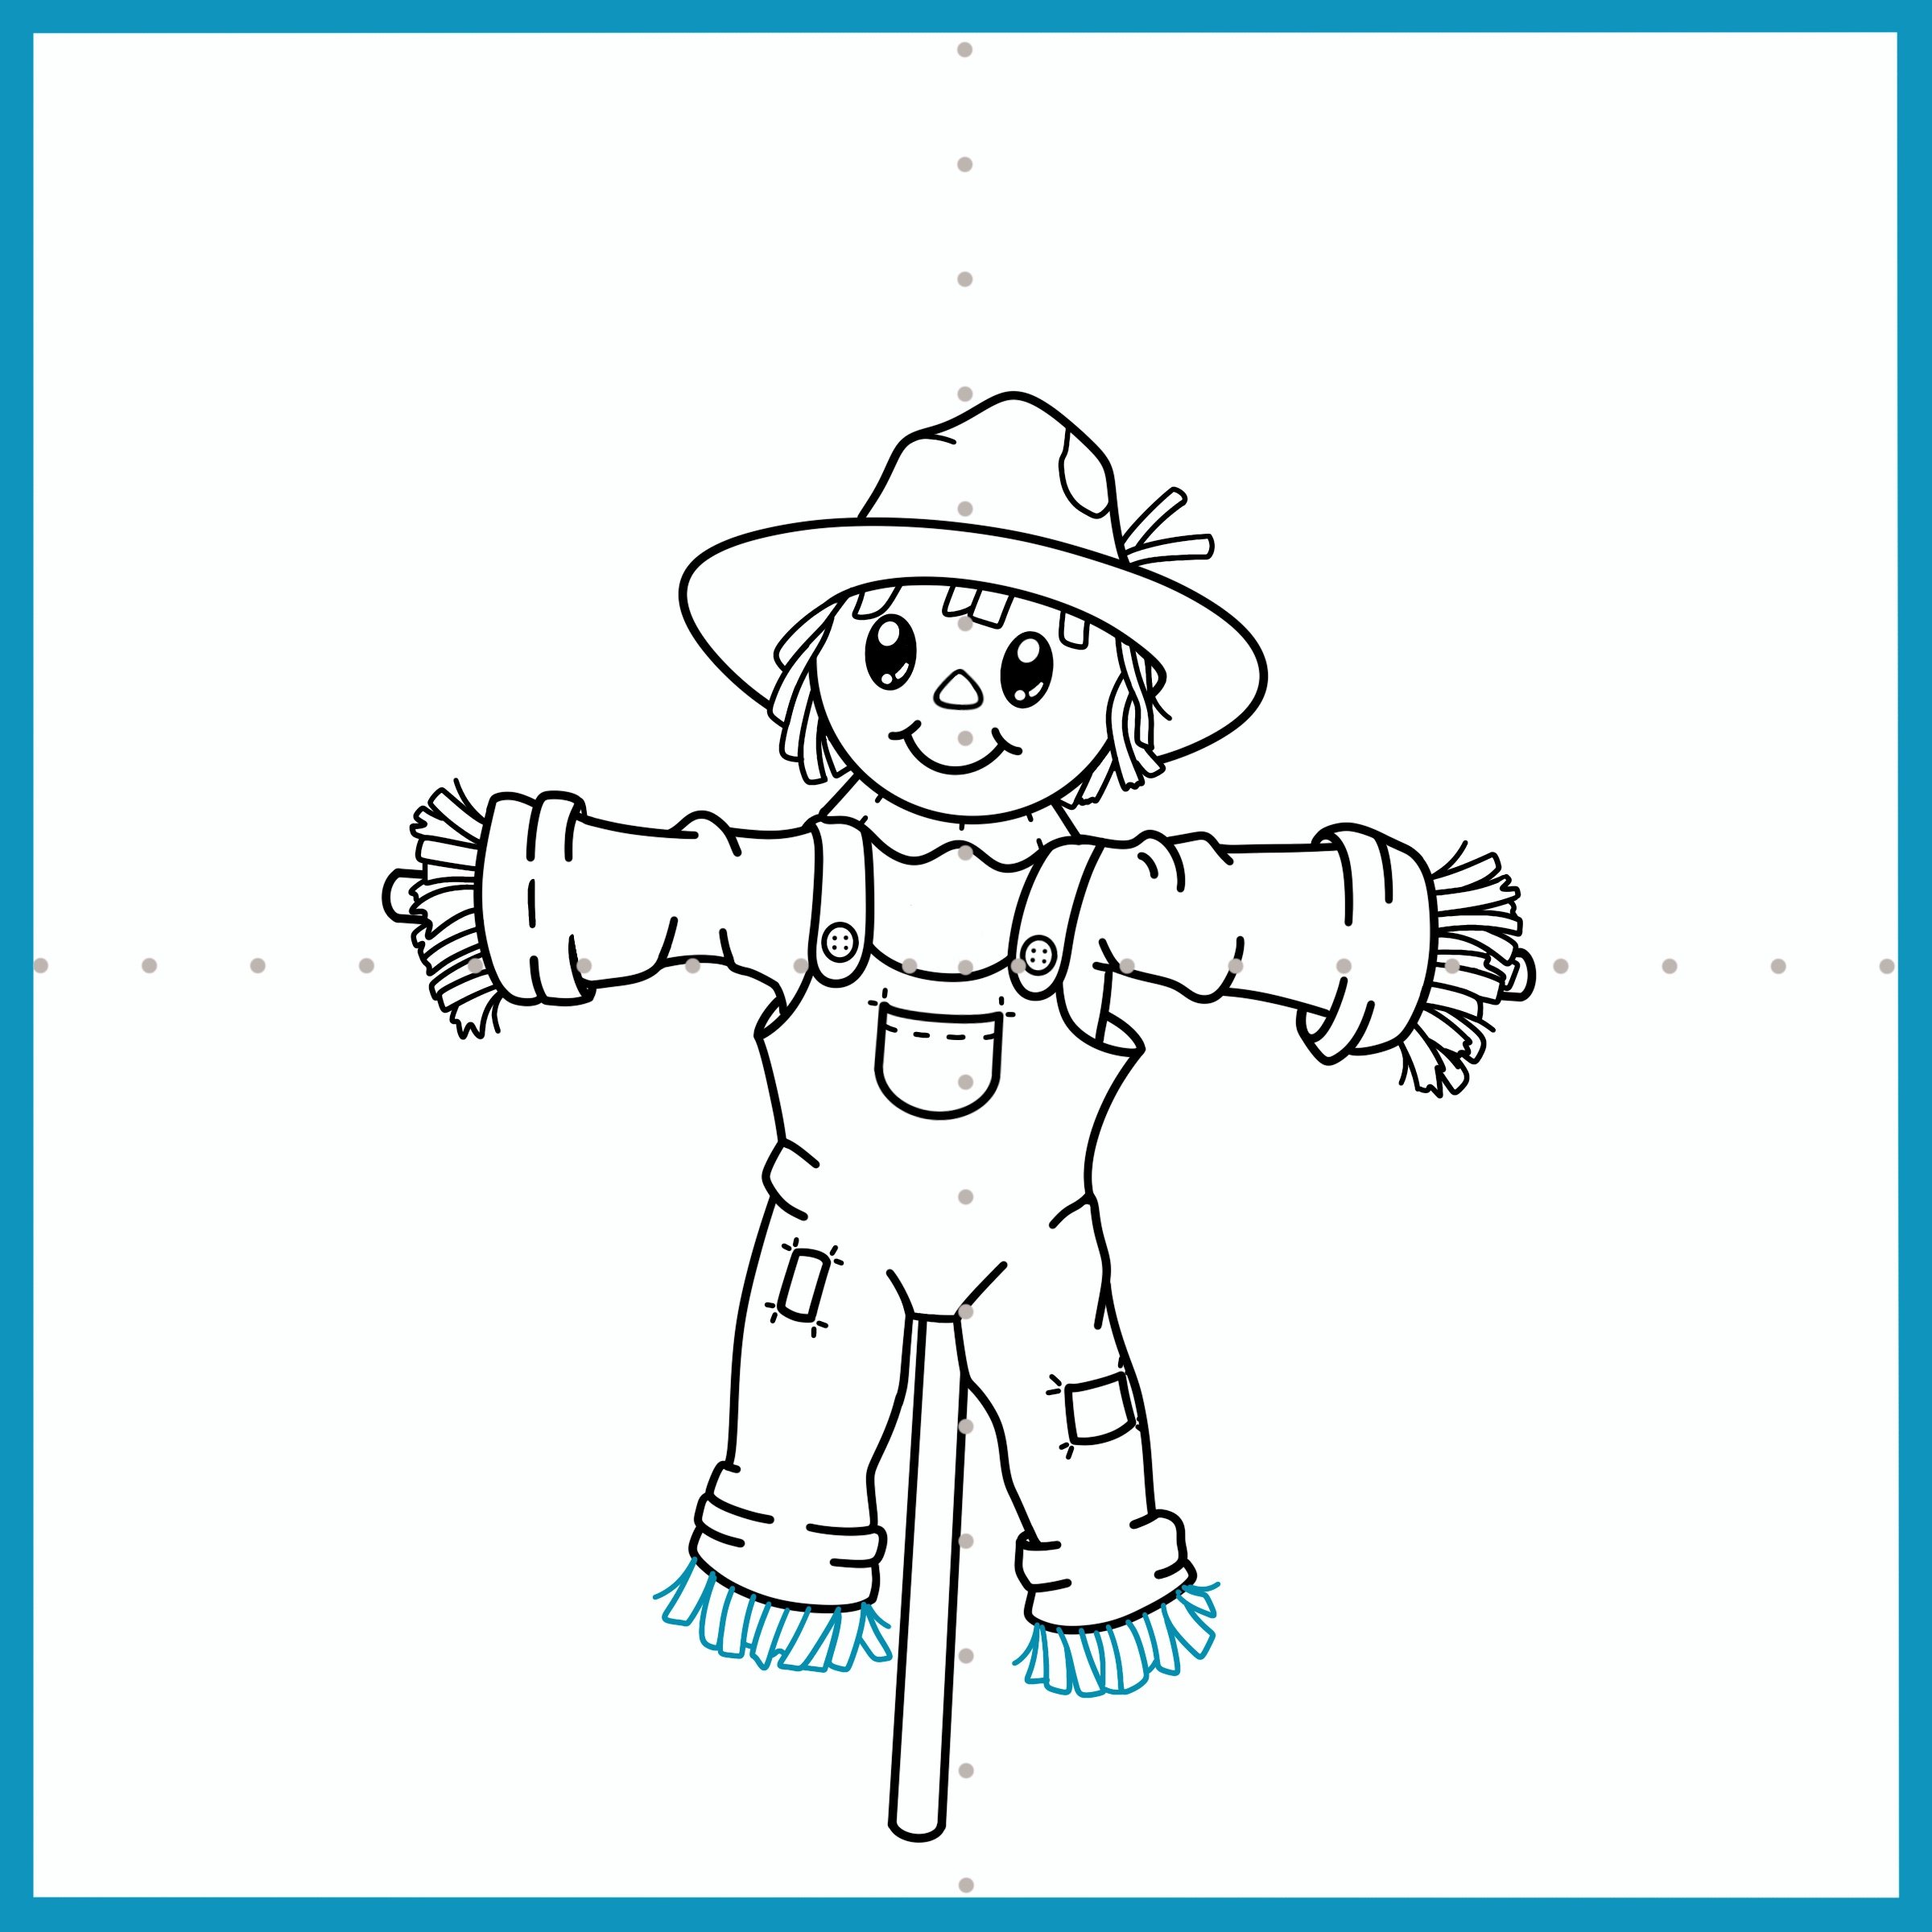
Finally, erase parts of the wood stick that are hidden behind your scarecrow’s straw hands. Then, draw straw feet.
You did an amazing job!
Yee-haw! You've just harvested the happiest scarecrow this side of the pumpkin patch! Now it's time to add some autumn magic to your creation. Will your straw-stuffed friend sport a cozy plaid shirt or a sunflower-yellow hat? Maybe they'll be guarding a field of golden corn or hosting a barn dance for the local crows! The possibilities are as endless as a fall cornfield. So grab your most harvest-y hues and let's turn this black-and-white sketch into a festival of fall colors. Remember, in the world of scarecrow shenanigans, your creation can have all sorts of farm-tastic adventures. Let's make this guardian of the fields really come alive (but not too alive - we don't want to scare the farmer)!
Need to come back later? Pin it now, draw later:
FREE coloring page just for you!
Click the image for a bigger print
