How to Draw: Spooky Jack-O-Lantern
Spooky Jack-O-Lantern
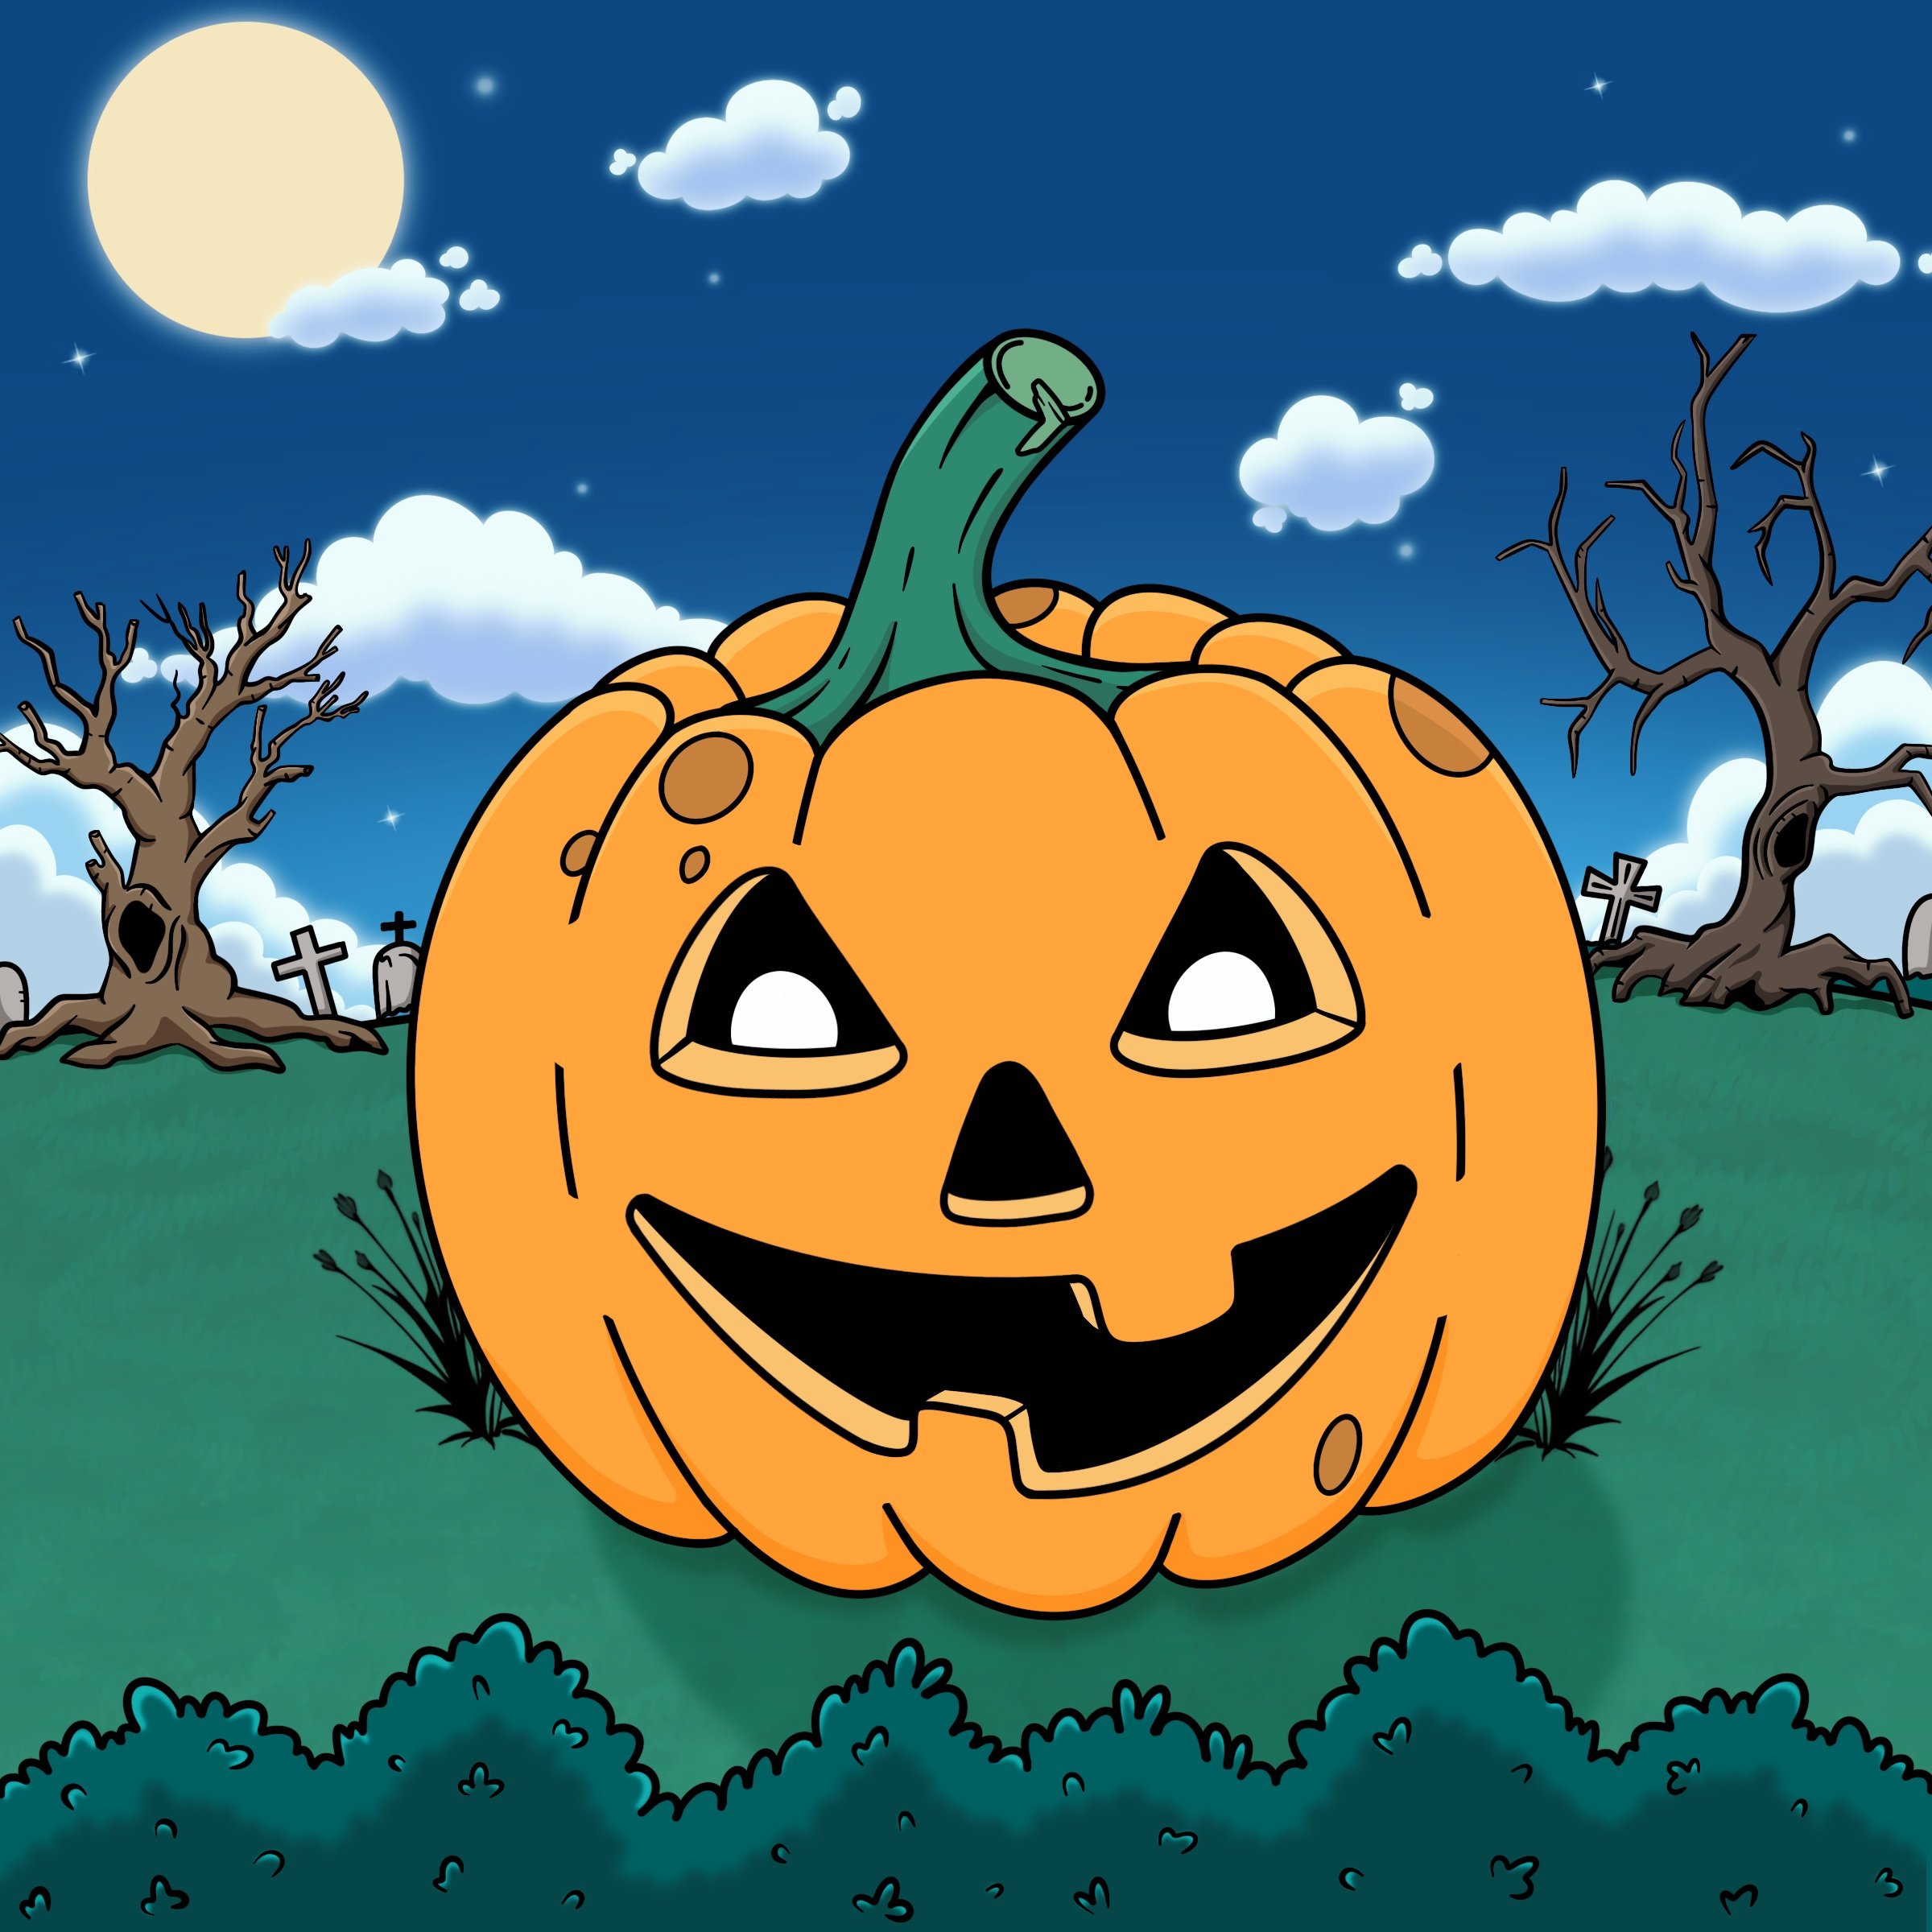
Get ready to carve out some fun with our spooktacular jack-o'-lantern drawing guide! We're about to light up your art skills with the spookiest pumpkin face this side of the patch. Whether you want your gourd grin to be silly or scary, we've got you covered. This jolly jack-o'-lantern is sure to add a warm glow to your Halloween artwork. So grab your pencil (no carving knives needed!) and let's bring this pumpkin pal to life. It's time to draw up some delightful Halloween magic!
Free coloring page included! Scroll to the end for the link
Materials Needed:
Paper
Pencil
Eraser
Colored pencils, crayons, paint, or any other way you would like to add color, be creative!
If Using Procreate:
I have only used default brushes in these tutorials. If you have Procreate and would like to use the same brushes: for the outline use Monoline, and Hand draw. For the coloring use Hard Blend Airbrush, Hand Draw, and Soft Air Brush.
FREE Drawing Grids Available for Download
Need a drawing grid to follow along? I have included two FREE drawing grids available for download, just click on your preferred size:
Simply download, print, and start drawing with enhanced precision and accuracy today!
Step 1
First, let’s add an oval to guide how large we want our pumpkin to be. Then, draw another smaller oval to guide the placement of the stem. Creative idea: try different shapes to guide how your pumpkin will be. Remember, pumpkins can come in all sorts of shapes and sizes. Make it your own!
Step 2
Now, start adding curved lines from the stem to the base of the pumpkin. These will act as guides for the “ribs” of your jack-o-lantern.
Step 3
Add a curved line to connect the “ribs” drawn in the last step. This curve will cover some of the base of the stem. Did you know a pumpkin had ribs? They are the long indents located on the rind (also known as skin) Kind of spooky isn’t it?
Step 4
Connect the bottom with another curved line. Erase as you go. Creative tip: If you want to make your pumpkin more cute, smooth out the curves as much as possible. If you want it to look more spooky or realistic, add some bumps and mishaps as you draw.
Step 5
Add more “ribs” to your pumpkin. Make it as “ribby” as you want!
Step 6
You’re doing great! Add curved lines at the top and bottom to connect the “ribs” together.
Step 7
Let’s add the last two curves. These will be where the width of the pumpkin ends.
Step 8
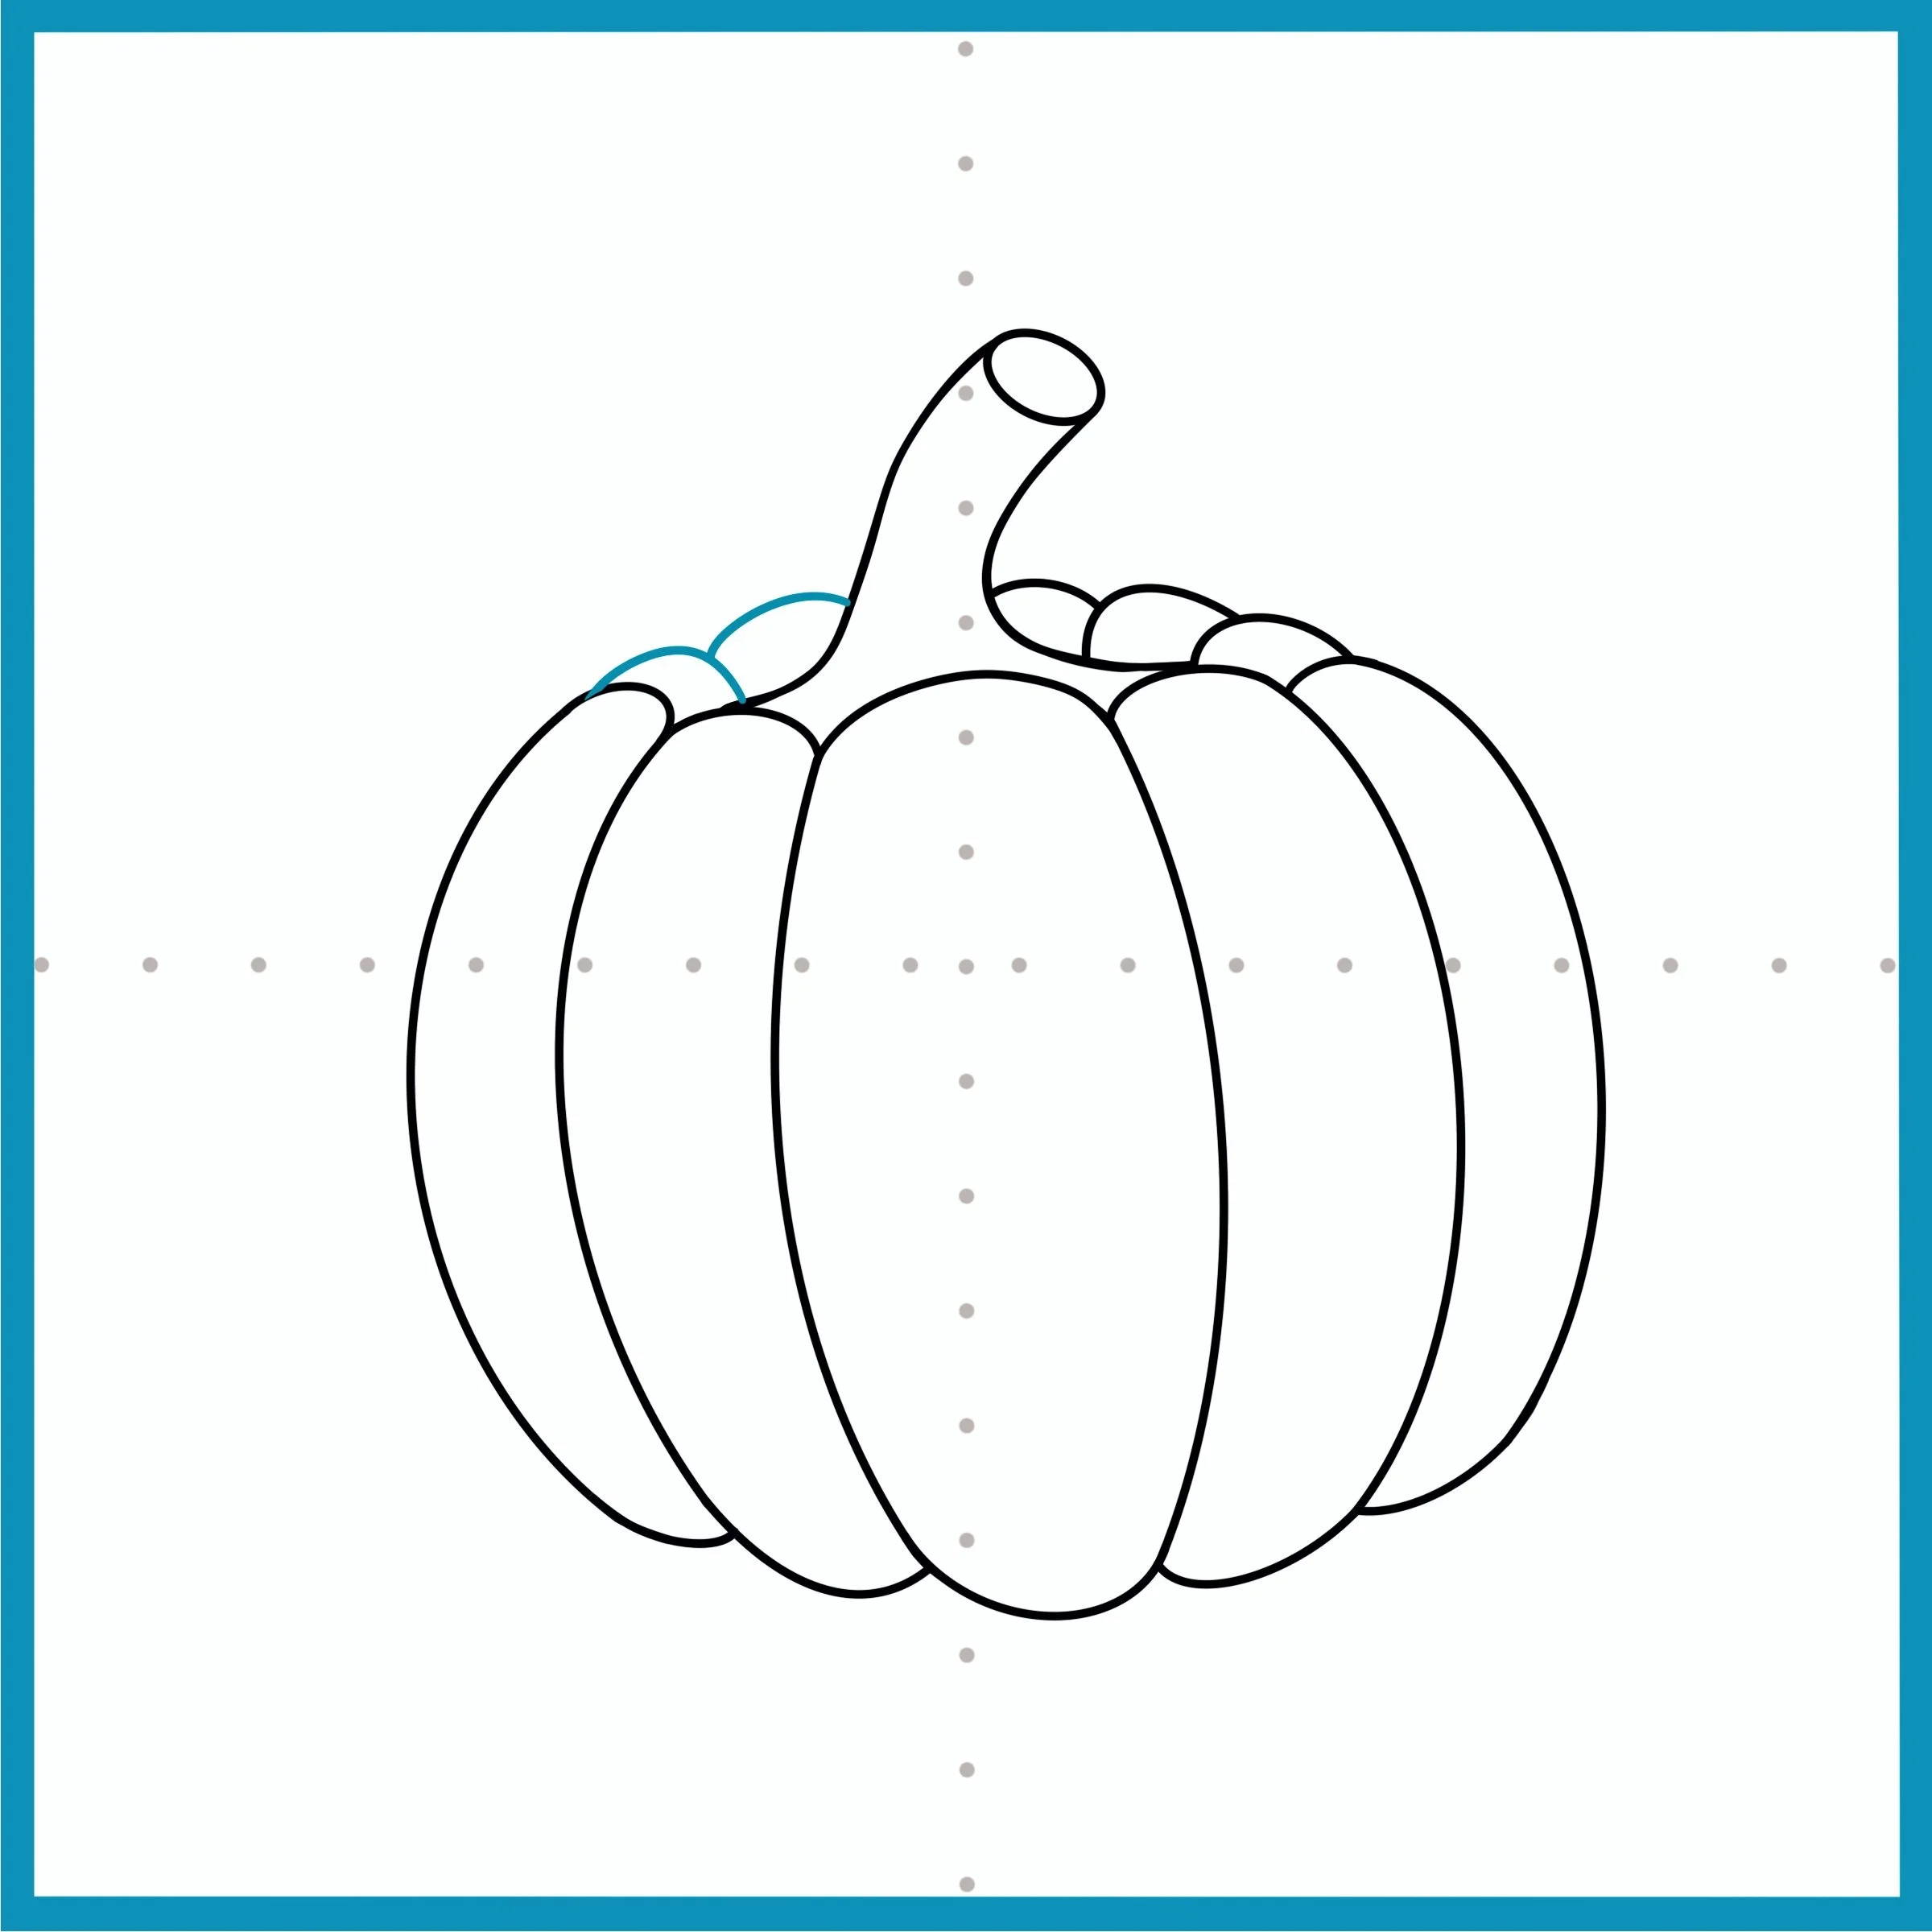
Draw bumps for the top and bottom of the pumpkin. Is your drawing starting to look more like a pumpkin?
Step 9
Erase the section of the oval you no longer need as a guide. Then, start adding the stem. Creative idea: How would you like your stem to look? Will it be short and cute? Maybe long and pointy? How about twisted and spooky? It’s you’re design
Step 10
Finish drawing the stem
Step 11
Let’s start adding the back of the pumpkin. Draw bumps for the back, don’t forget to erase the oval used to guide your stem.
Step 12
Add the last bumps to the back of your pumpkin, and erase any part you no longer need.
You’re doing great!
Step 13
Time to start carving out your Jack-O-Lantern! Add the eyes and a nose to your pumpkin. Creative idea: does your pumpkin have a traditional triangular face? What if you use other shapes instead? Have fun with your art!
Step 14
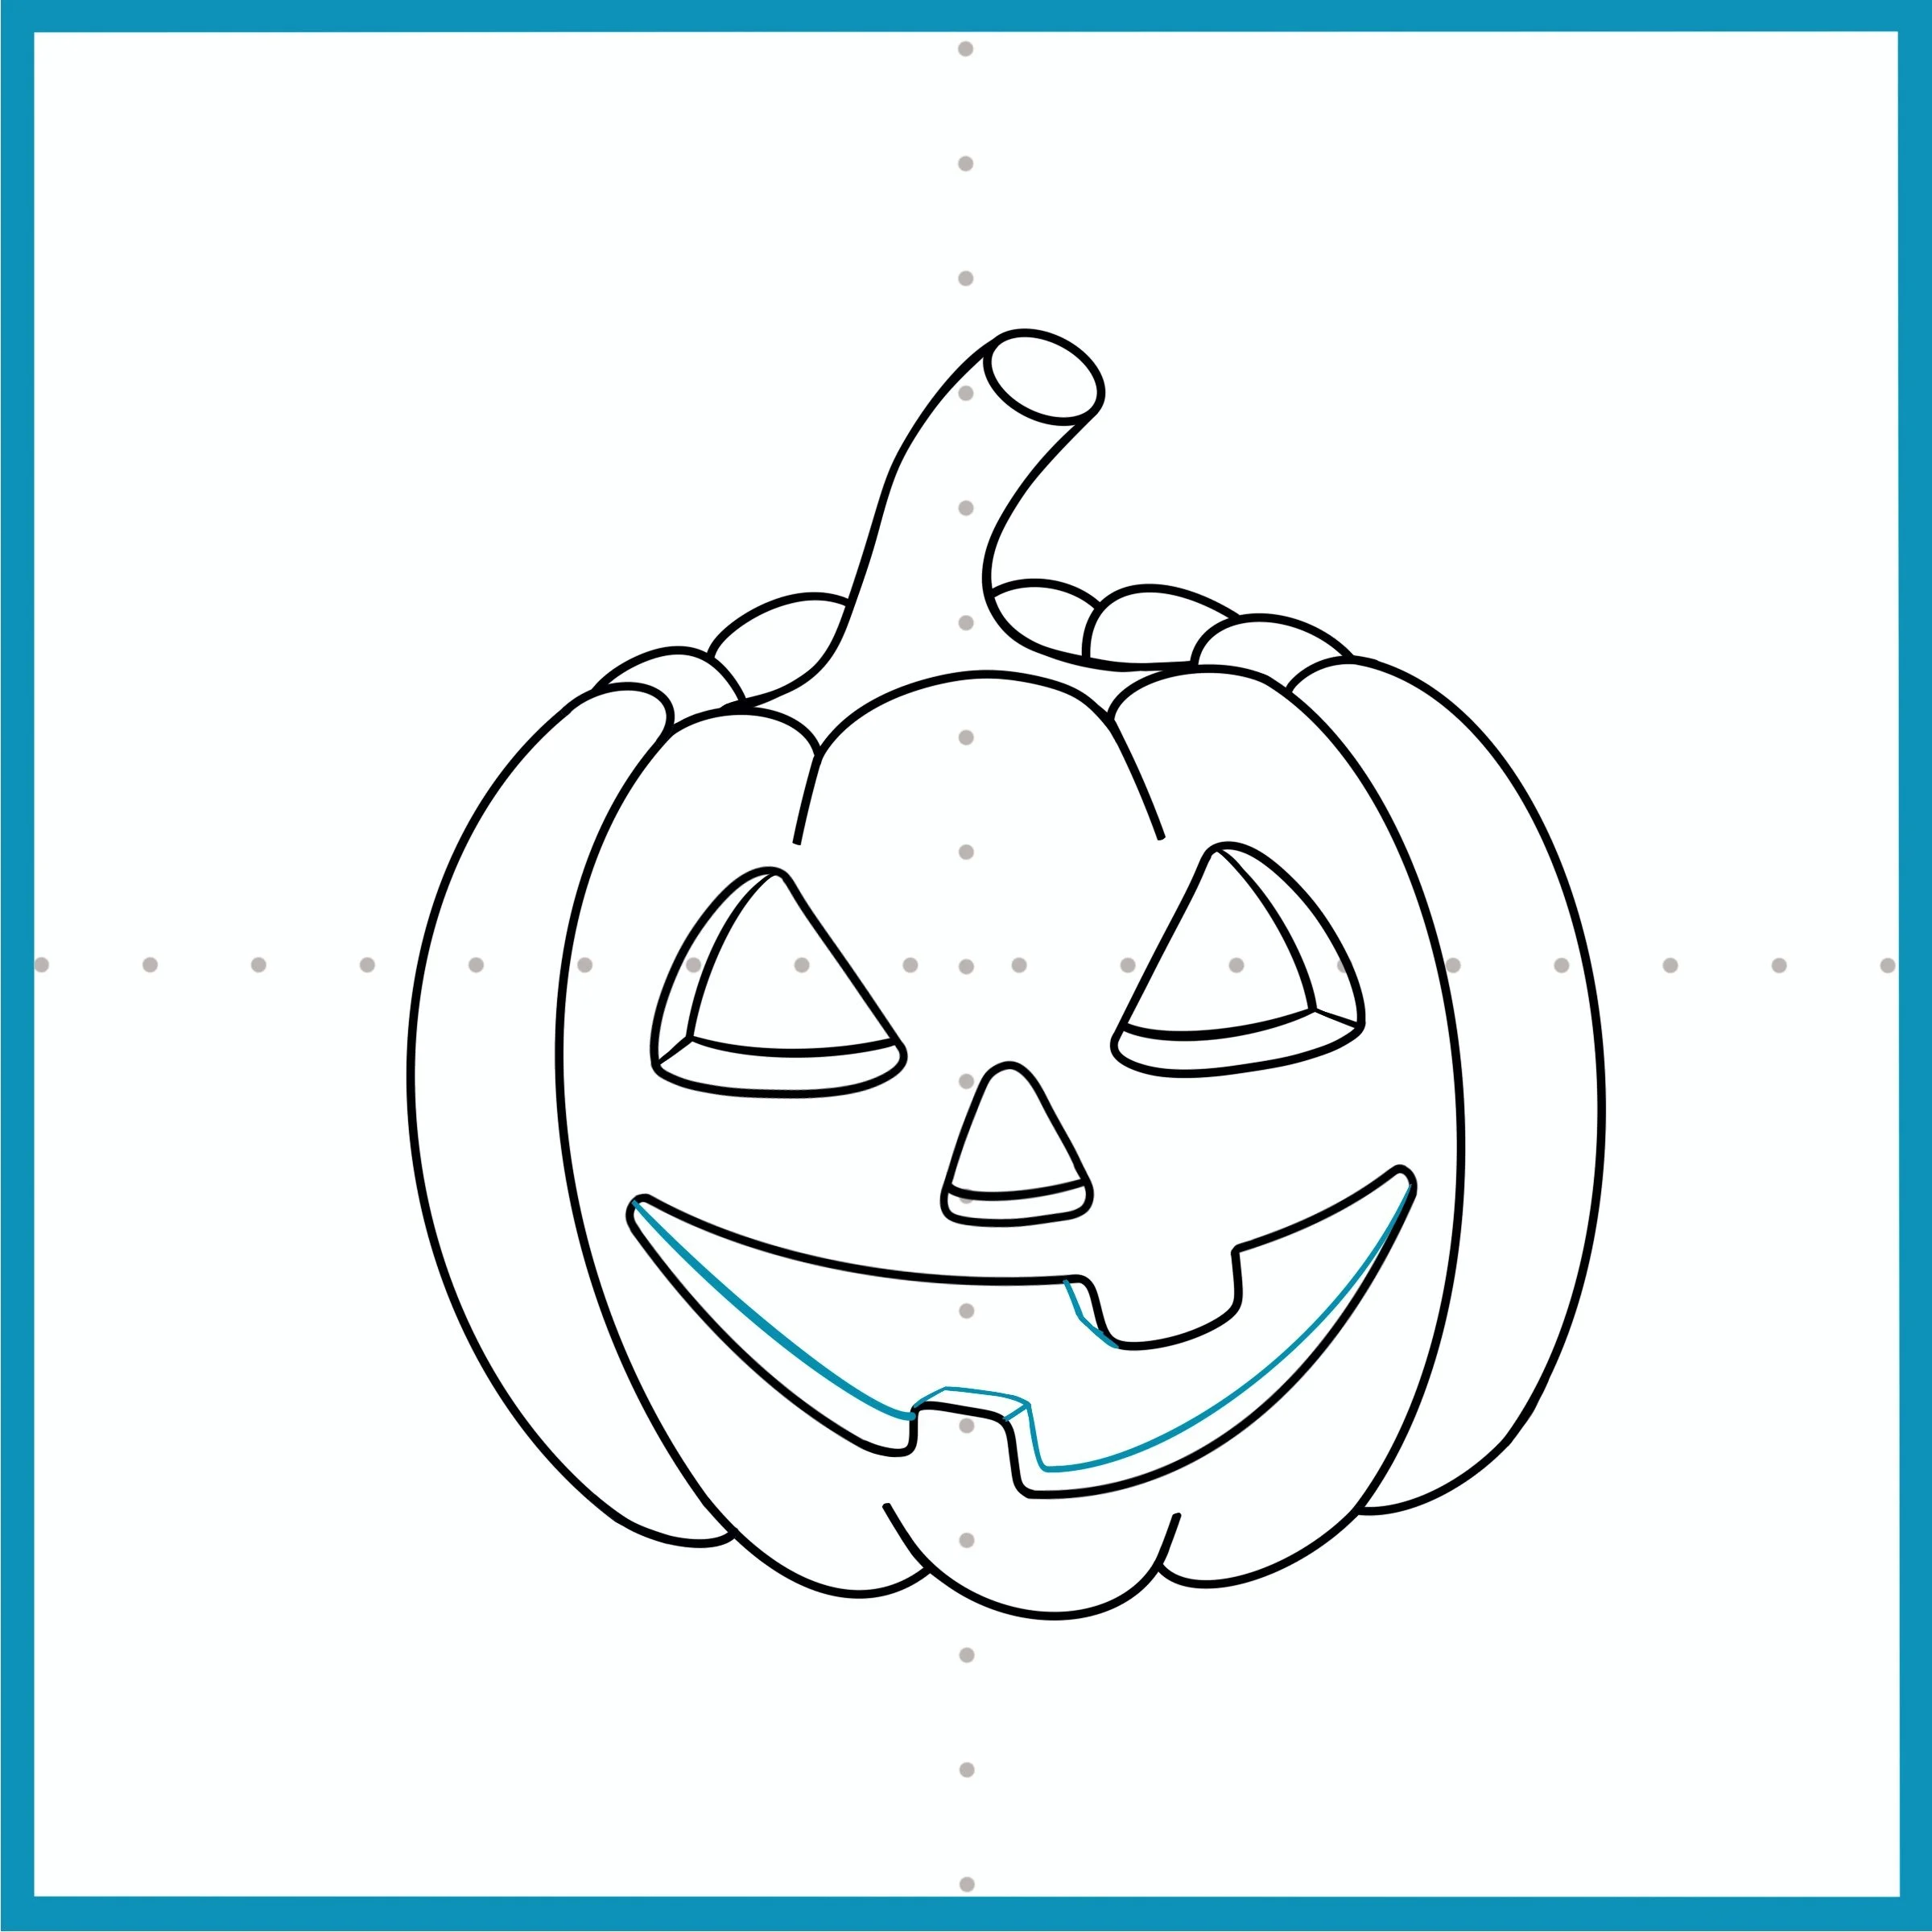
Now, let’s draw the mouth. Erase the lines covering the face. Creative idea: is your pumpkin smiling? Does it have a grumpy or angry face? Maybe it has a clownish face?
Step 15
Pumpkins have thick rinds. Let’s draw the inside where we carved the face.
Step 16
Almost there! Draw the inside of the Jack-O-Lantern’s mouth.
Step 17
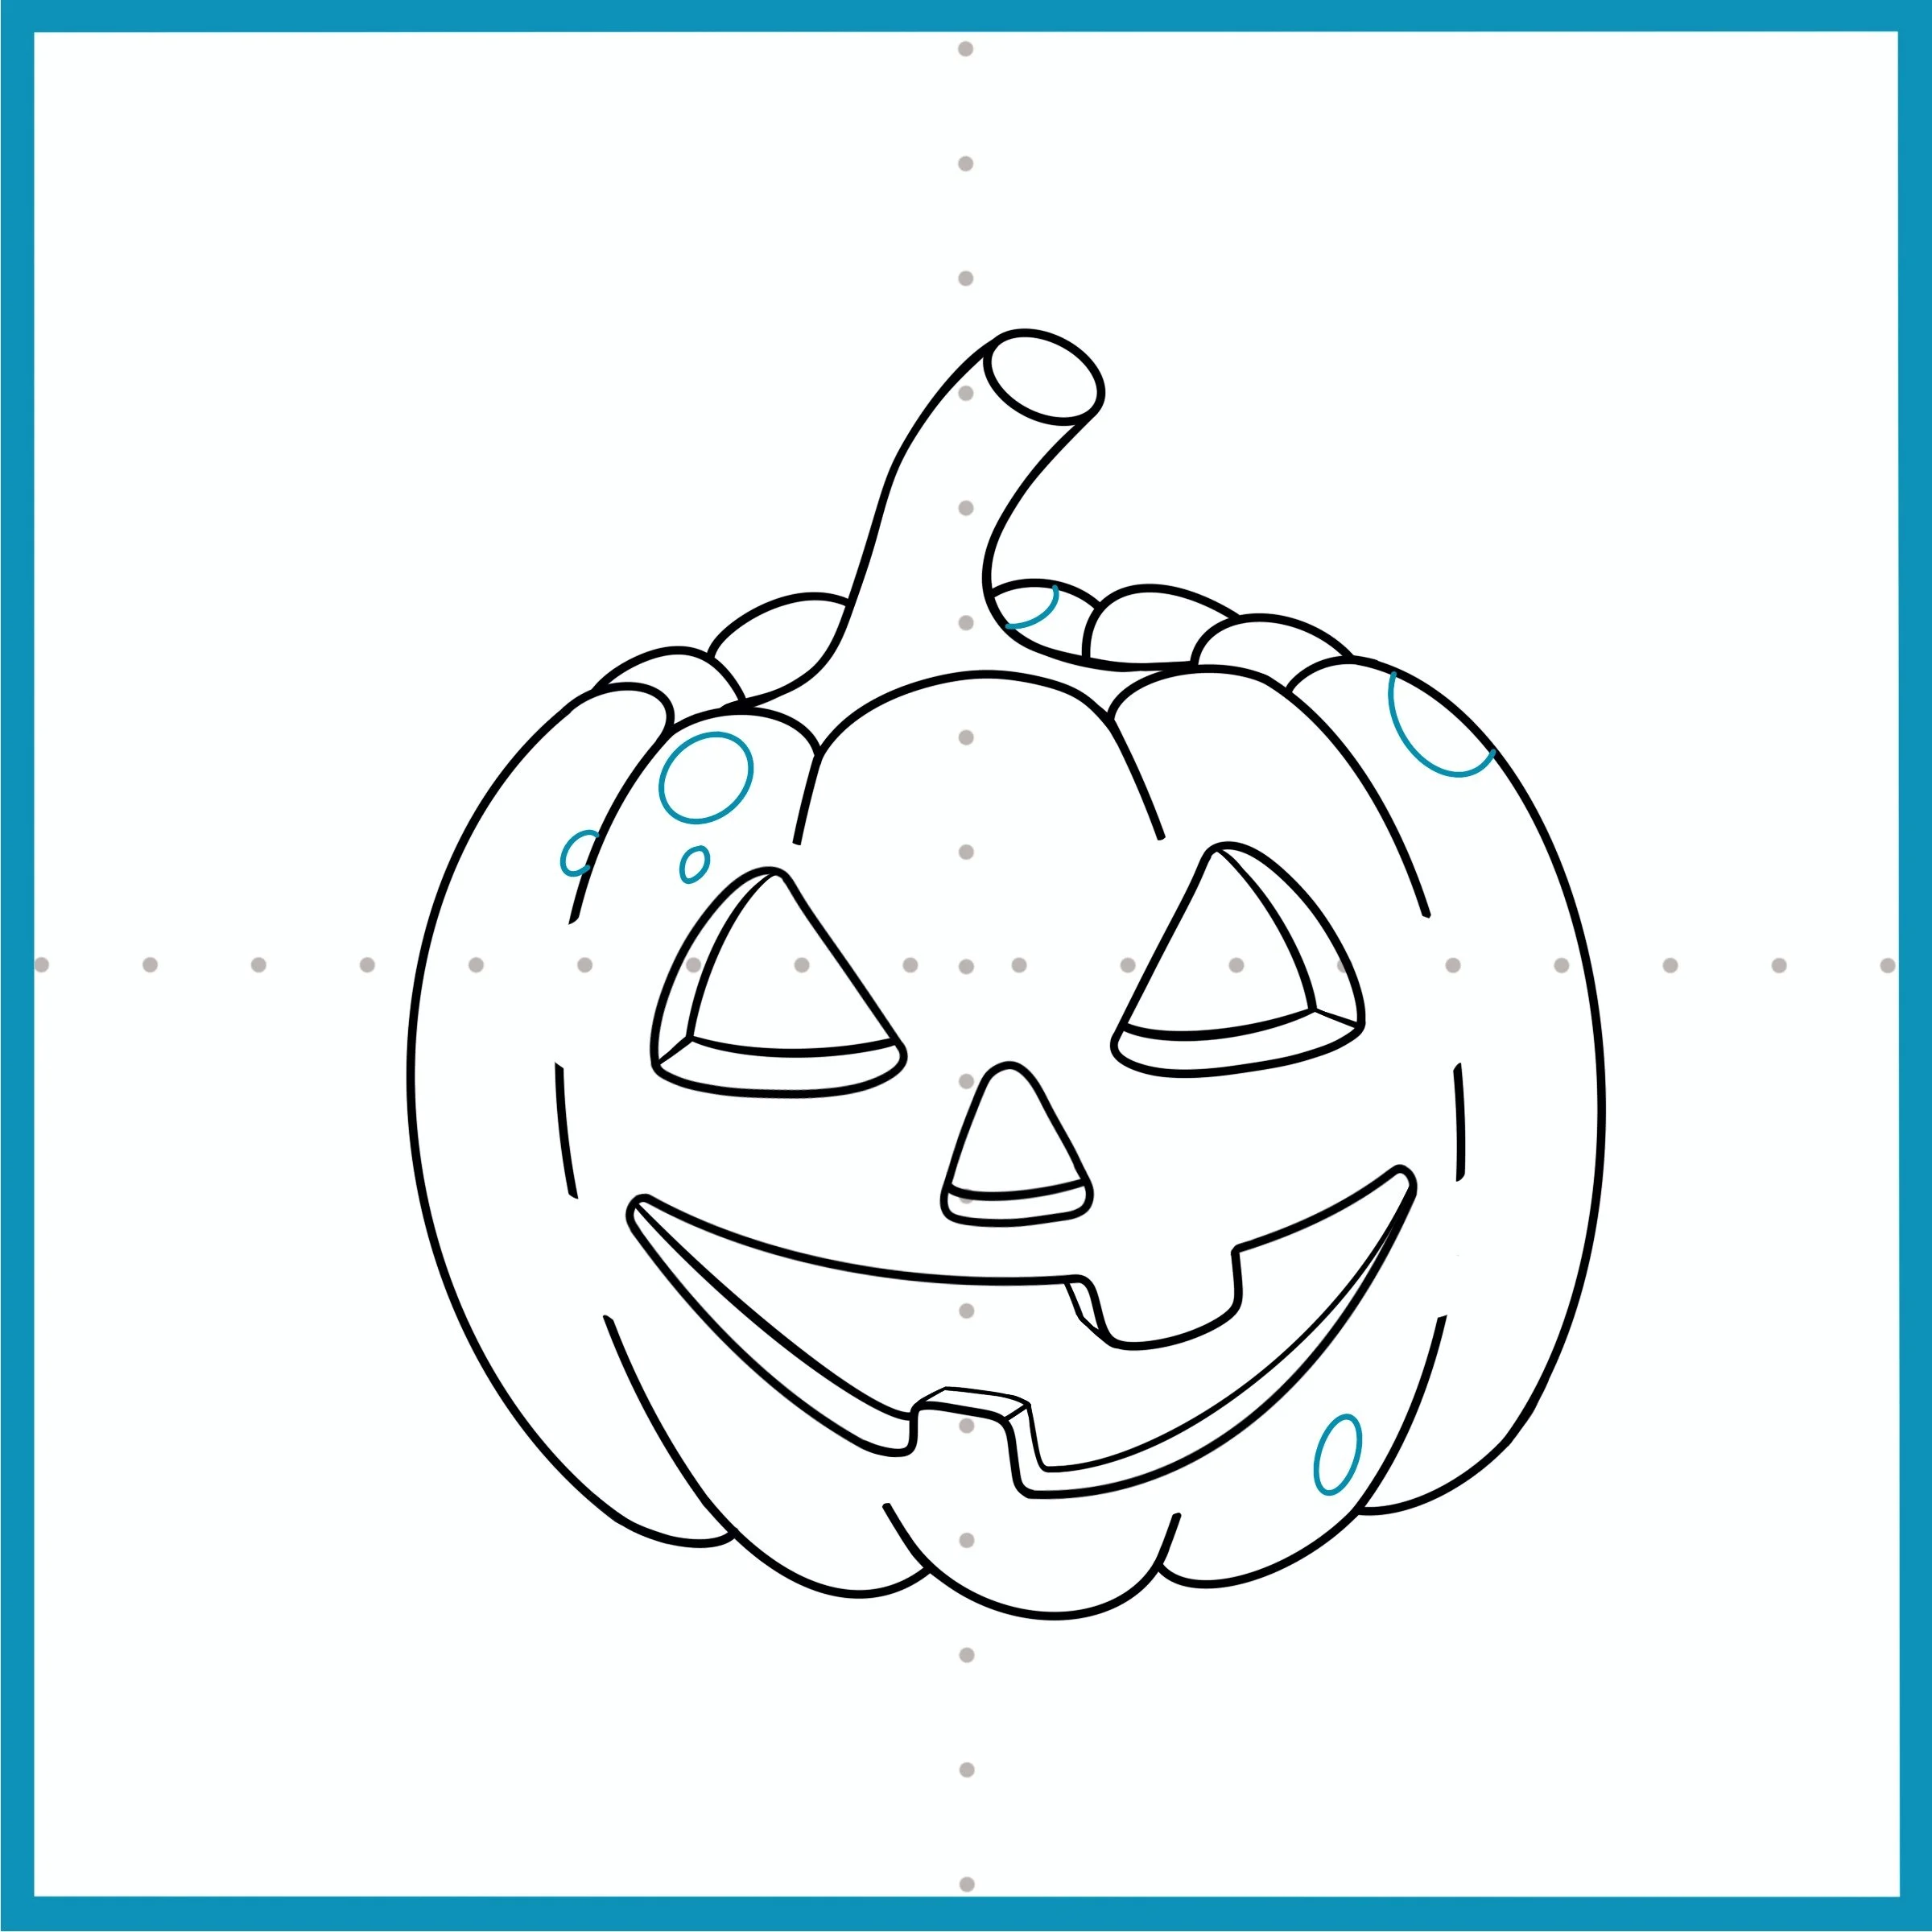
Time to start adding detail. Draw some sunspots and warts onto your Jack-O-Lantern. Erase some of the lines to give your pumpkin more personality. Imperfections can really make your pumpkin look more cute or scary.
Step 18
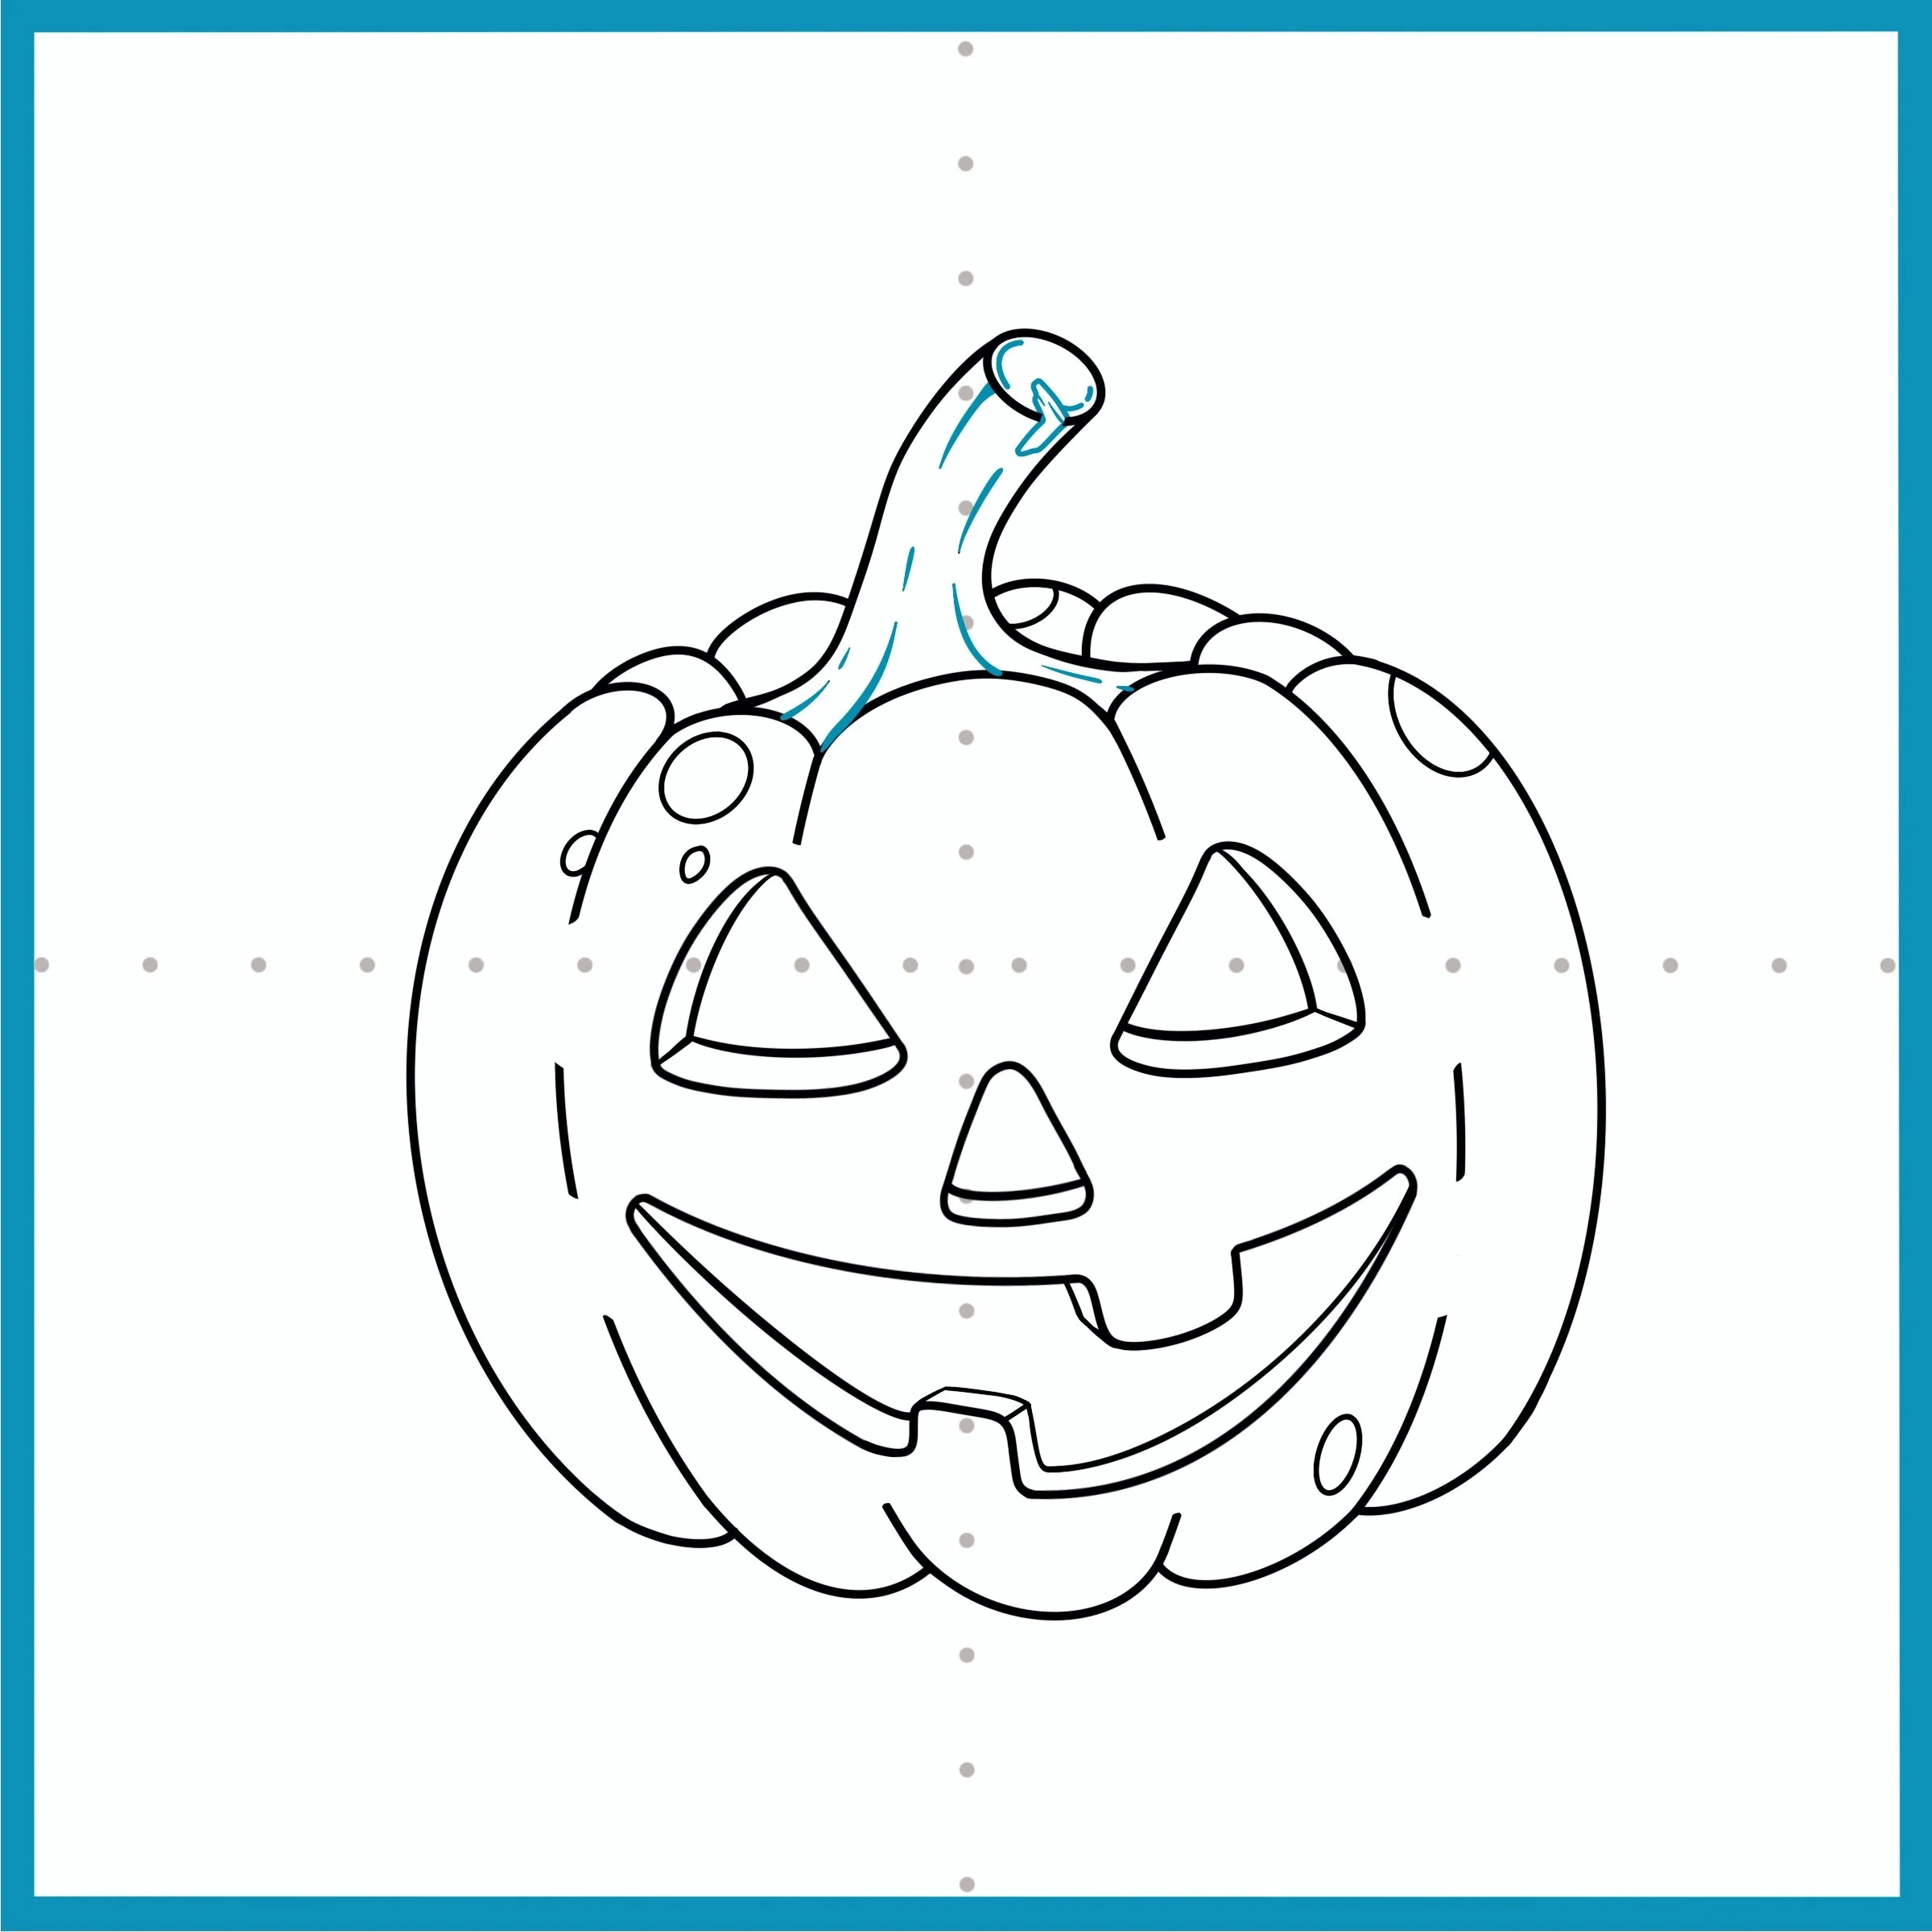
Finally, add some details and imperfections to your stem.
Amazing Job!
Boo-yeah! You've just conjured up the spookiest jack-o'-lantern in town! Now it's time to add some Halloween magic to your creation. Will your pumpkin pal glow with eerie greens or flicker with fiery oranges? Maybe it'll haunt a misty graveyard or light up a witch's porch! The cauldron of possibilities is bubbling over. So grab your most bewitching colors and let's turn this black-and-white sketch into a Halloween masterpiece. Remember, in the world of spooky creativity, your jack-o'-lantern can shine in any scary scene. Let's make this pumpkin really come alive (but not too alive - it's still a vegetable after all)!
Need to come back later? Pin it now, draw later:
FREE coloring page just for you!
Click the image for a bigger print


